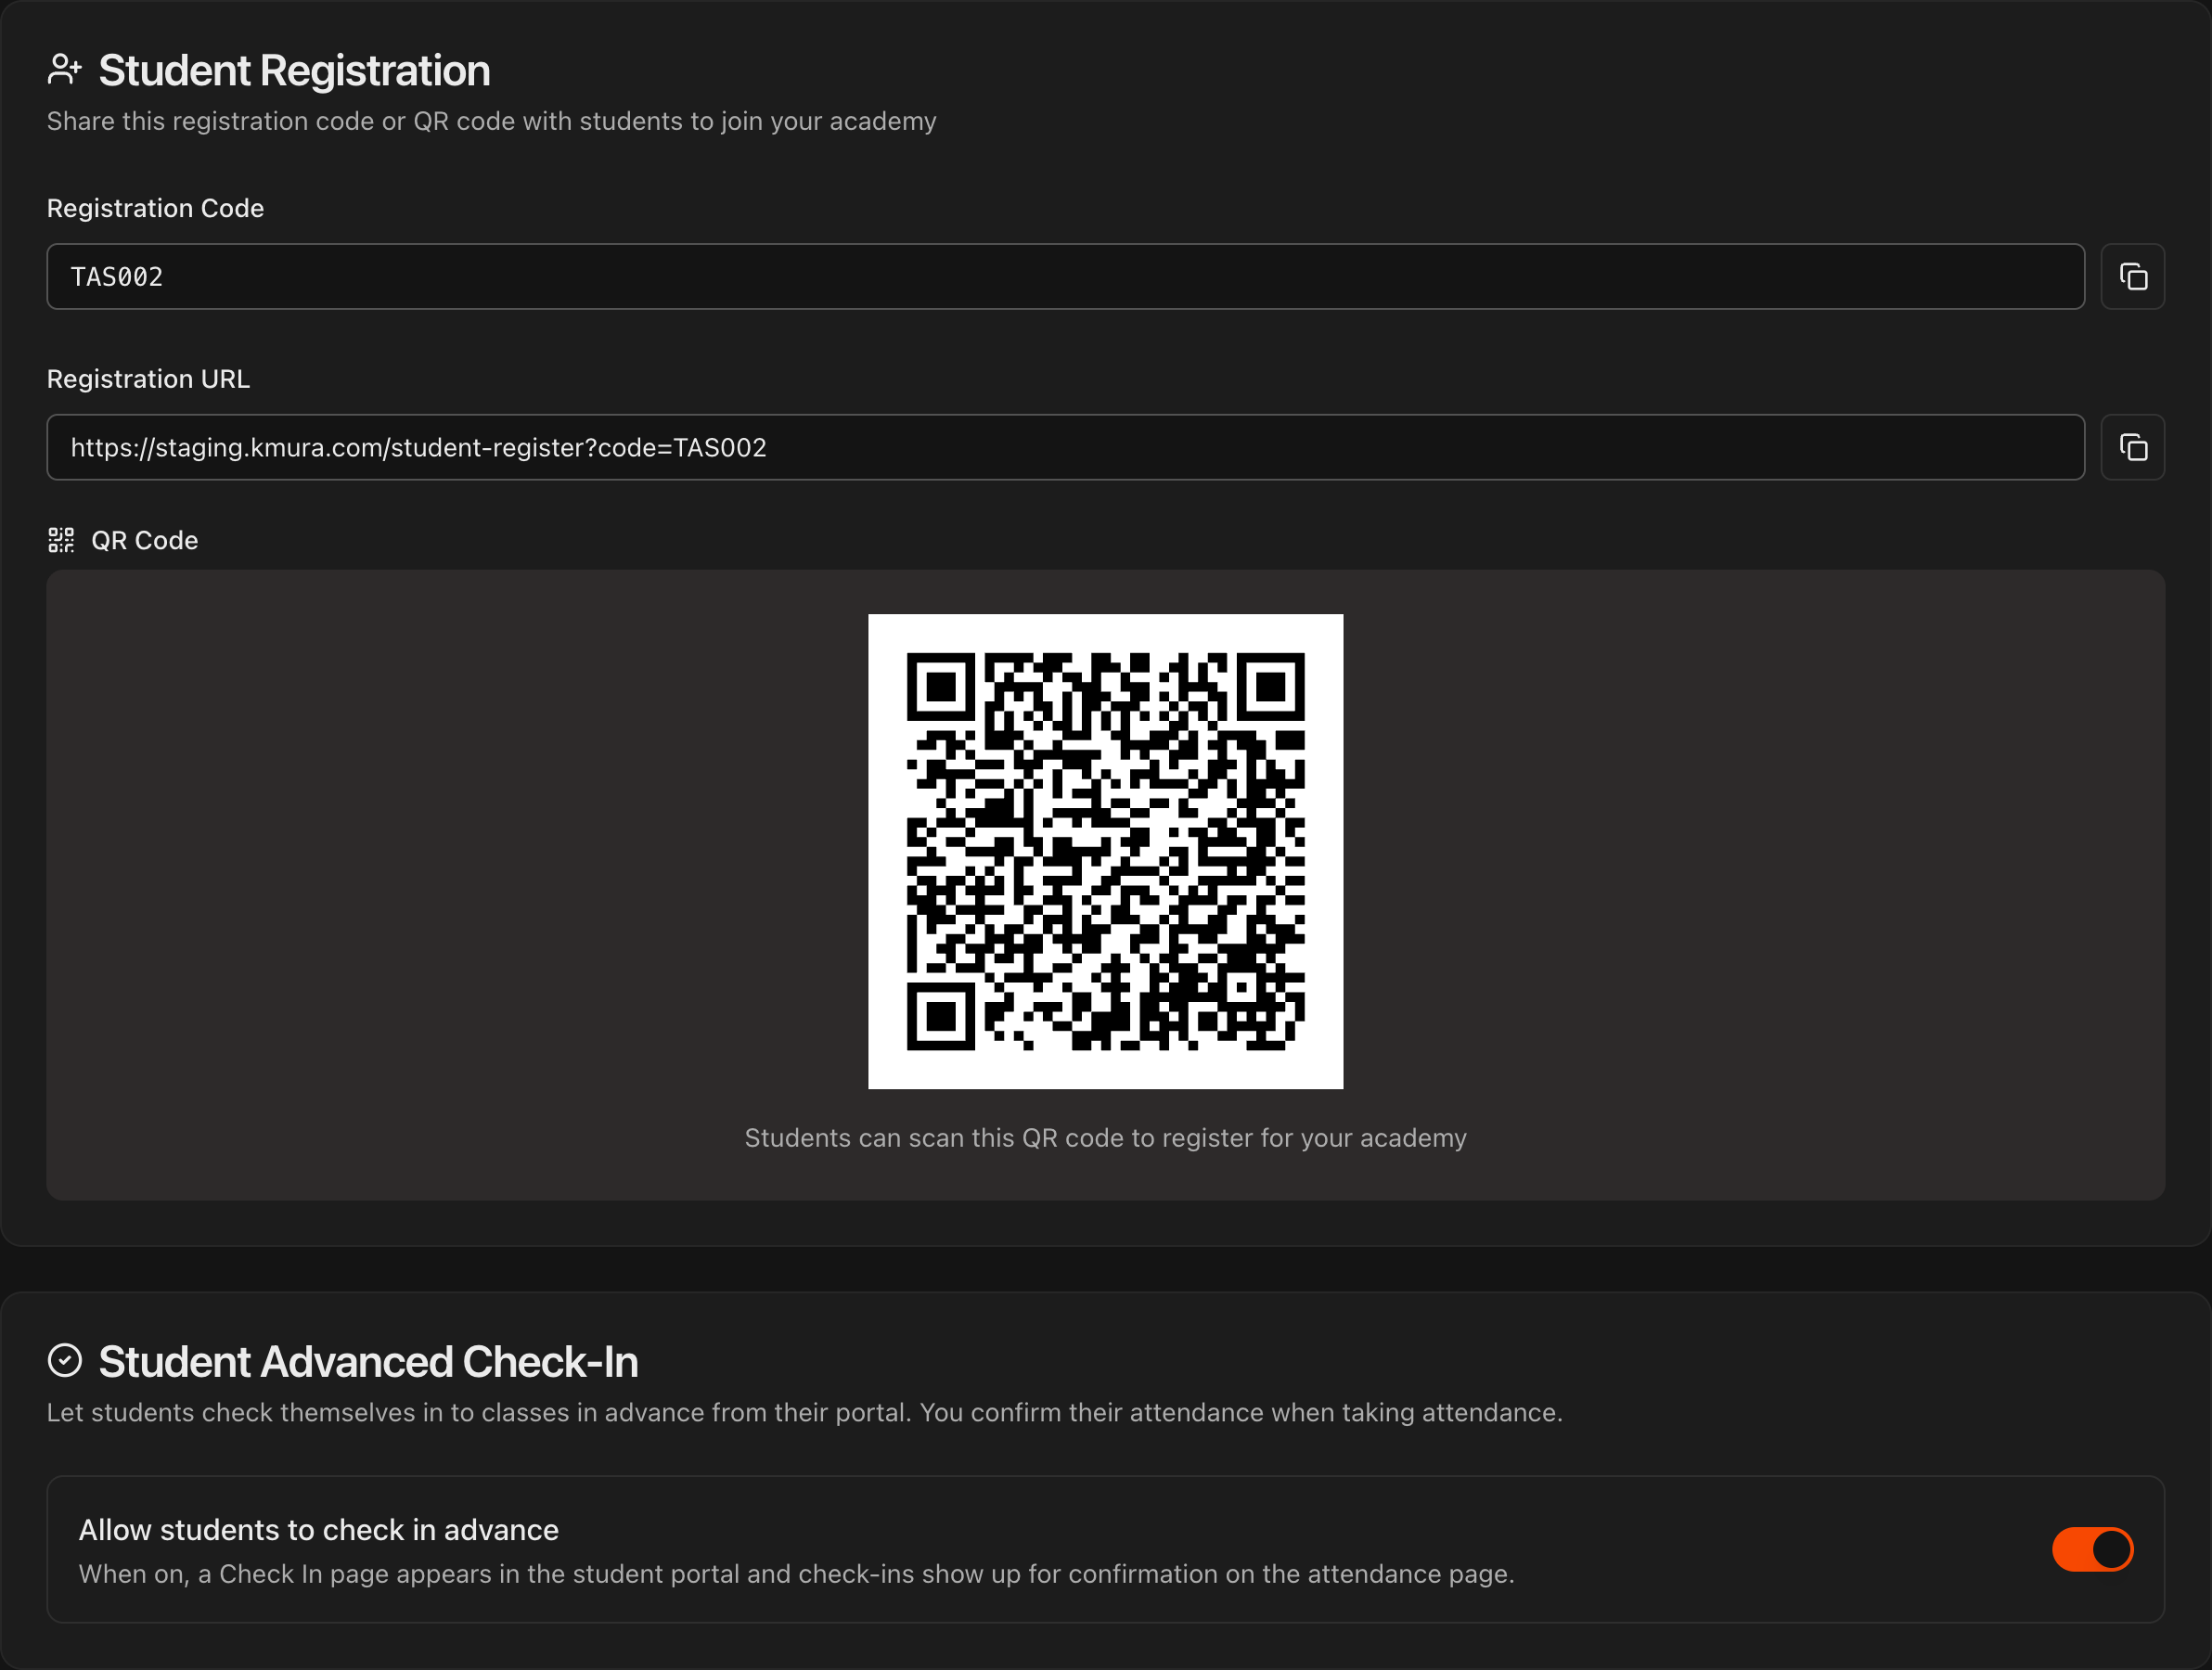
Turn on remote check-in
Go to Settings, open Student Portal, and scroll to Student Advanced Check-In.
Turn on Allow students to check in remotely.
Note
When this is on, a **Check In** page appears in the student portal and remote check-ins show up for confirmation on the **Attendance** page. Leave it off to hide the feature.
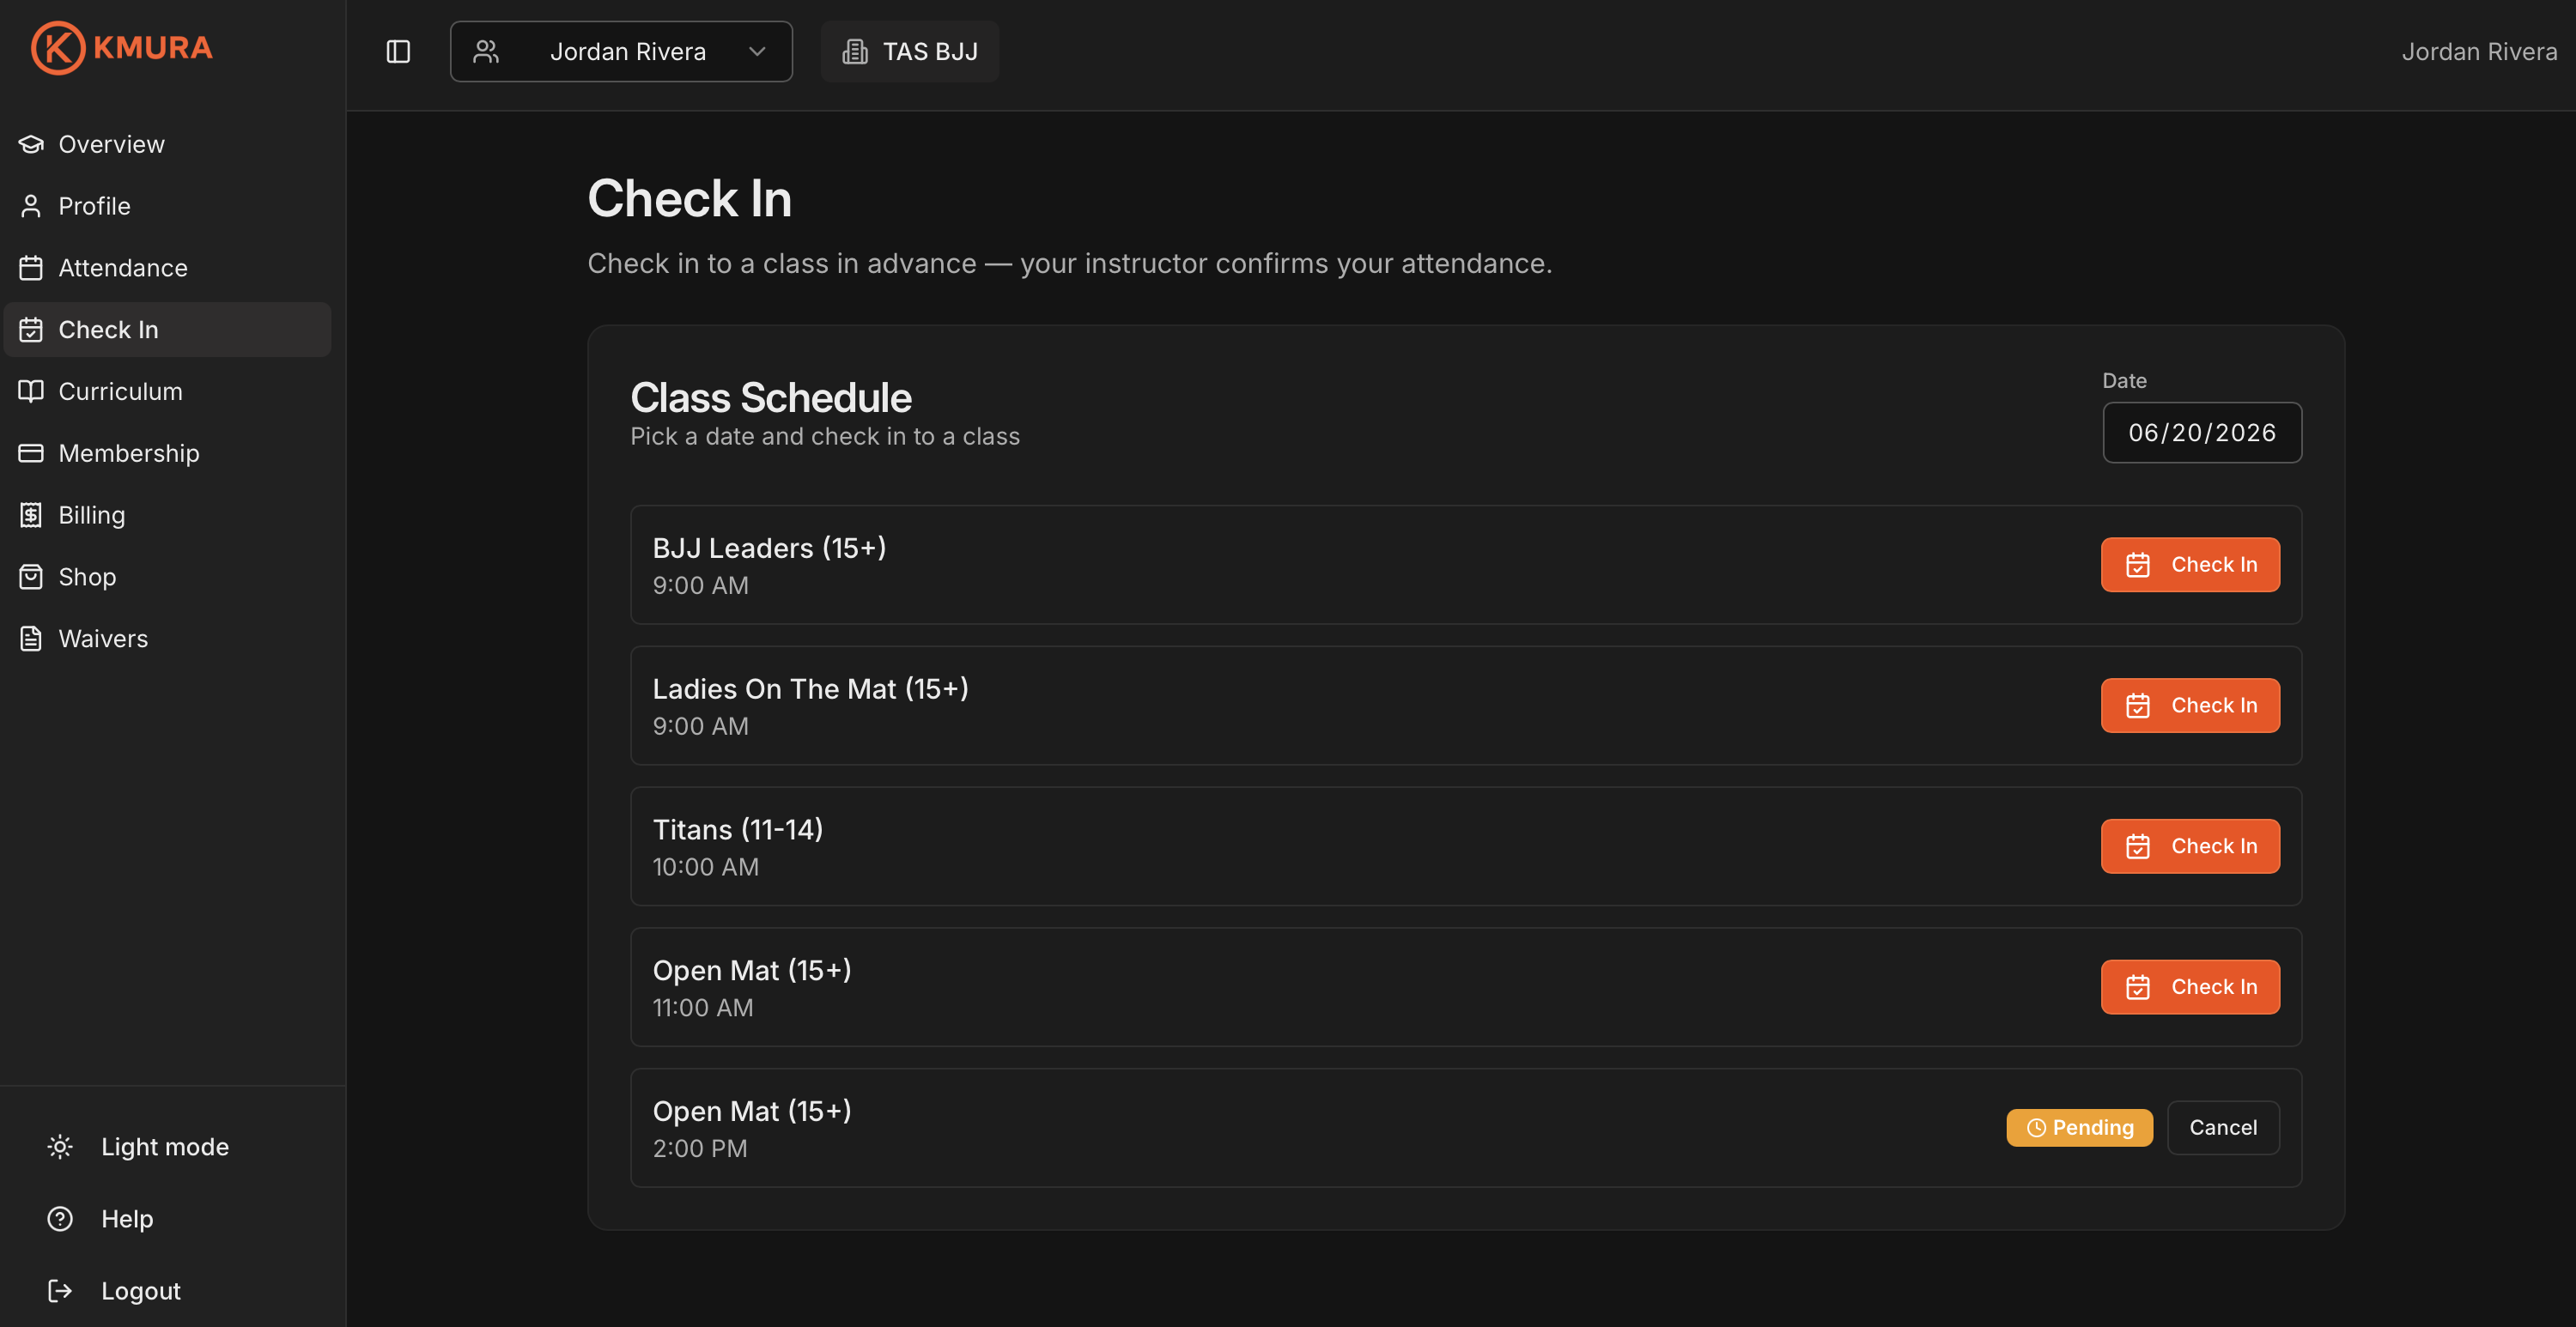
A student checks in from their portal
The student logs into their Kmura account and opens the Check In page.
They pick the date and click Check In on the class they plan to attend.
That class then shows Pending until you confirm it, and they can tap Cancel to undo.
Open the Attendance page and pick a date
In the left menu, click Attendance.
The page opens on today; use the date selector to move days, or click Today to return.
Note
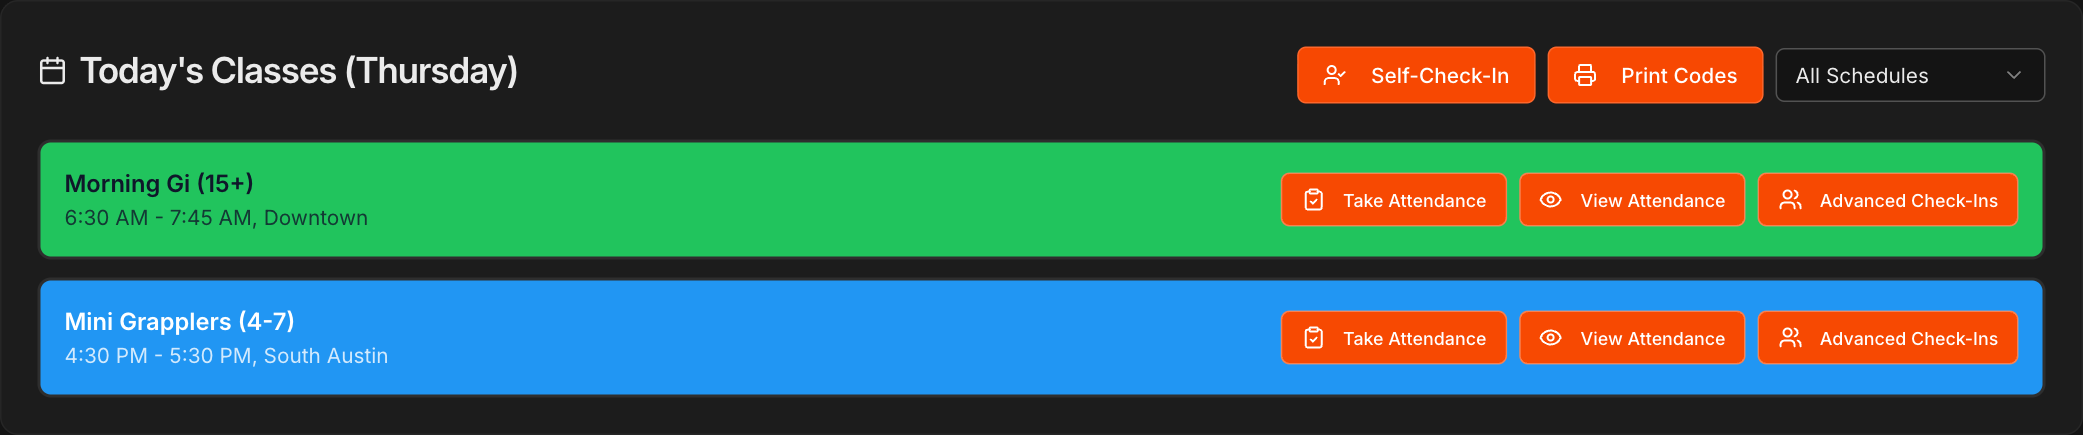
The Attendance page pulls its classes from the **Schedule** page, so it lists every class scheduled for the date you select. Use the **All Schedules** dropdown to filter to one schedule; each schedule belongs to a gym.

Open Advanced Check-Ins for the class
Find the class the student checked into. Its Advanced Check-Ins button shows a number badge (for example, 1) for everyone who checked in remotely.
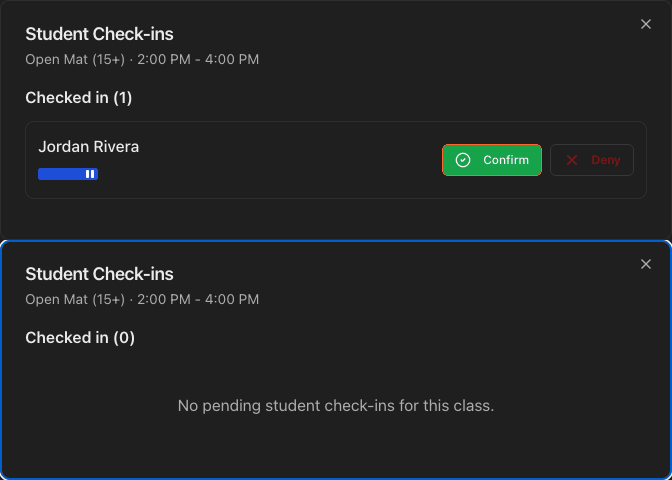
Click Advanced Check-Ins to open the list of pending students.
Confirm or deny each student
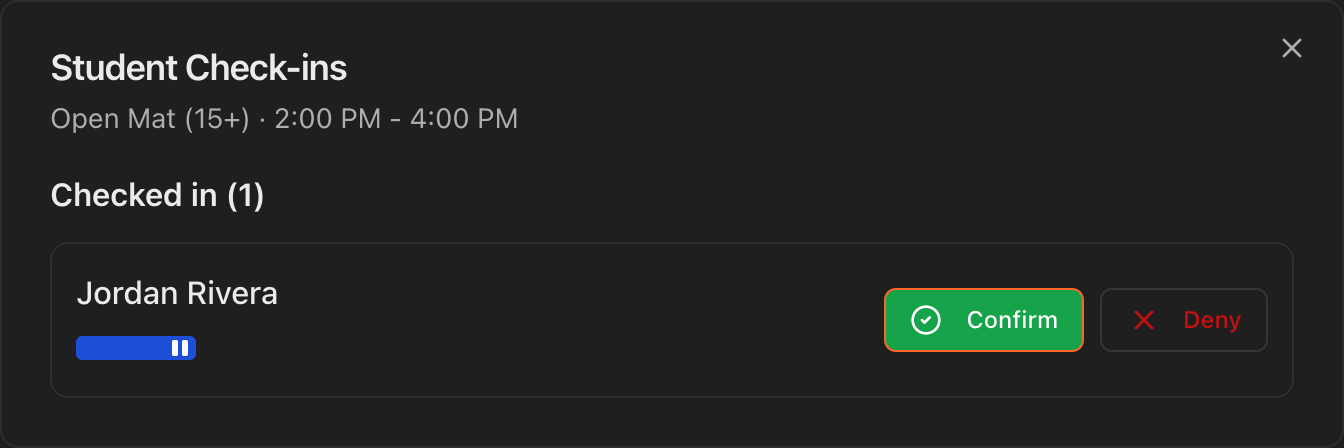
The Advanced Check-Ins popup lists each student who checked in remotely, for example Jordan Rivera.
Click Confirm if they actually showed up, or Deny if they did not.
Confirming records their attendance for the class; denying clears the pending check-in.
Note
This last step is how you verify that a student who checked in ahead of time genuinely attended, so your attendance records stay accurate.
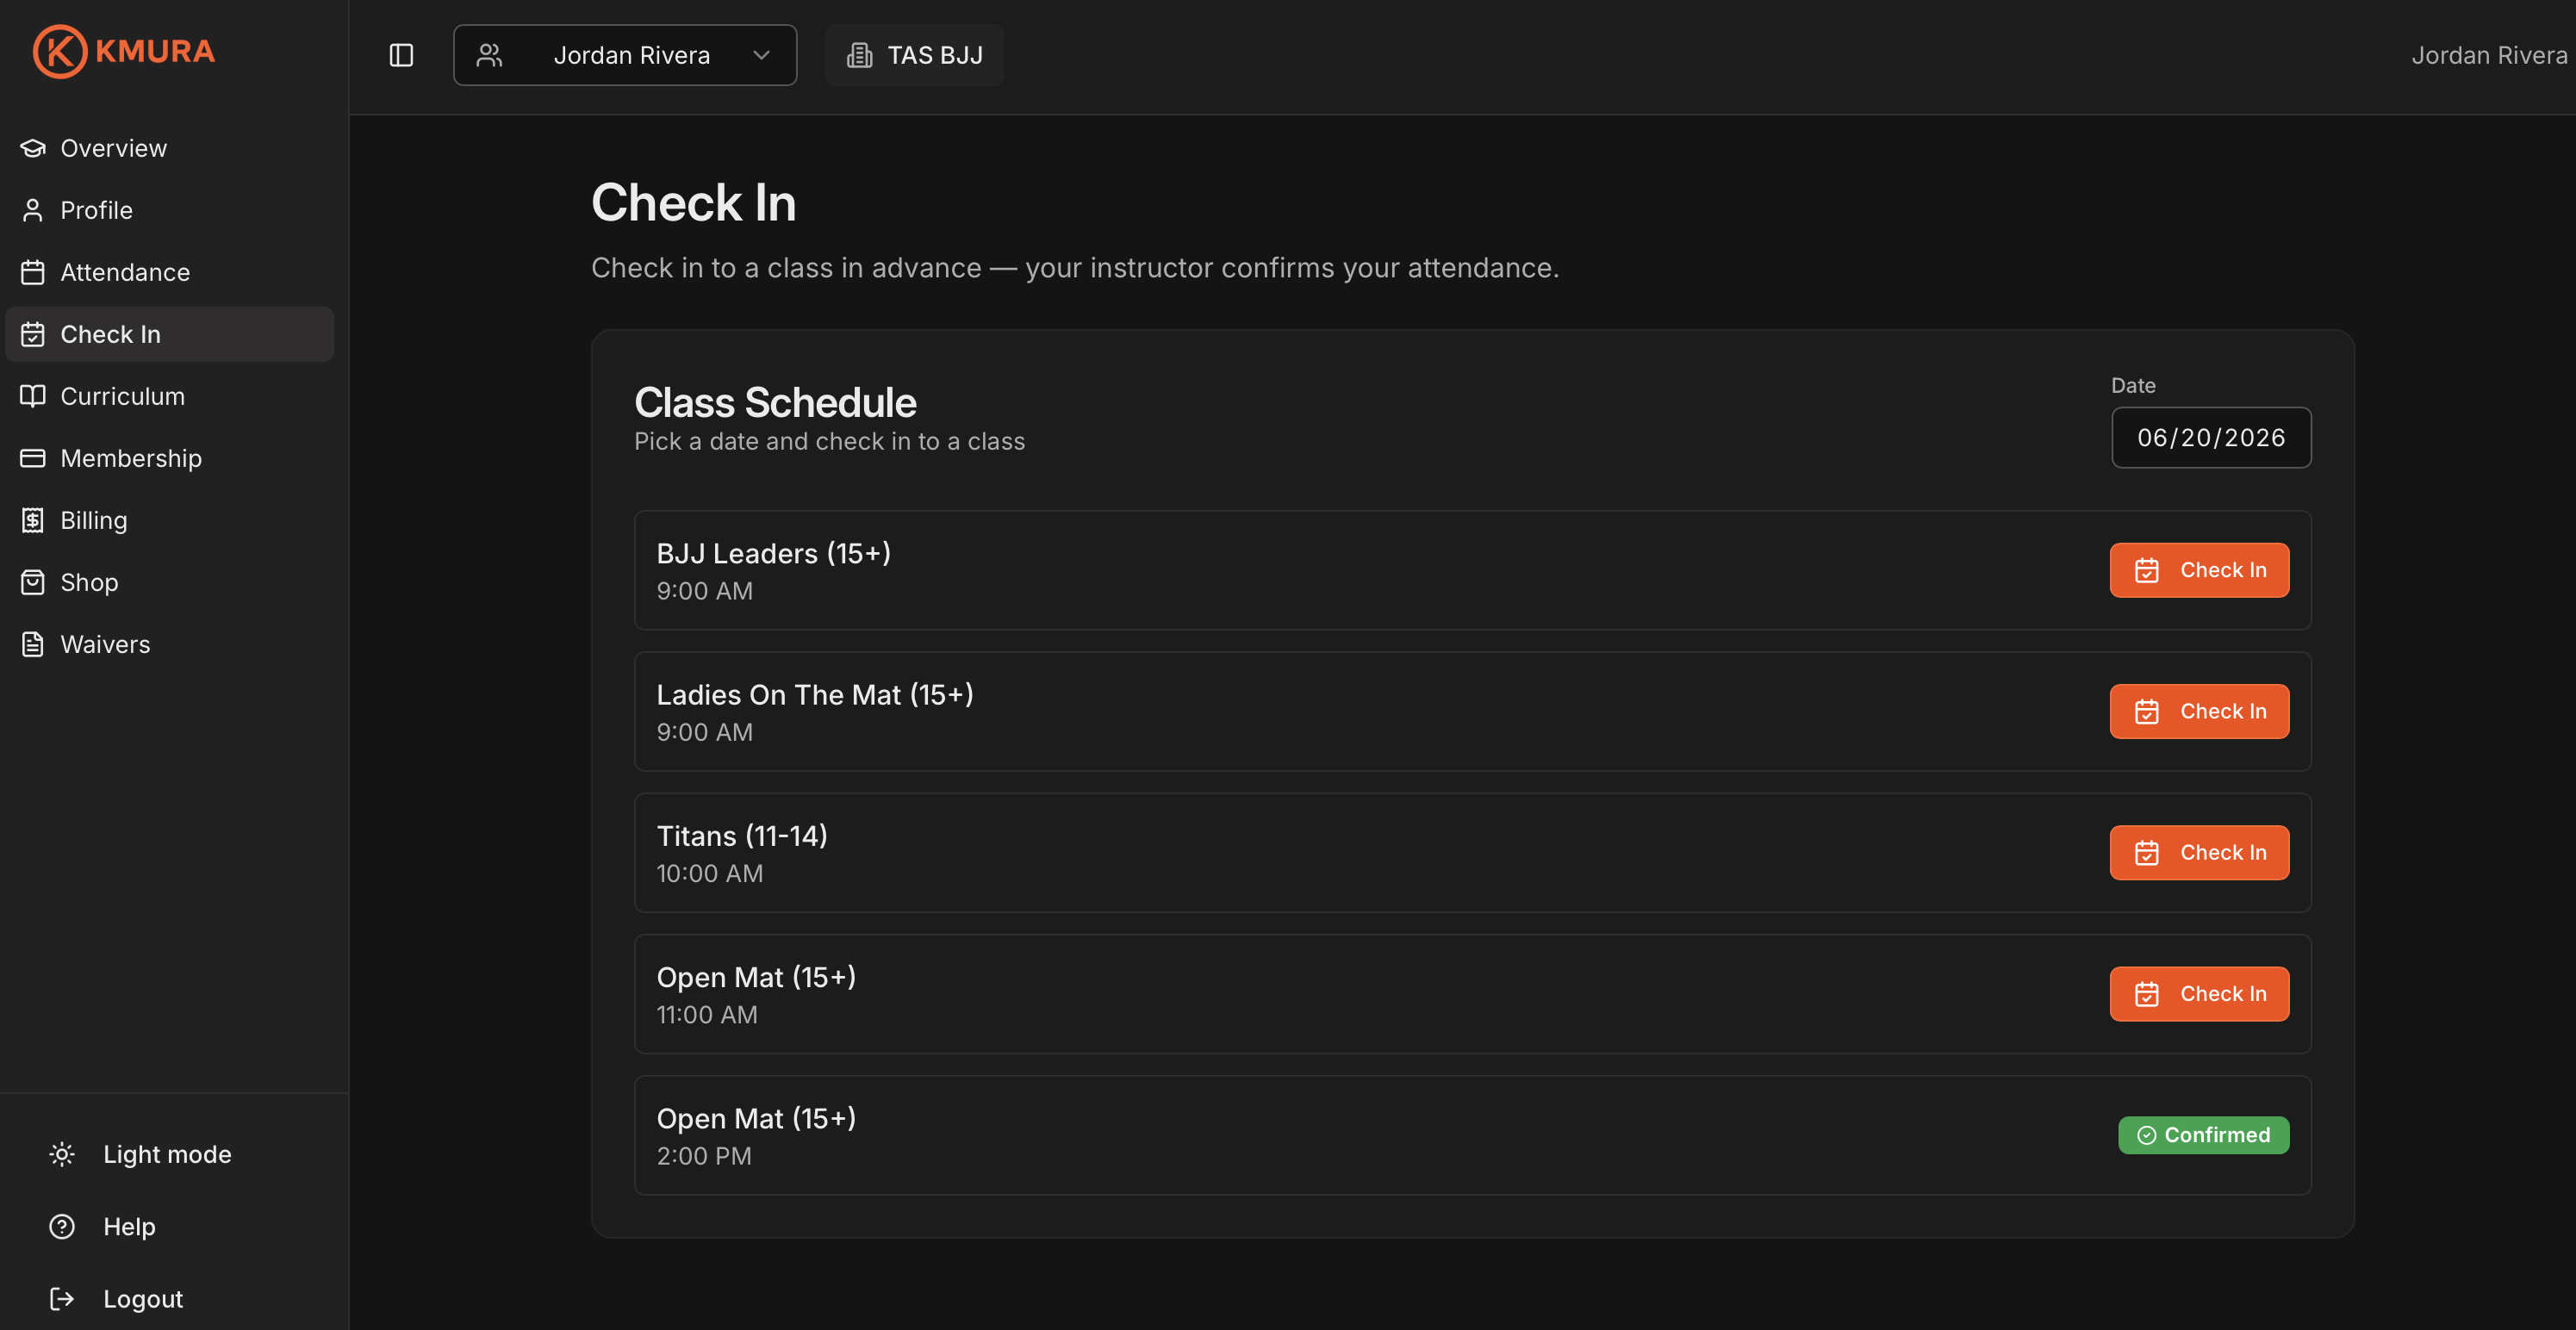
The student's attendance is confirmed
Once you confirm, the student's portal updates to show their attendance for that class as confirmed.