Select your recipients
Go to the Communications page.
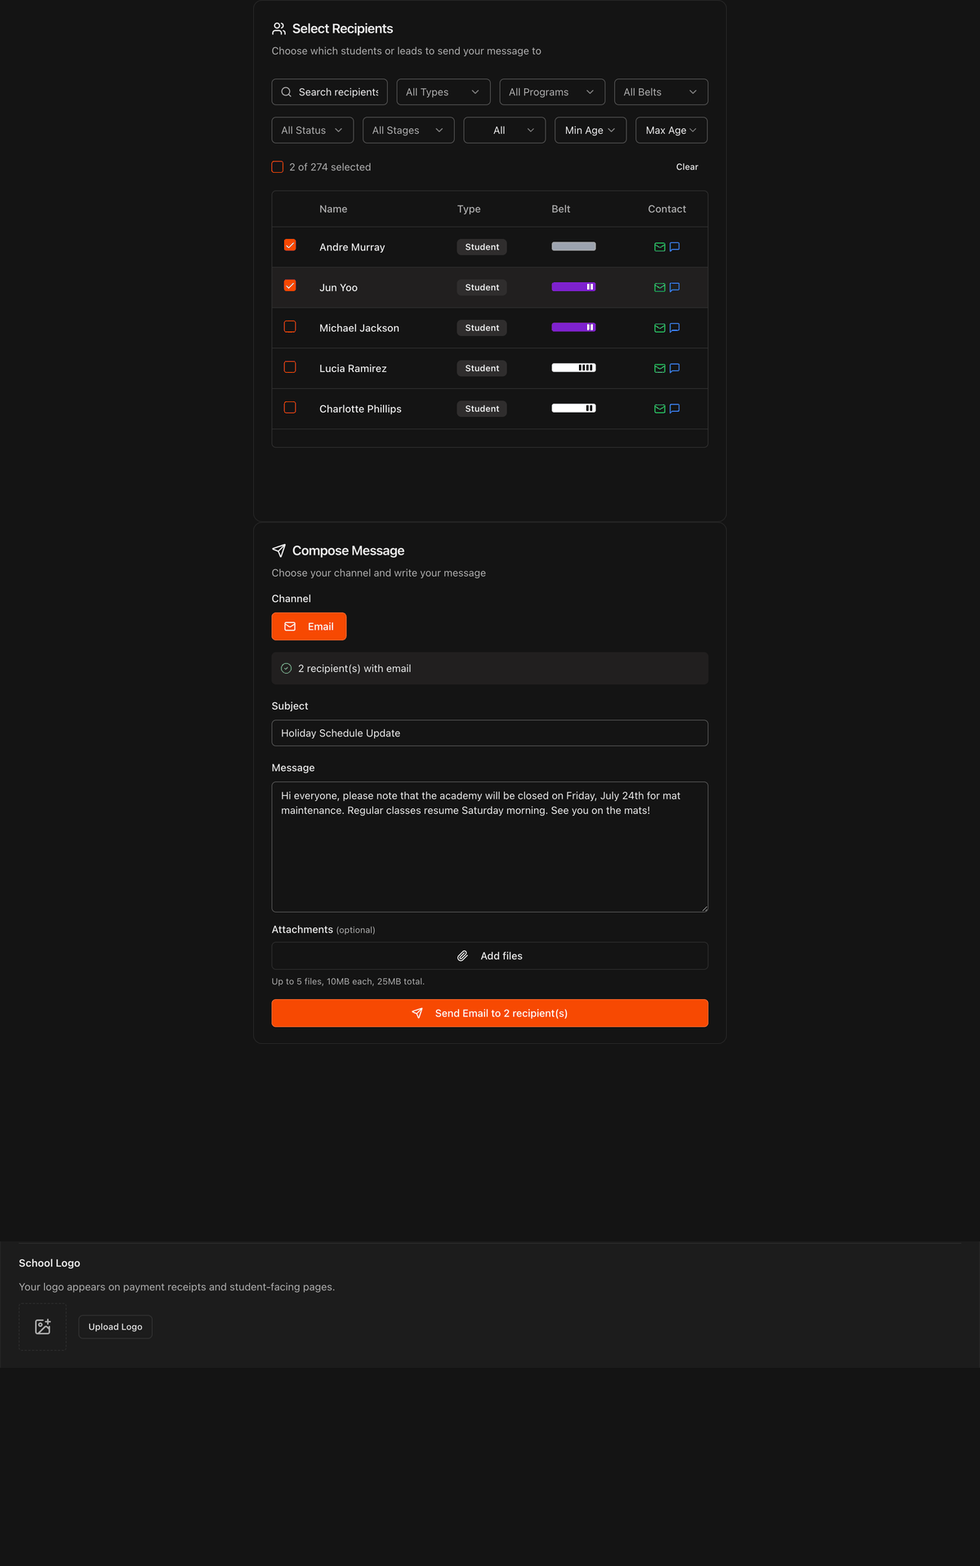
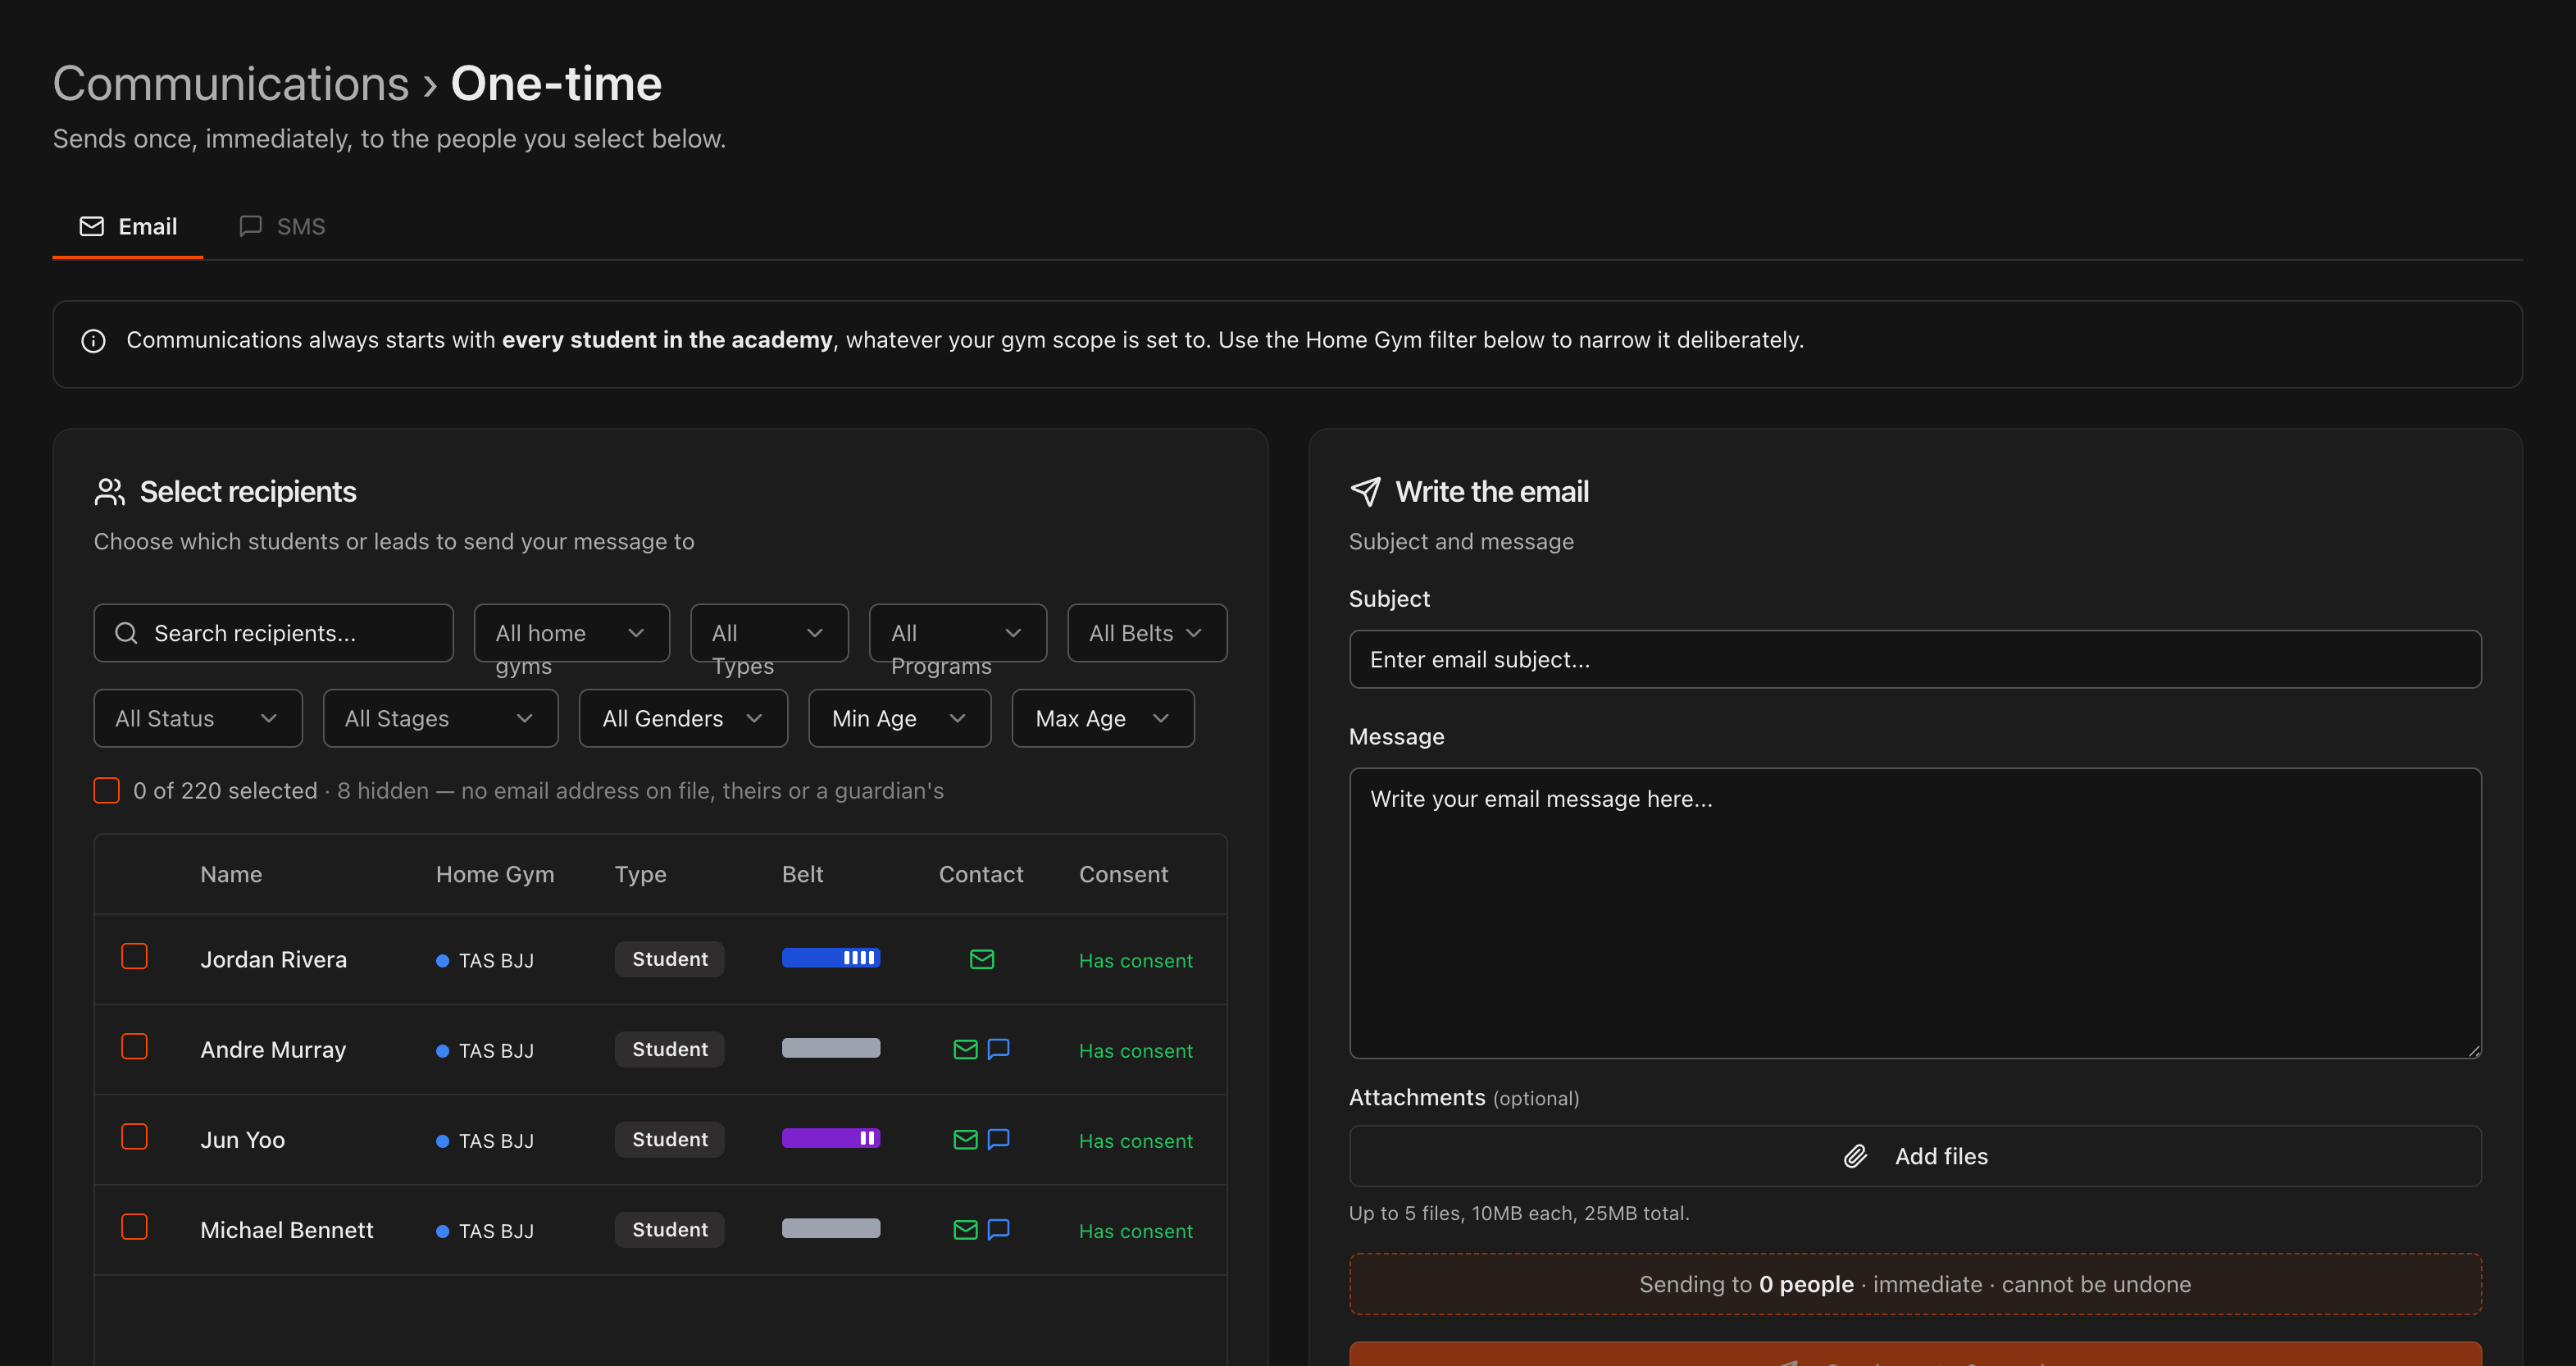
Under Select Recipients, filter your list in a variety of ways: students, alumni or leads under All Types, plus All Programs, All Belts, All Status, All Stages, gender, and Min Age / Max Age.
Alumni are never included unless you tick Alumni in the Types filter, so a message to everyone never reaches former students by accident.
You can also look up a specific person with Search recipients.
Check the box next to each recipient, or use the top checkbox to select everyone in your filtered list. The count shows how many are selected.
Communications always starts with every student in the academy, whatever the gym selector in the header is set to.
With more than one gym, use the Home Gym filter (set to All home gyms by default) to narrow the list to one gym. The Home Gym column shows each recipient's gym.
Write and send your email
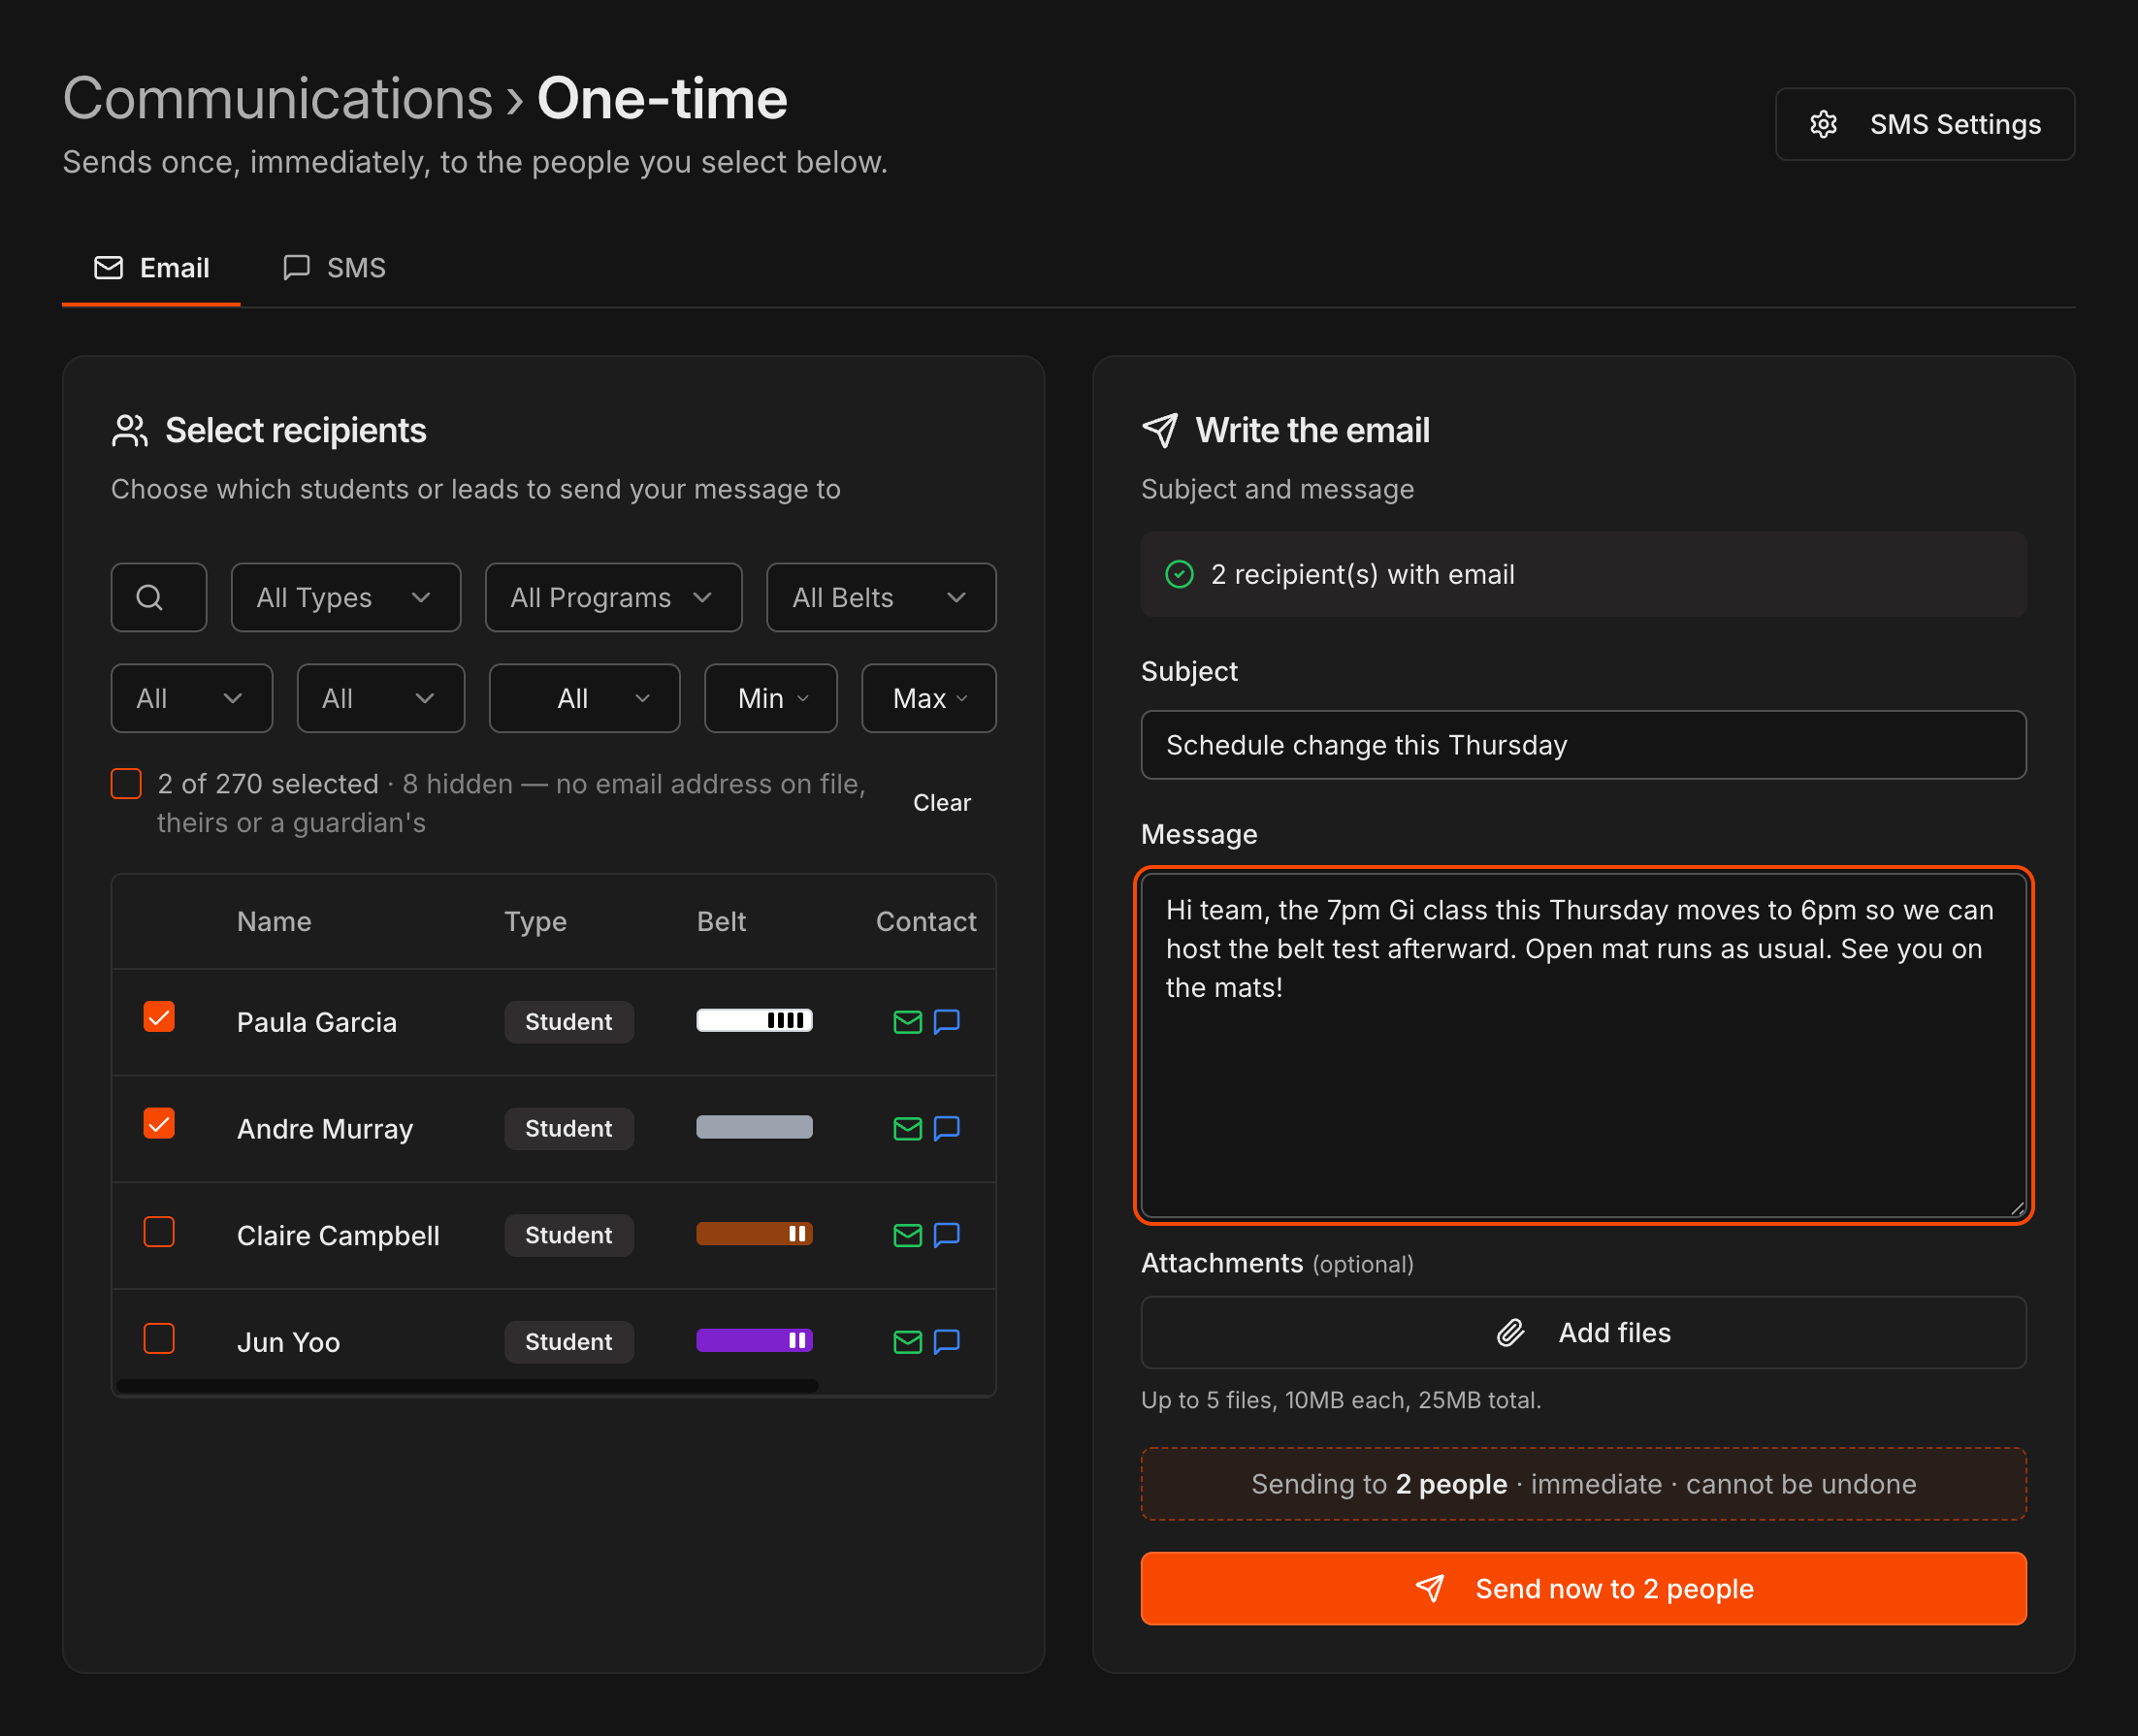
Make sure the Email tab is selected at the top of the page. Under Write the email, Kmura confirms how many selected recipients have an email on file.
Enter your Subject and write your message in the Message box.
Optionally click Add files to attach up to 5 files (10MB each, 25MB total).
Click Send now. The button shows the exact recipient count, and sends are immediate and cannot be undone.
Know who actually receives the email
In Kmura, any student with a parent or guardian assigned is assumed to be a minor.
For those students, all communications are sent to the parent or guardian on file, rather than to the student.
If a student has no parent or guardian on file, the email goes to the student directly.
Note
This routing is automatic. You do not need to select parents or guardians separately; Kmura delivers each student's email to the right contact.
Add your academy logo to email headers
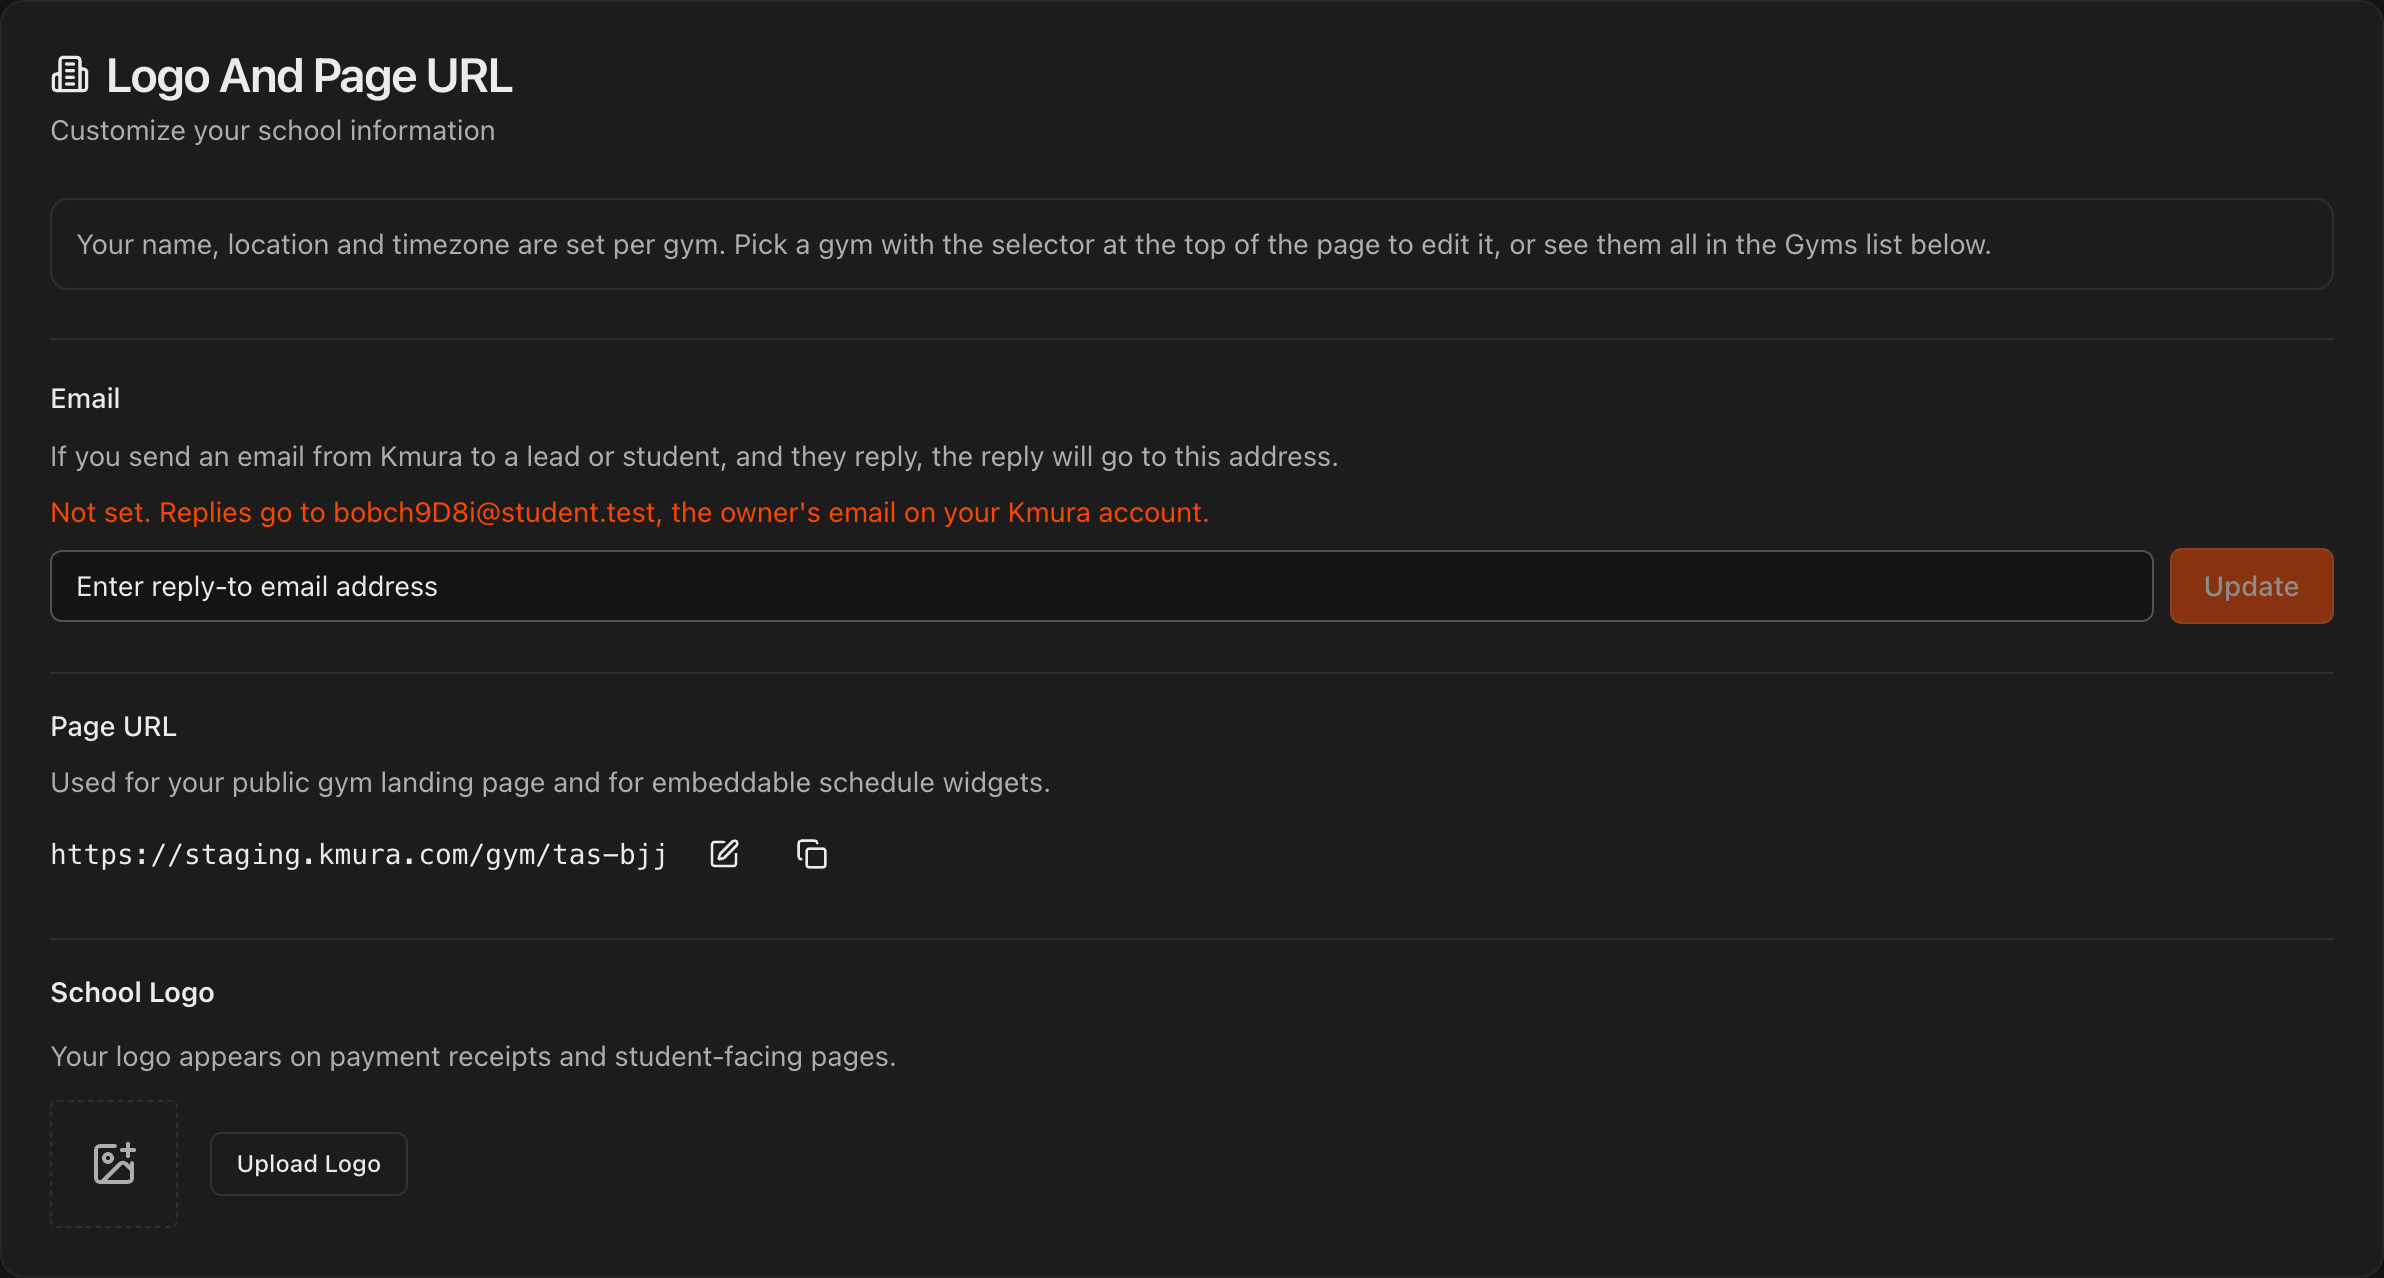
Go to Settings, open General, and find School Logo.
Under School Logo, click Upload Logo to upload your academy's logo.
Once uploaded, your logo is automatically pulled into the header of all email communications sent from Kmura.
Tip
Your logo also appears on payment receipts and student-facing pages, so one upload brands all of your Kmura communications.
Review what was sent
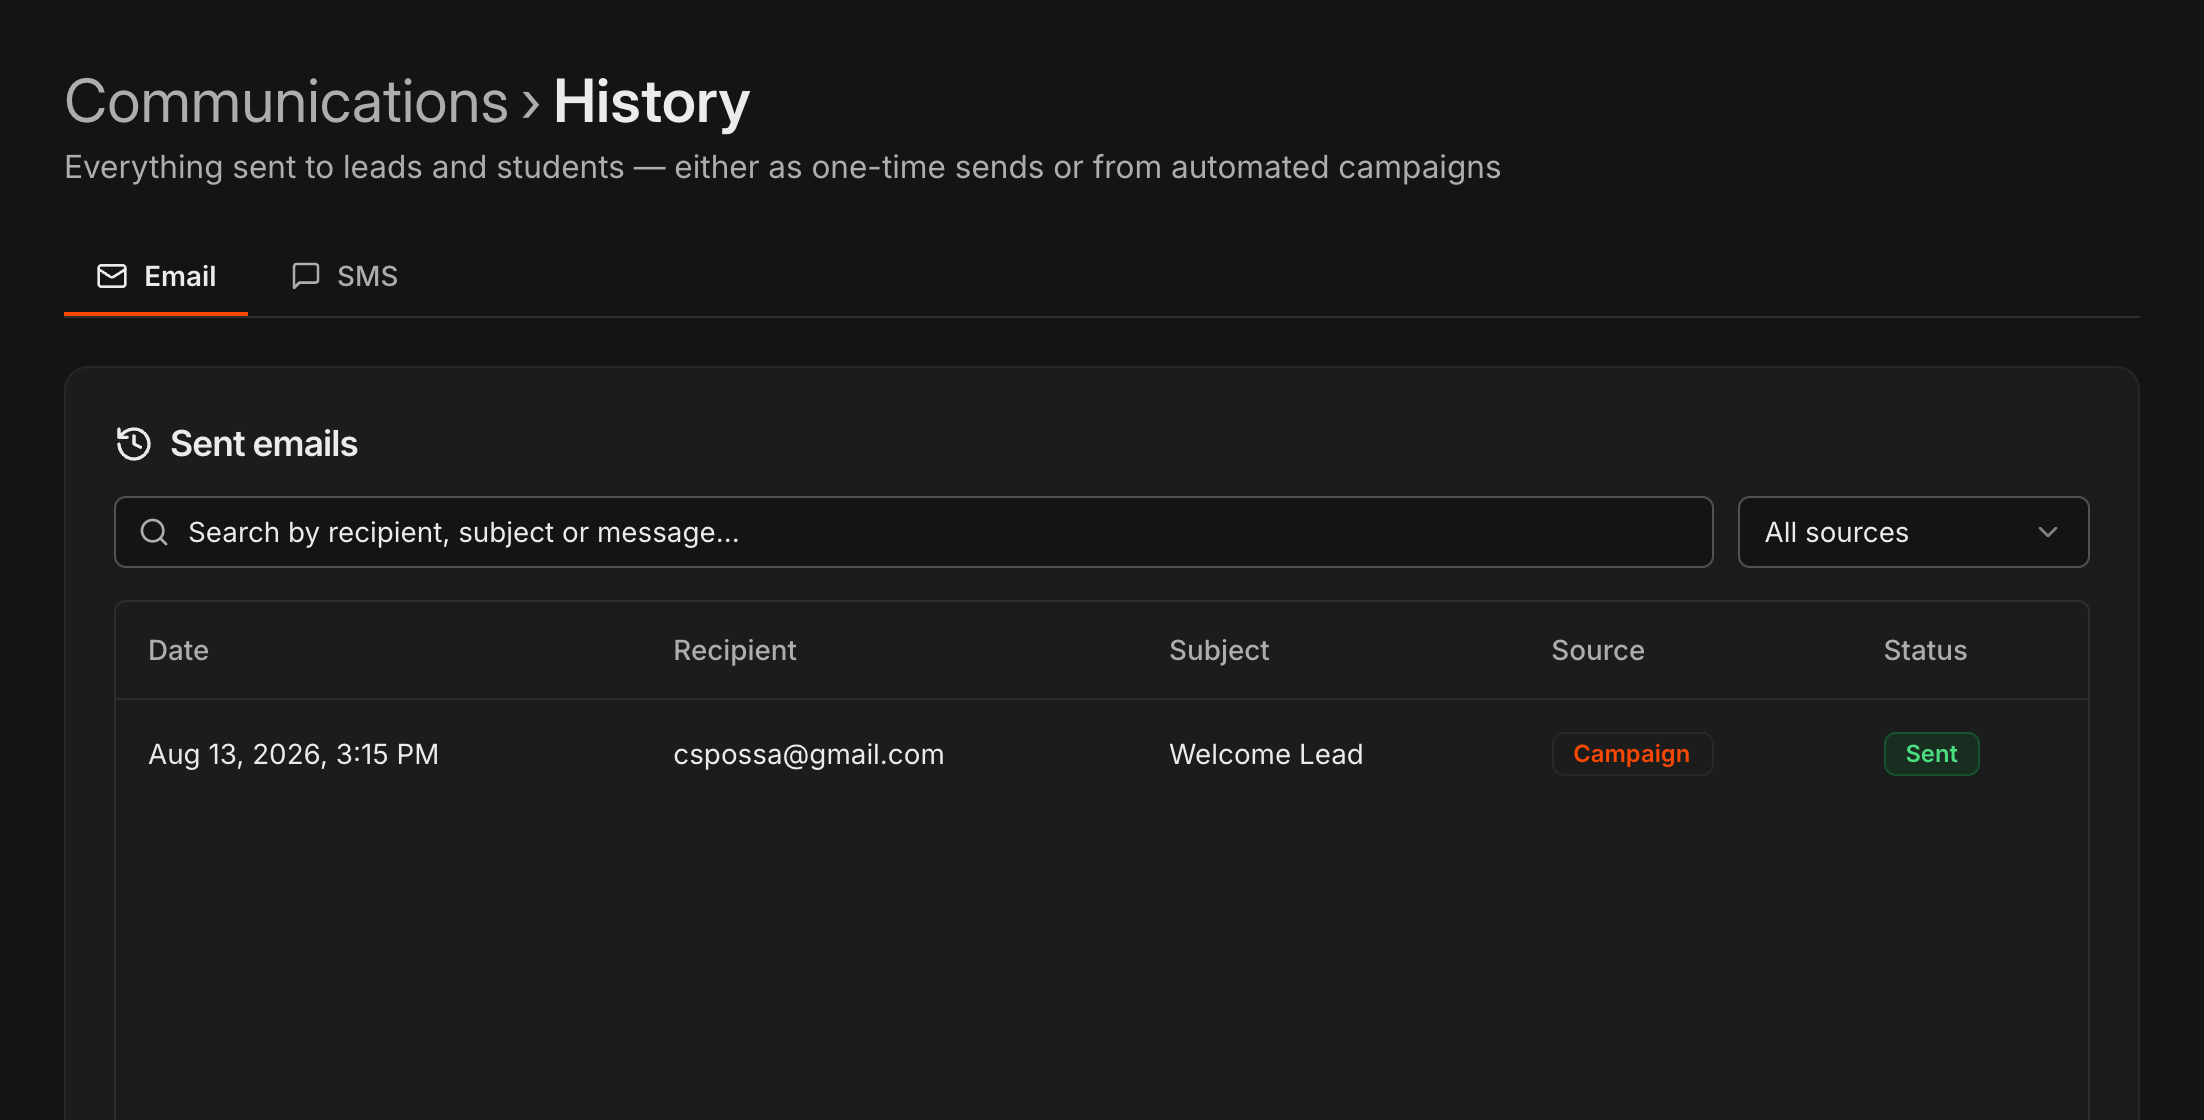
Go to Communications and open History. The Email tab lists every email sent, with recipient, subject, Source (one-time or campaign), and delivery Status.
Search by recipient, subject, or message text, or filter with All sources.
Tip
To text your students instead, see Sending SMS.