Understand the leads Kanban board
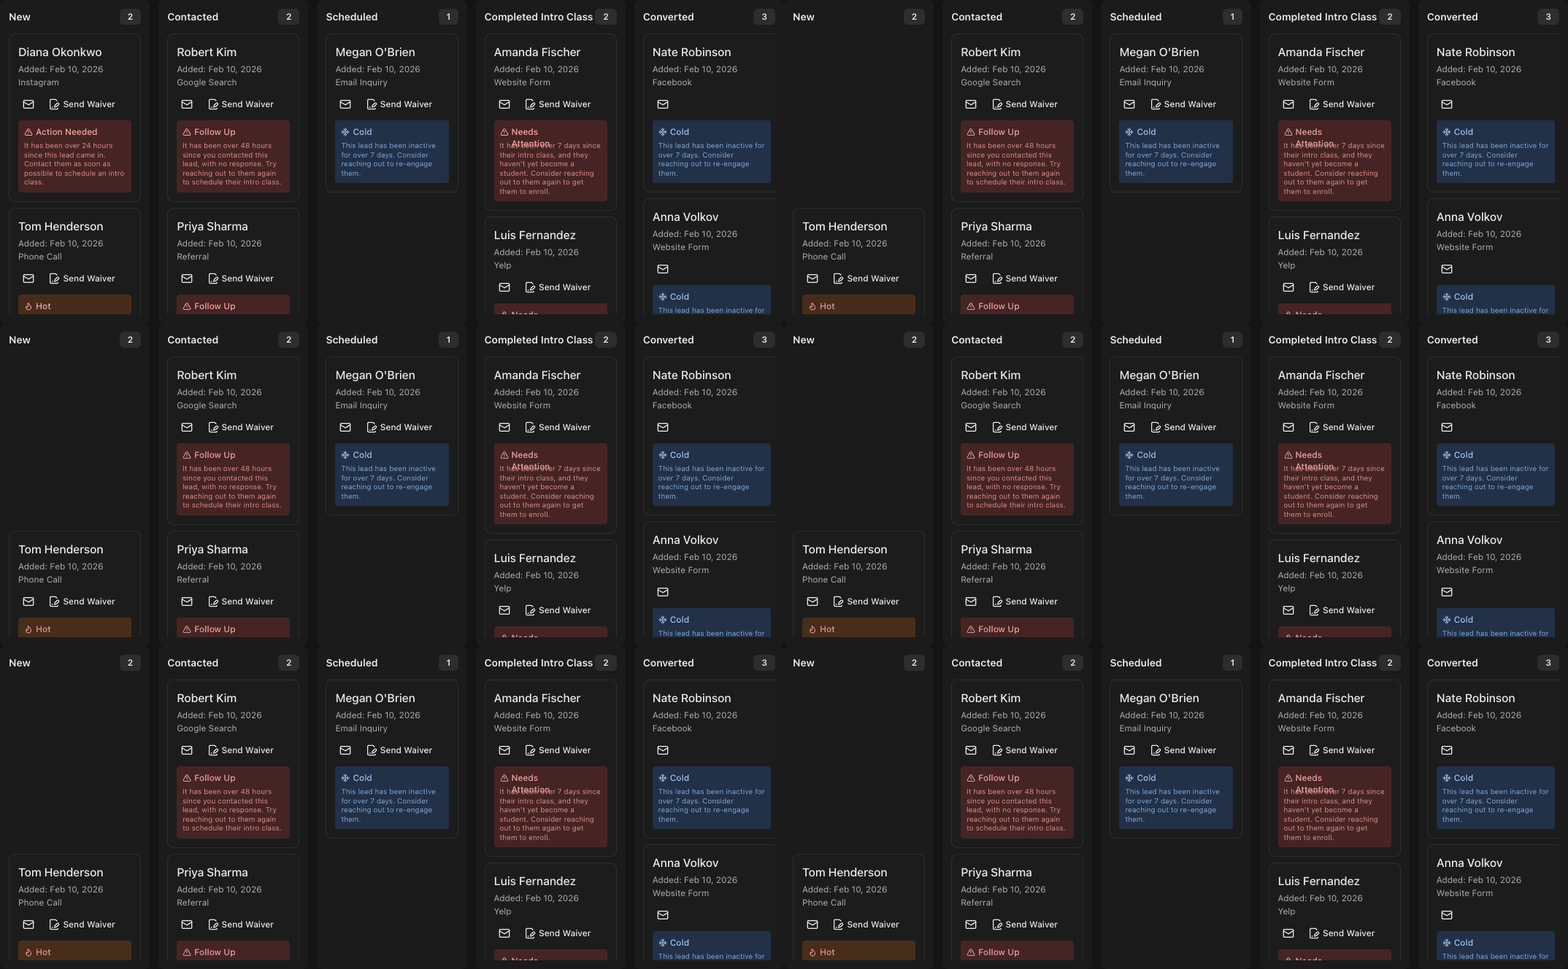
Go to Leads to open the Kanban board, which is built to visually manage your more recent, active leads.
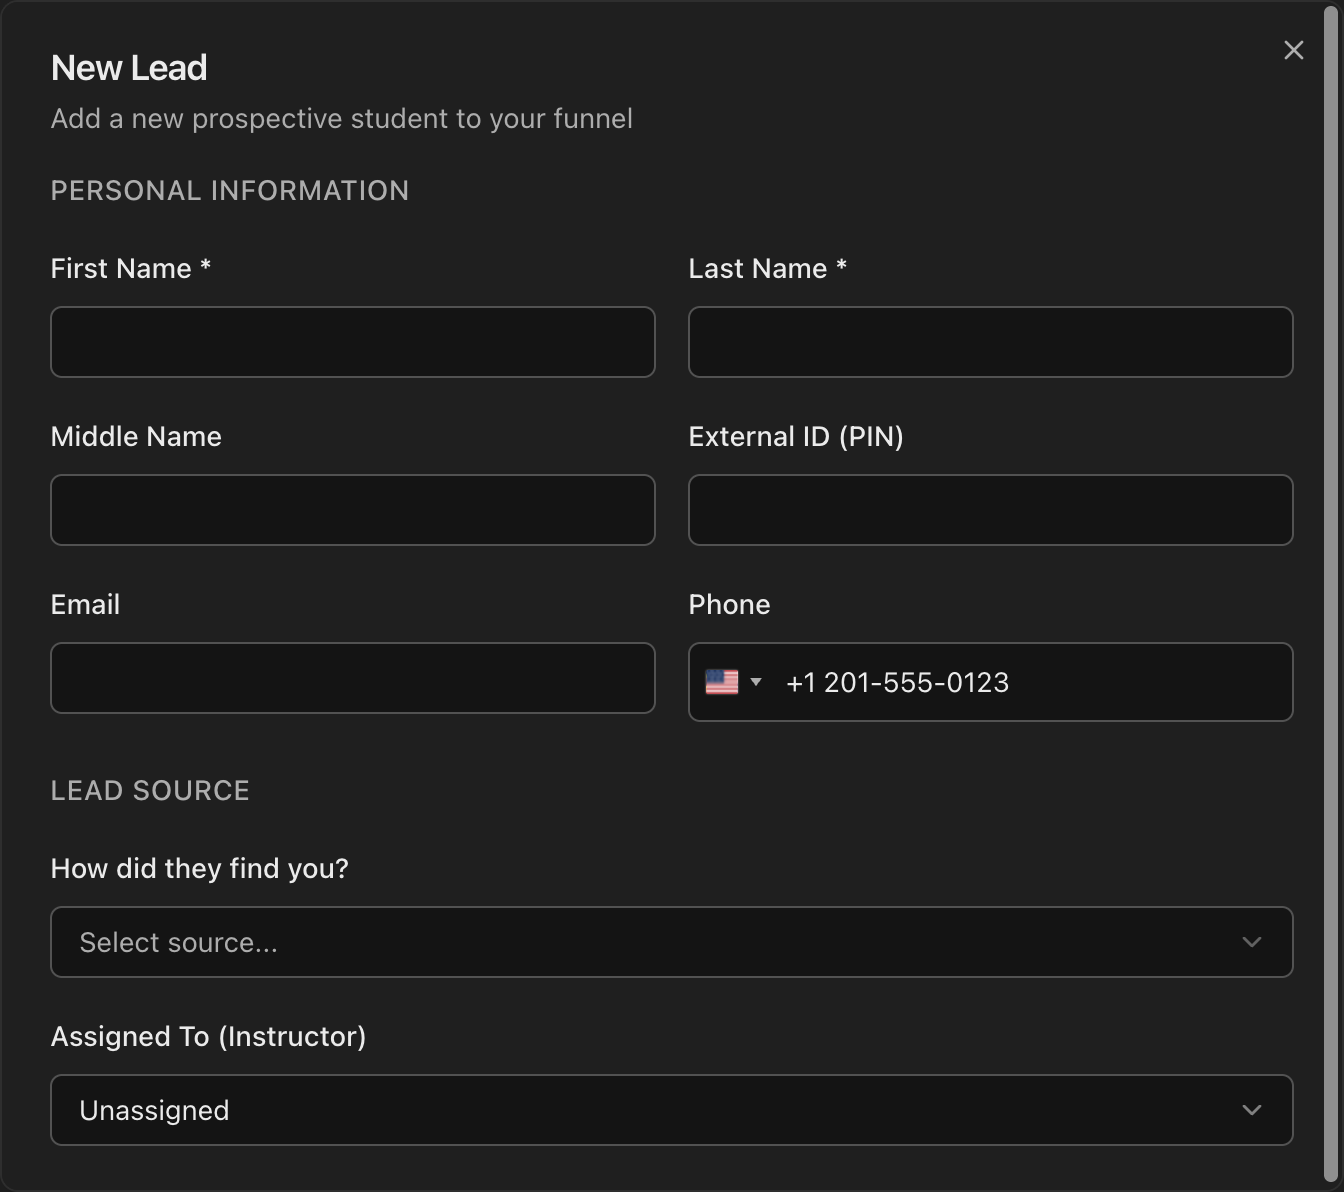
Track each lead across the stage columns: New, Contacted, Scheduled, Completed Intro Class, and Converted.
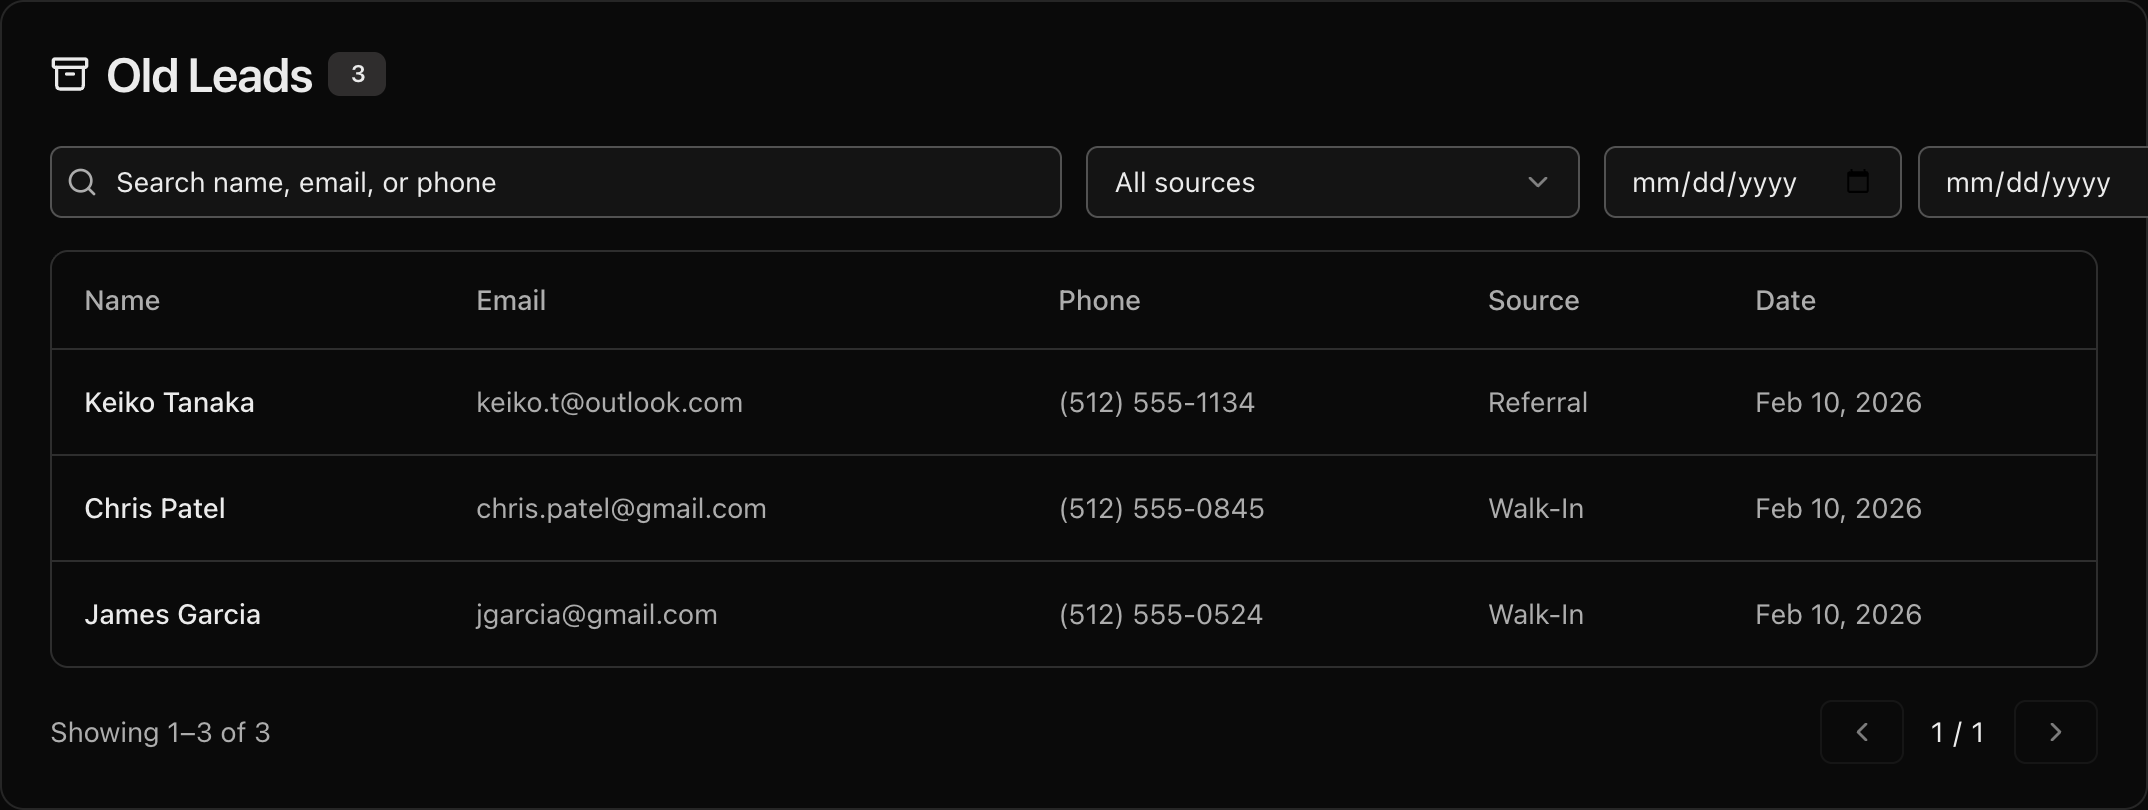
Scroll below the board to the Old Leads table, where archived leads are retained with their full history.
With more than one gym, each lead card shows the gym it belongs to. Leave the header selector on All Gyms to see every lead, or pick a gym to see only its leads.
Note
This guide covers the pipeline itself. The **Lead Forms** and **Landing Page** tools are covered in a separate guide.
Add a new lead manually
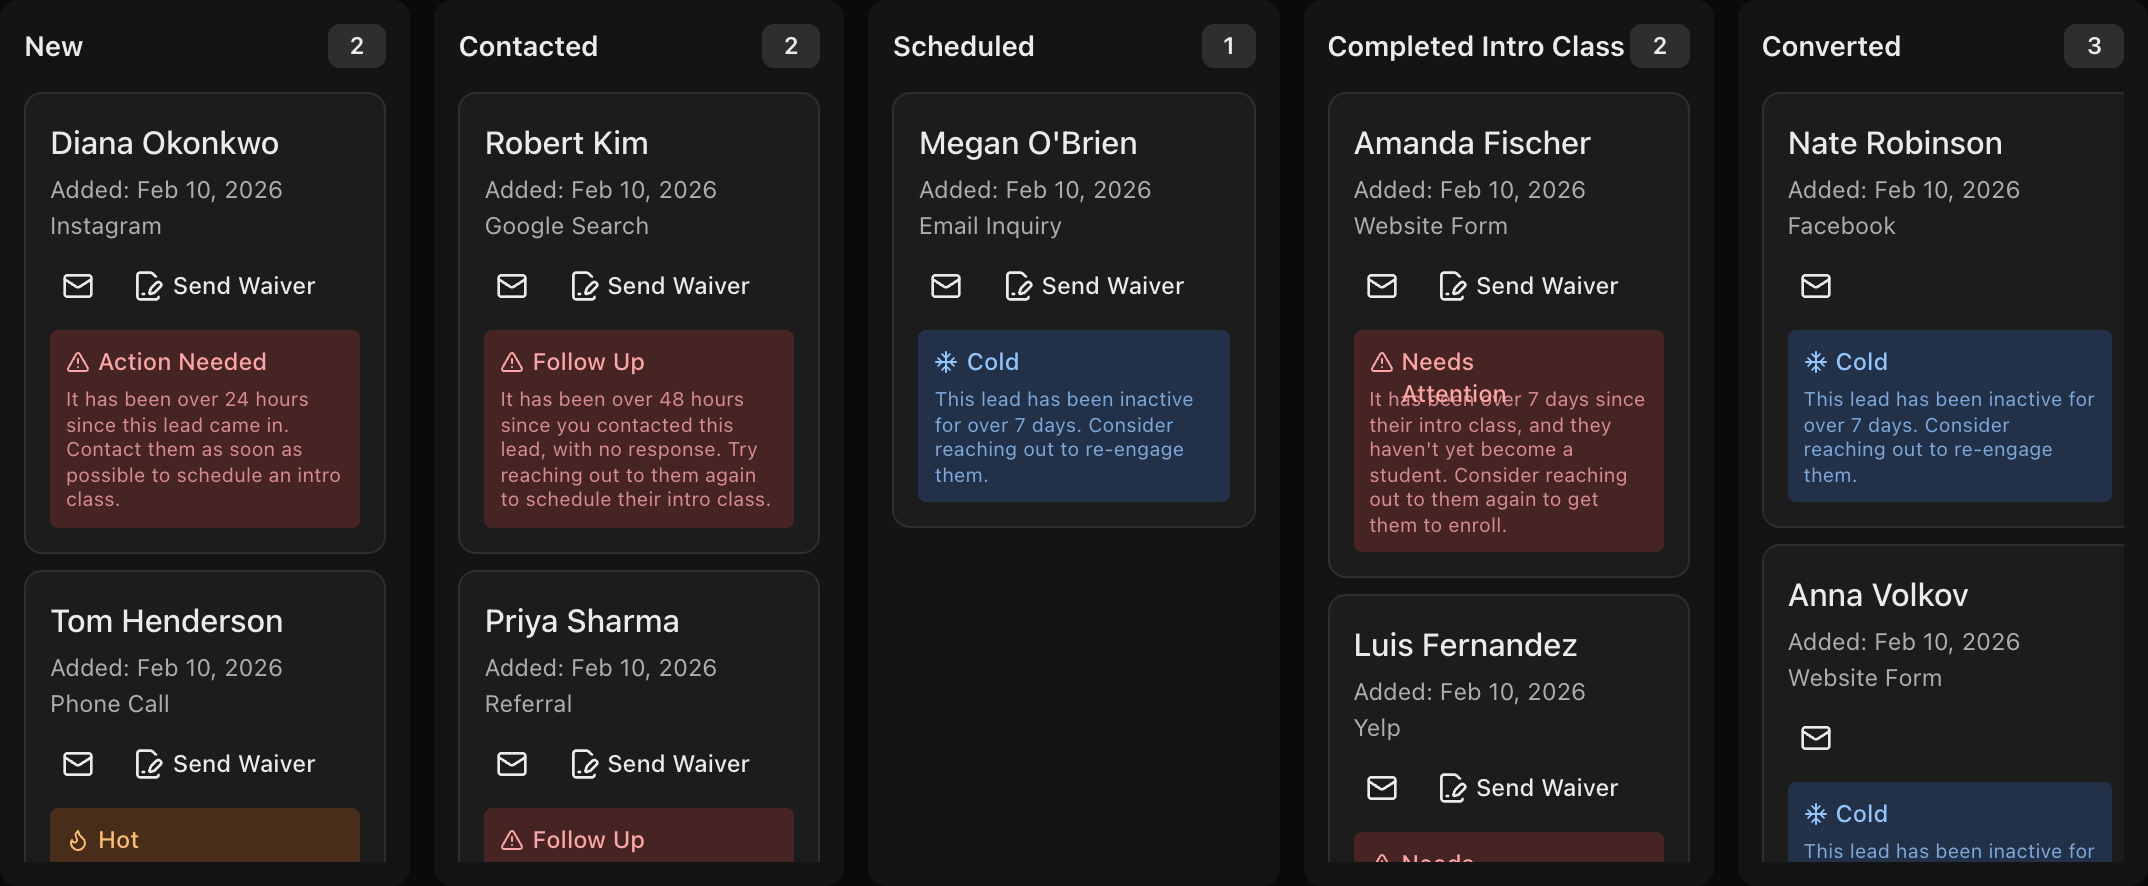
Click the New Lead button in the top right of the Leads page.
Fill in the lead's details under Personal Information (name, email, phone) and pick a Lead Source.
Optionally assign an instructor, then save to drop the lead onto the board.
Read the AI status on each lead
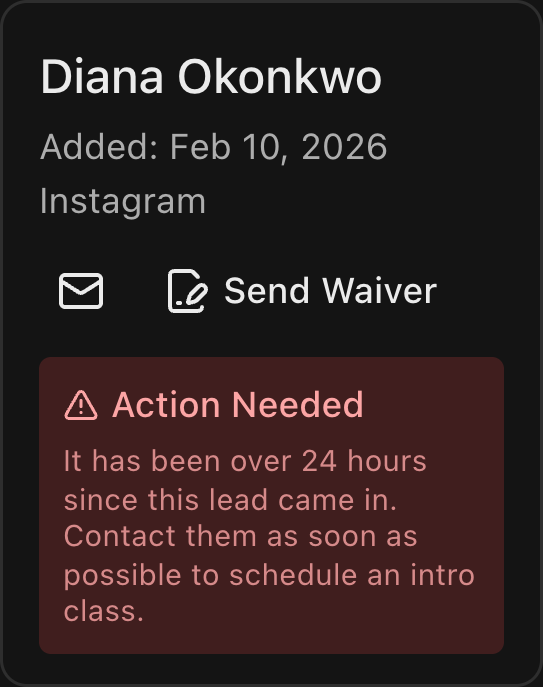
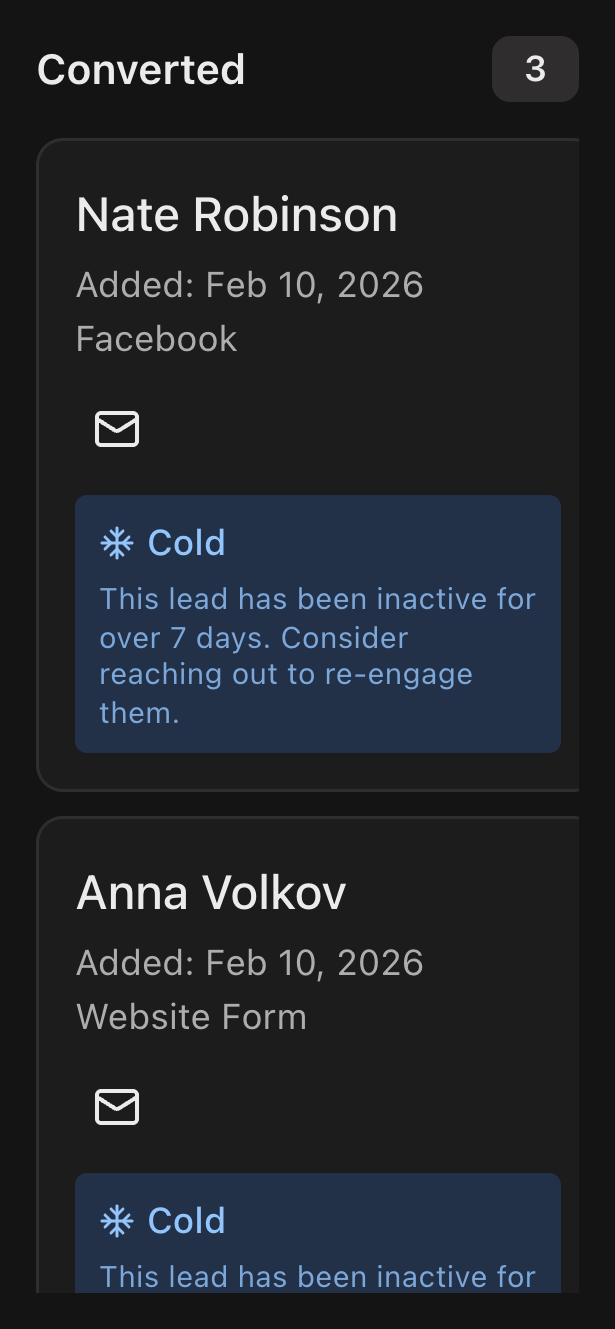
Each card shows a colored AI box that flags whether a lead is Hot, Cold, or needs attention (for example Action Needed or Follow Up).
Use these cues to prioritize who to contact first.
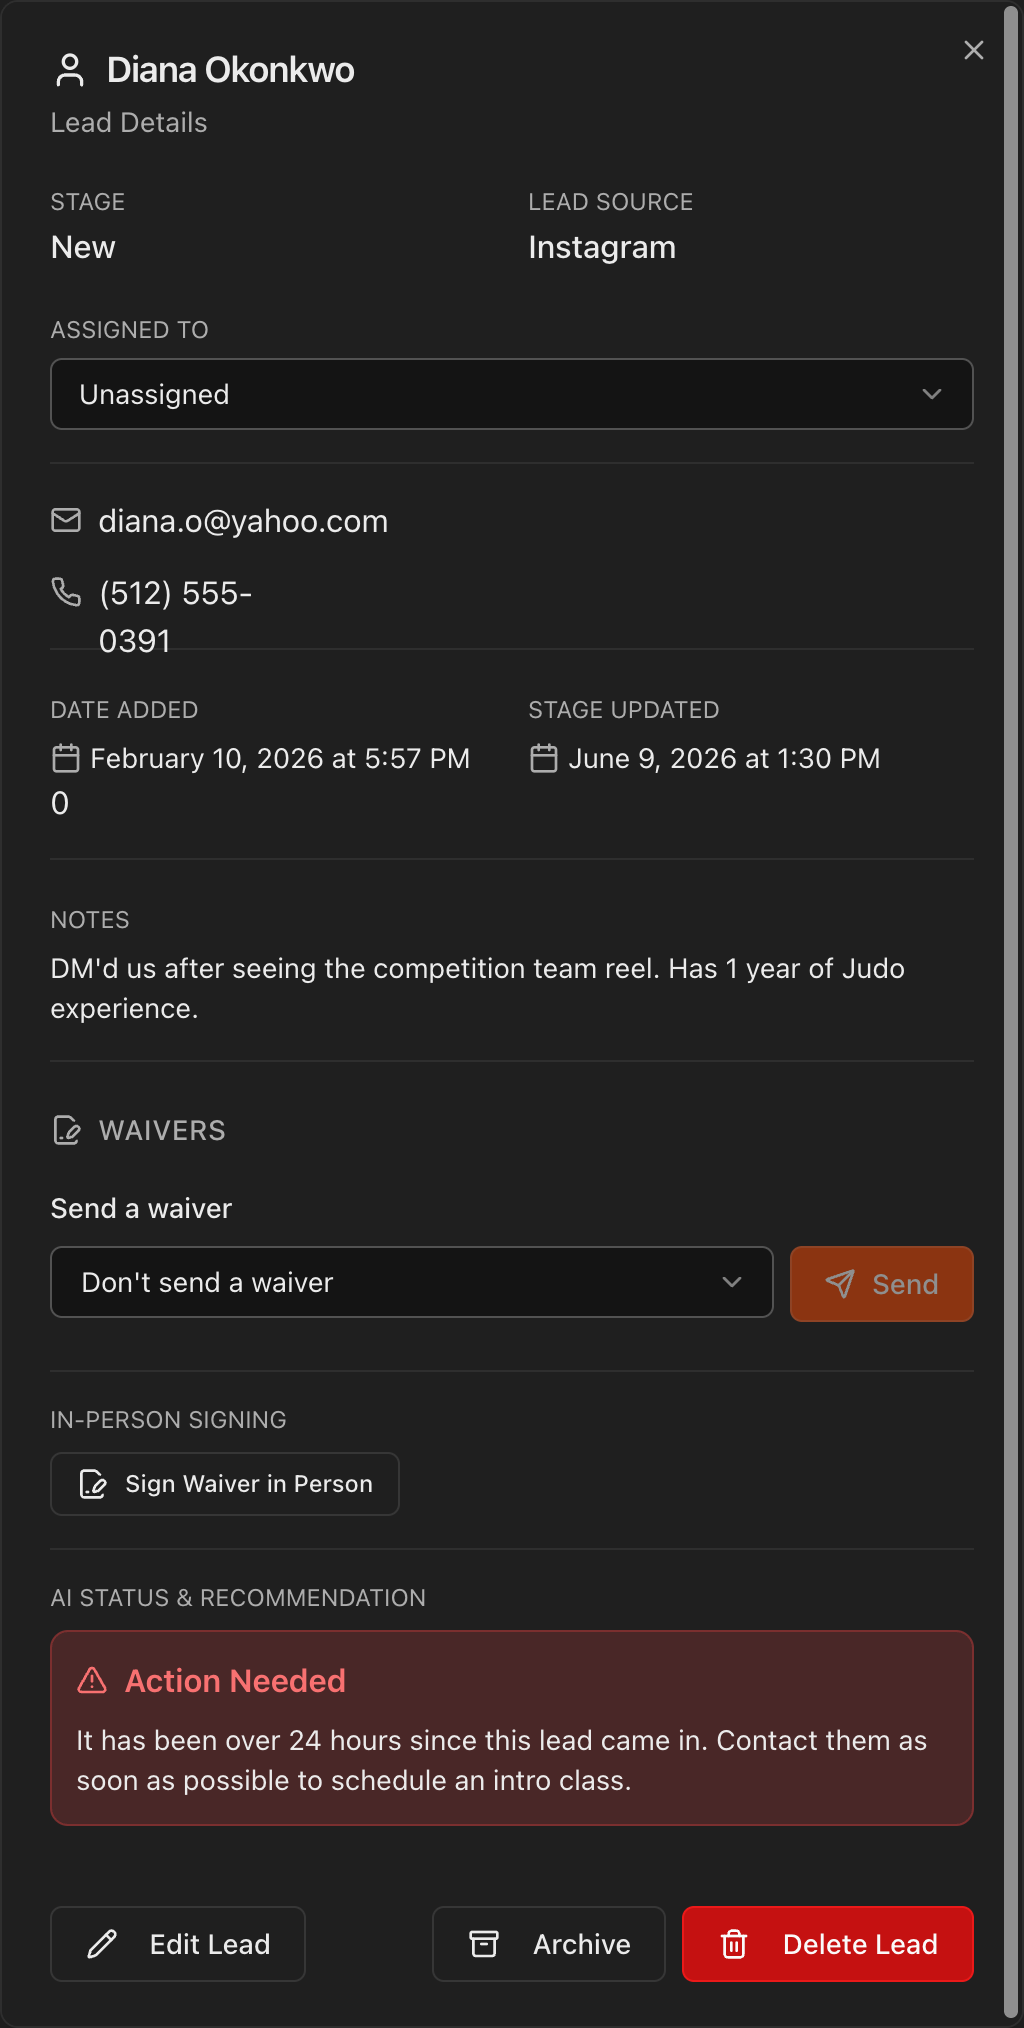
Open any card to see the full AI Status & Recommendation with a suggested next step.
Move leads through stages and convert to a student
Click and drag a lead card from one stage column to the next as it progresses.
Drag a lead into the Converted column to automatically create a new Student profile from that lead's information, saving you the manual copy-and-paste.
If the lead already signed a waiver, that waiver transfers to the new student profile automatically.
Tip
Because conversion carries the lead's data and waiver over, finish collecting their info on the lead card before dragging to **Converted**.
Email leads and send waivers
Email a lead directly from the email icon on its card, or from the Communications page by filtering to Leads.
To request an e-signature, open the lead and click Send waiver, or use Sign Waiver in Person.
Save your waiver templates first under Settings > Waivers; a lead can only be sent a waiver that already exists there.
Send Waiver sends the standard waiver of the lead's gym, and the button shows that gym's name.
Note
If the **Send waiver** dropdown is empty, no waiver templates have been created yet under **Settings** > **Waivers**.
Archive and reactivate leads
Open a lead that is no longer active and click Archive to send it down to the Old Leads table, keeping the board uncluttered while retaining all of the lead's data.
Find archived leads anytime in the Old Leads table, with search and source/date filters.
To bring one back, open it from Old Leads and click Reactivate to return it to the Kanban board.