Open your Belt Catalog
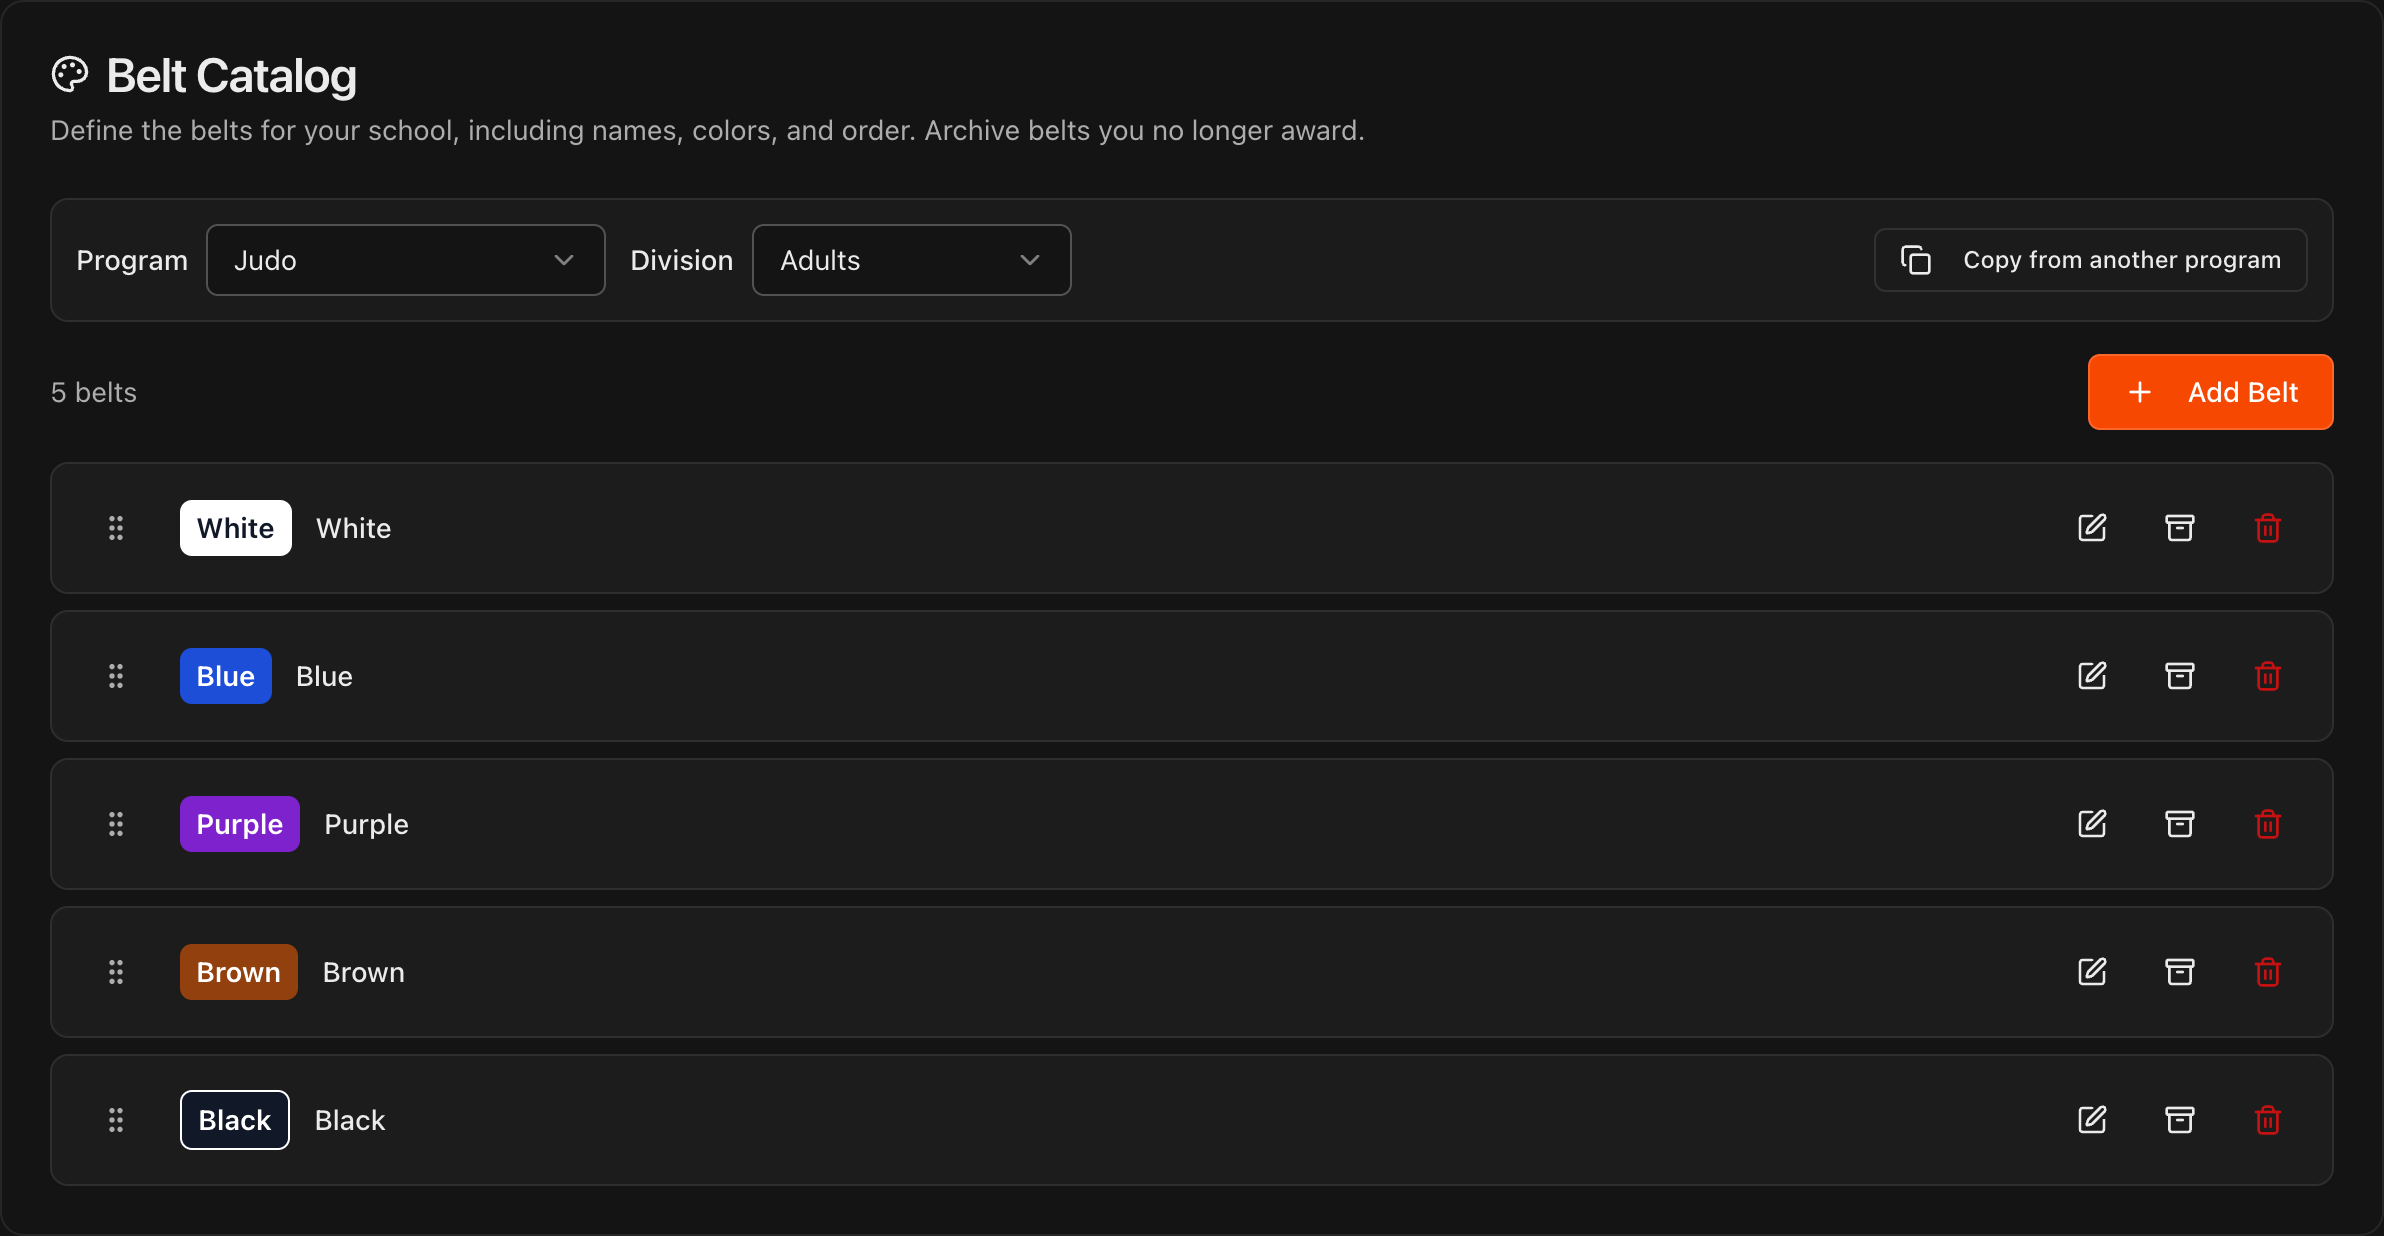
Go to Settings, open Curriculum, and scroll to Belt Catalog.
Choose the program in the Program dropdown. Every top-level program has its own belt catalog.
Use the Division dropdown to switch between your Adults and Kids belts.
Each belt row has icons to edit, archive, or delete that belt, plus a drag handle to reorder.
Tip
Archive belts you no longer award instead of deleting them, so historical promotions stay intact.
Note
To start a new program from an existing catalog, click **Copy from another program**. See Managing Programs & Sub-Programs.
Add a new belt
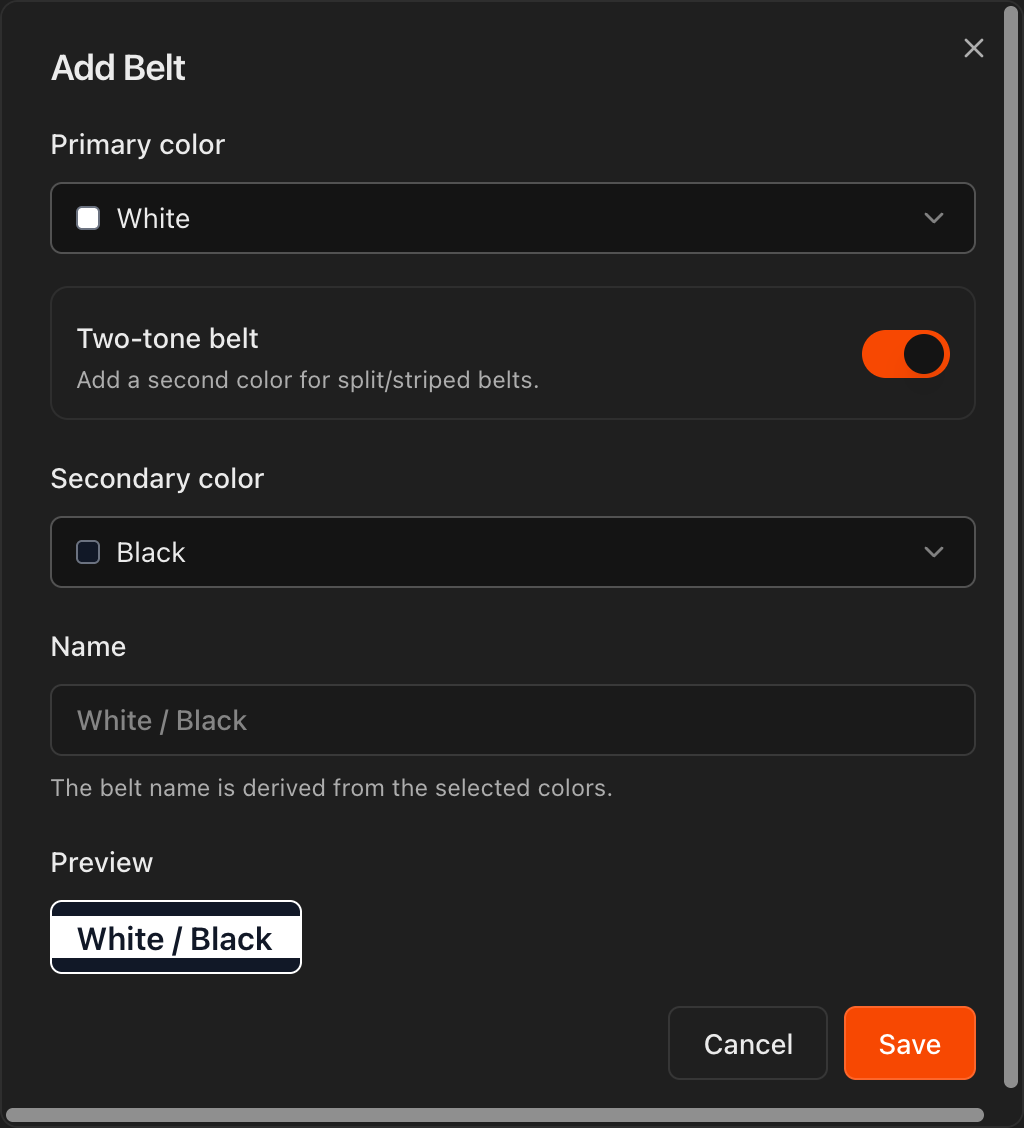
Click Add Belt at the top right of the Belt Catalog section.
Choose a Primary color for the belt.
Turn on Two-tone belt to add a Secondary color for split or striped belts.
The belt Name is derived automatically from the selected colors, and the Preview shows the finished badge.
Click Save to add the belt to your catalog.
Note
Every new belt automatically appears in the **Belt Test Requirements** section, ready for you to define its test.
Assign a belt to a student
Open the Students page and click a student to open their Student Information page.
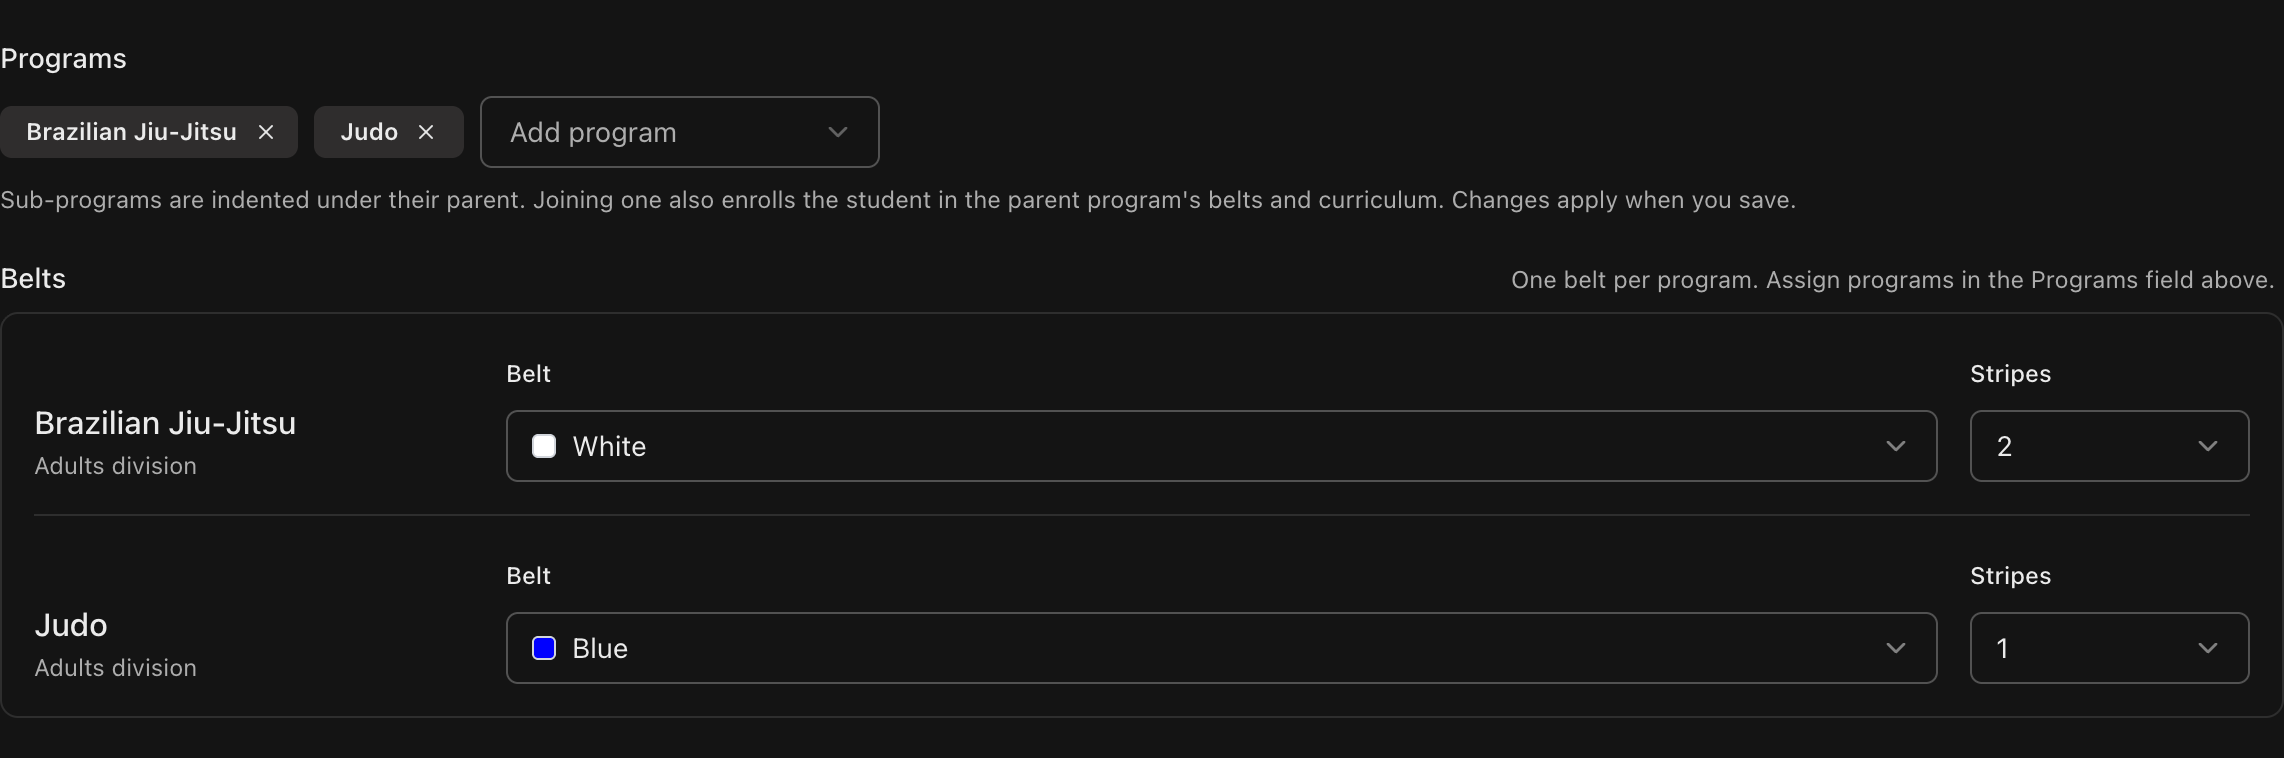
On the Details tab, scroll to the Belts block. It shows one row per program the student is enrolled in.
Select the Belt and Stripes for the program you are updating and save.
Note
A student holds one belt per program. Programs are assigned in the **Programs** field just above the **Belts** block.
Set up belt test requirements
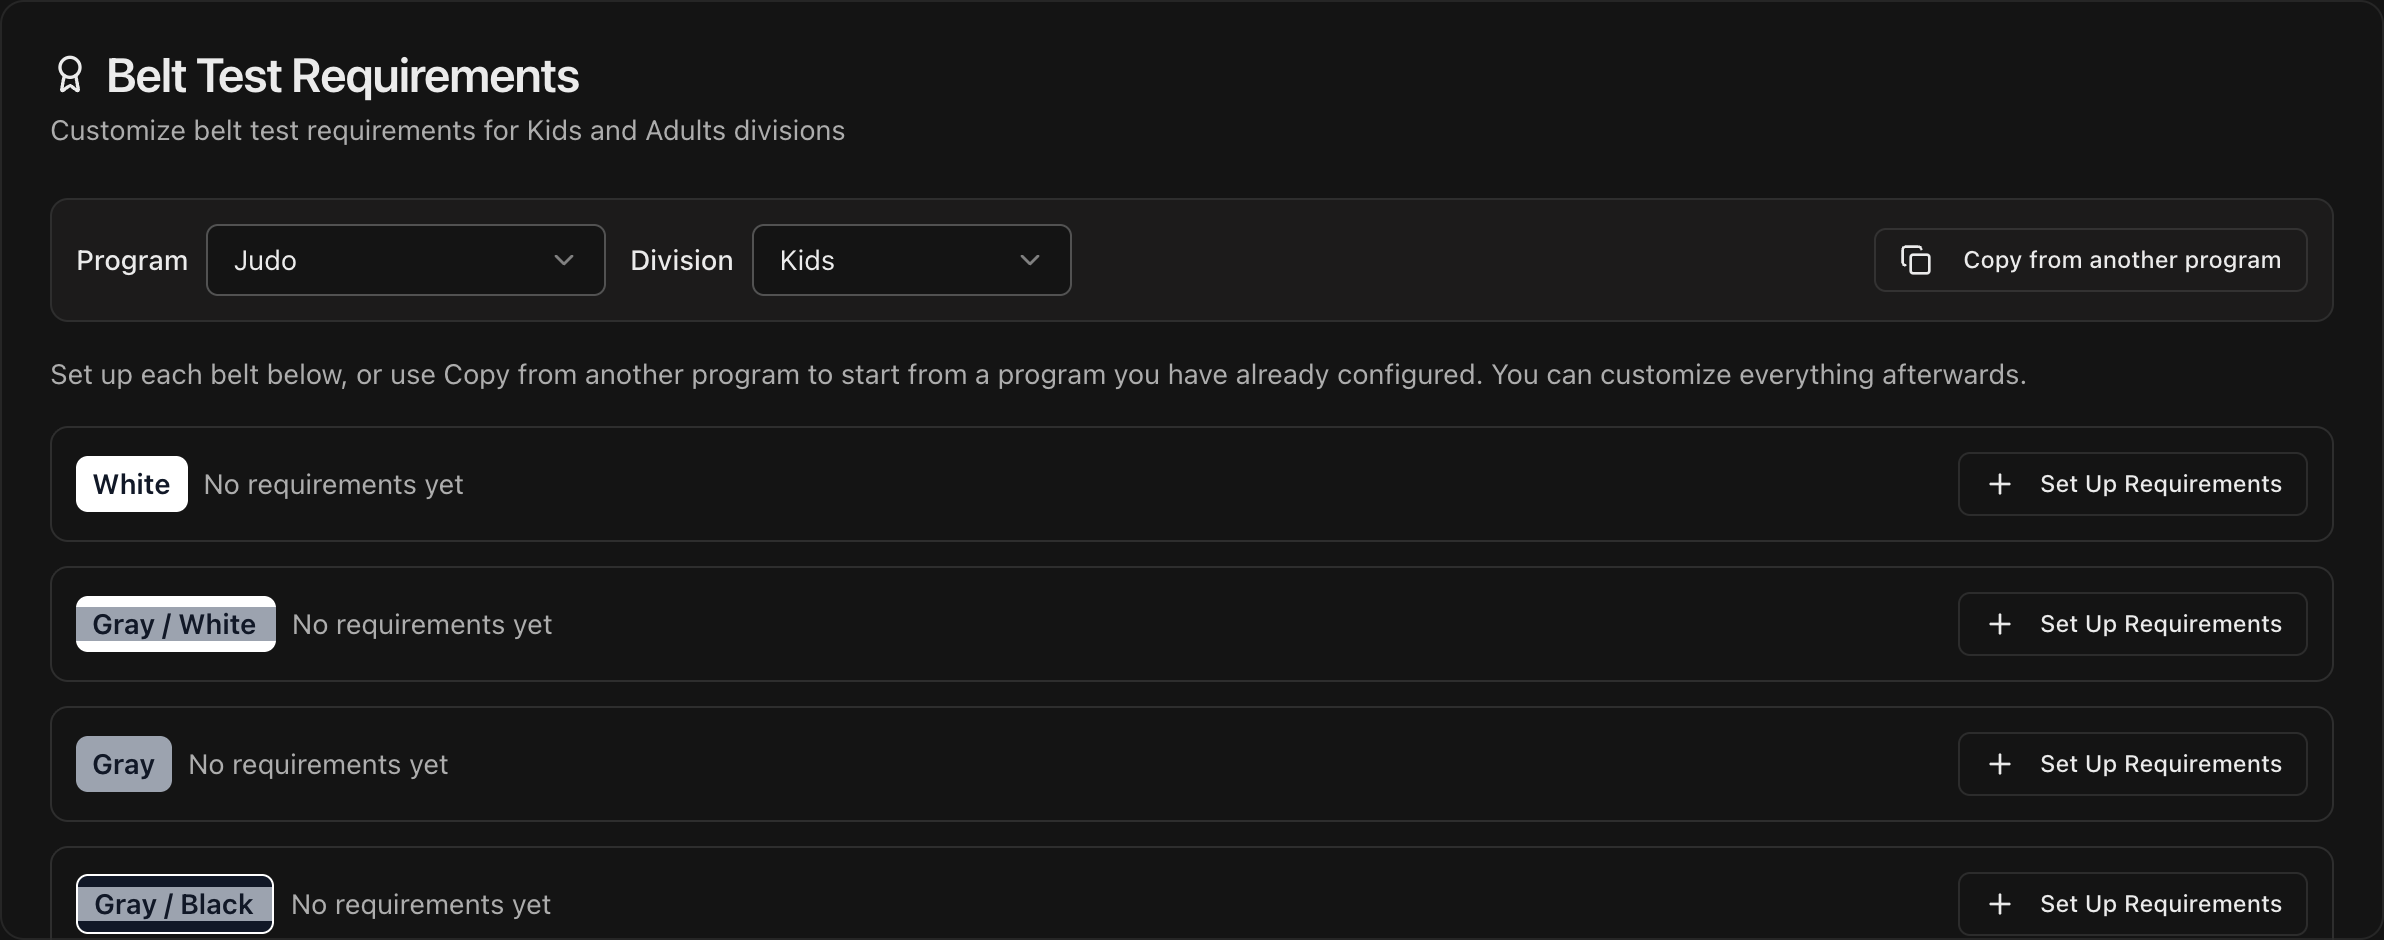
Under Settings > Curriculum, scroll to Belt Test Requirements.
Choose the Program, then use the Division dropdown to switch between the Kids and Adults tests.
Click Set Up Requirements next to a belt to create its test, or expand an existing test with the arrow.
Click Add Category to create categories like Escapes or Takedowns.
Use the + icon on a category to add individual items/positions; each one is added through the Add Item dialog.
Rename or remove categories and items/positions with the edit and trash icons.
Add as many categories, and items within those categories, as you need.
Tip
**Copy from another program** brings over the tests from a program you already configured, matched by belt name.
Administer the belt test
Open the student's Student Information page and select the Curriculum tab.
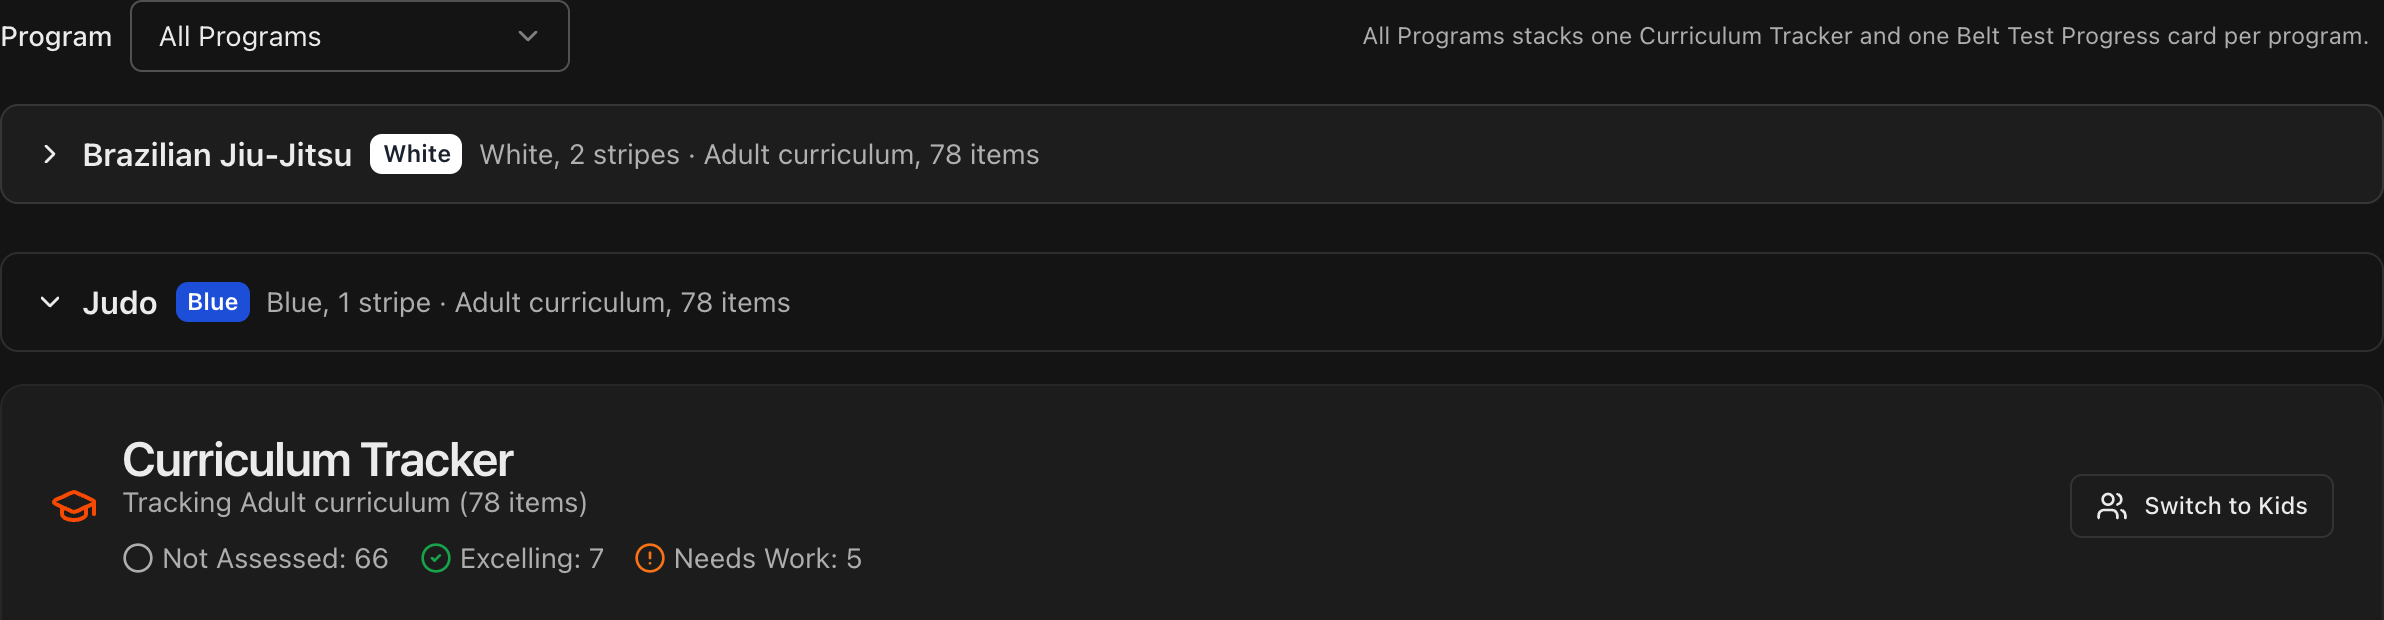
Use the Program dropdown to pick the program, or leave All Programs to see one group per program.
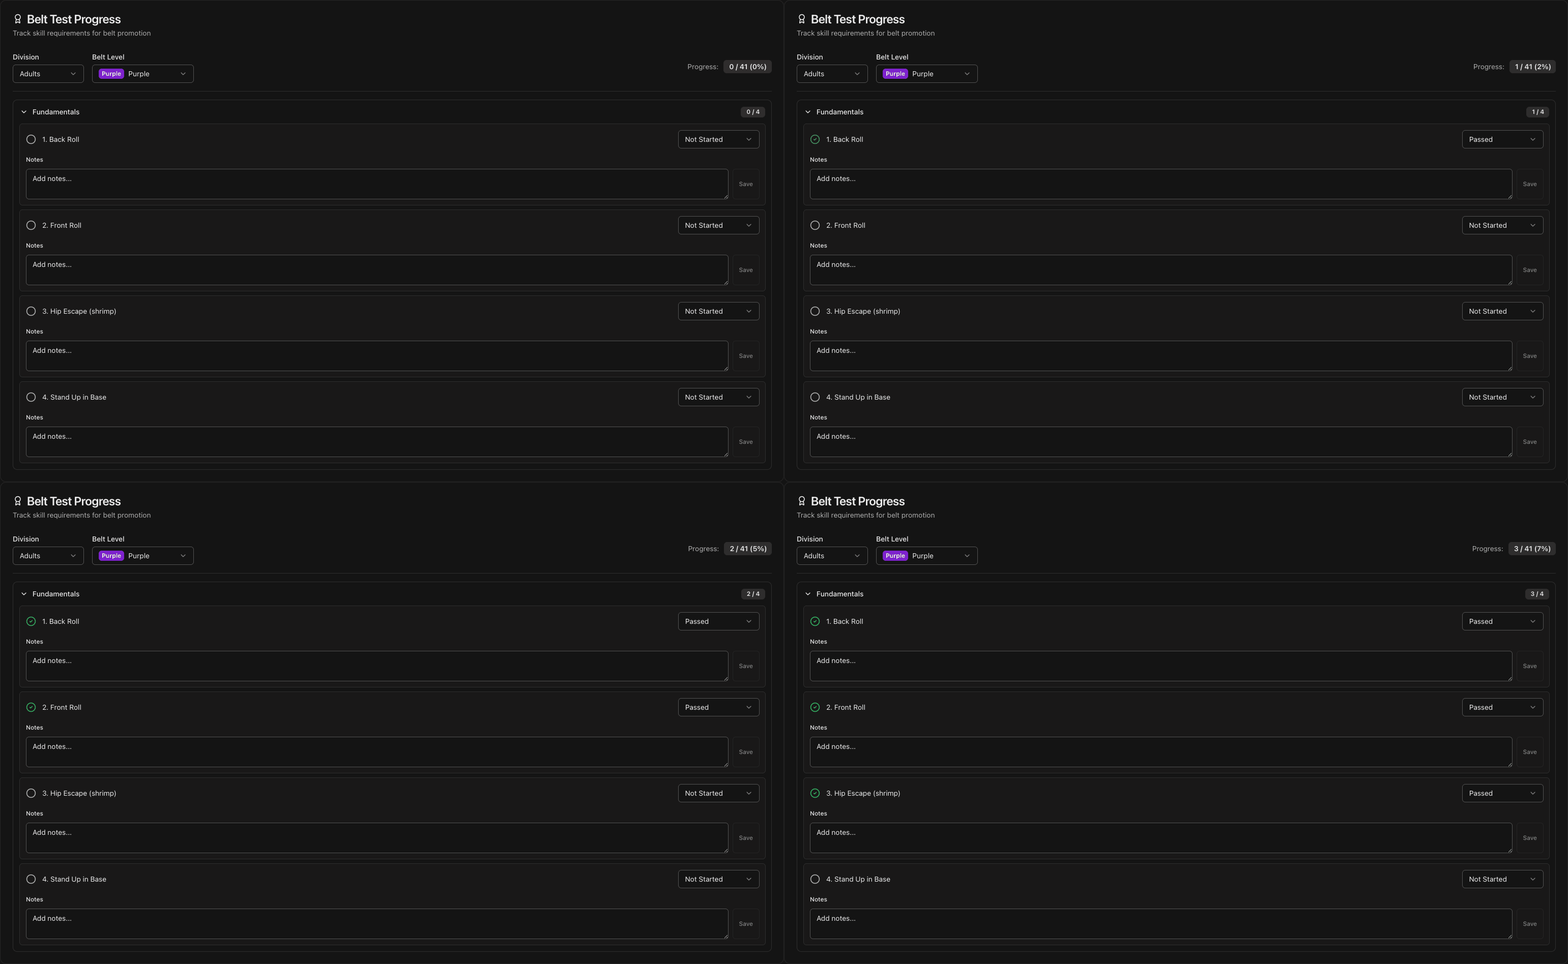
Scroll to the Belt Test Progress section and confirm the Division and Belt Level.
Expand a category and use each position's dropdown to mark it Passed or Needs Work.
As you mark positions passed, the Progress counter at the top right of the section shows the percentage of the test the student has completed.
Use each position's Notes field to record details, then click Save.
Tip
You can run the test over several classes. Progress saves as you go, so you can pick up where you left off.