Review the built-in roles
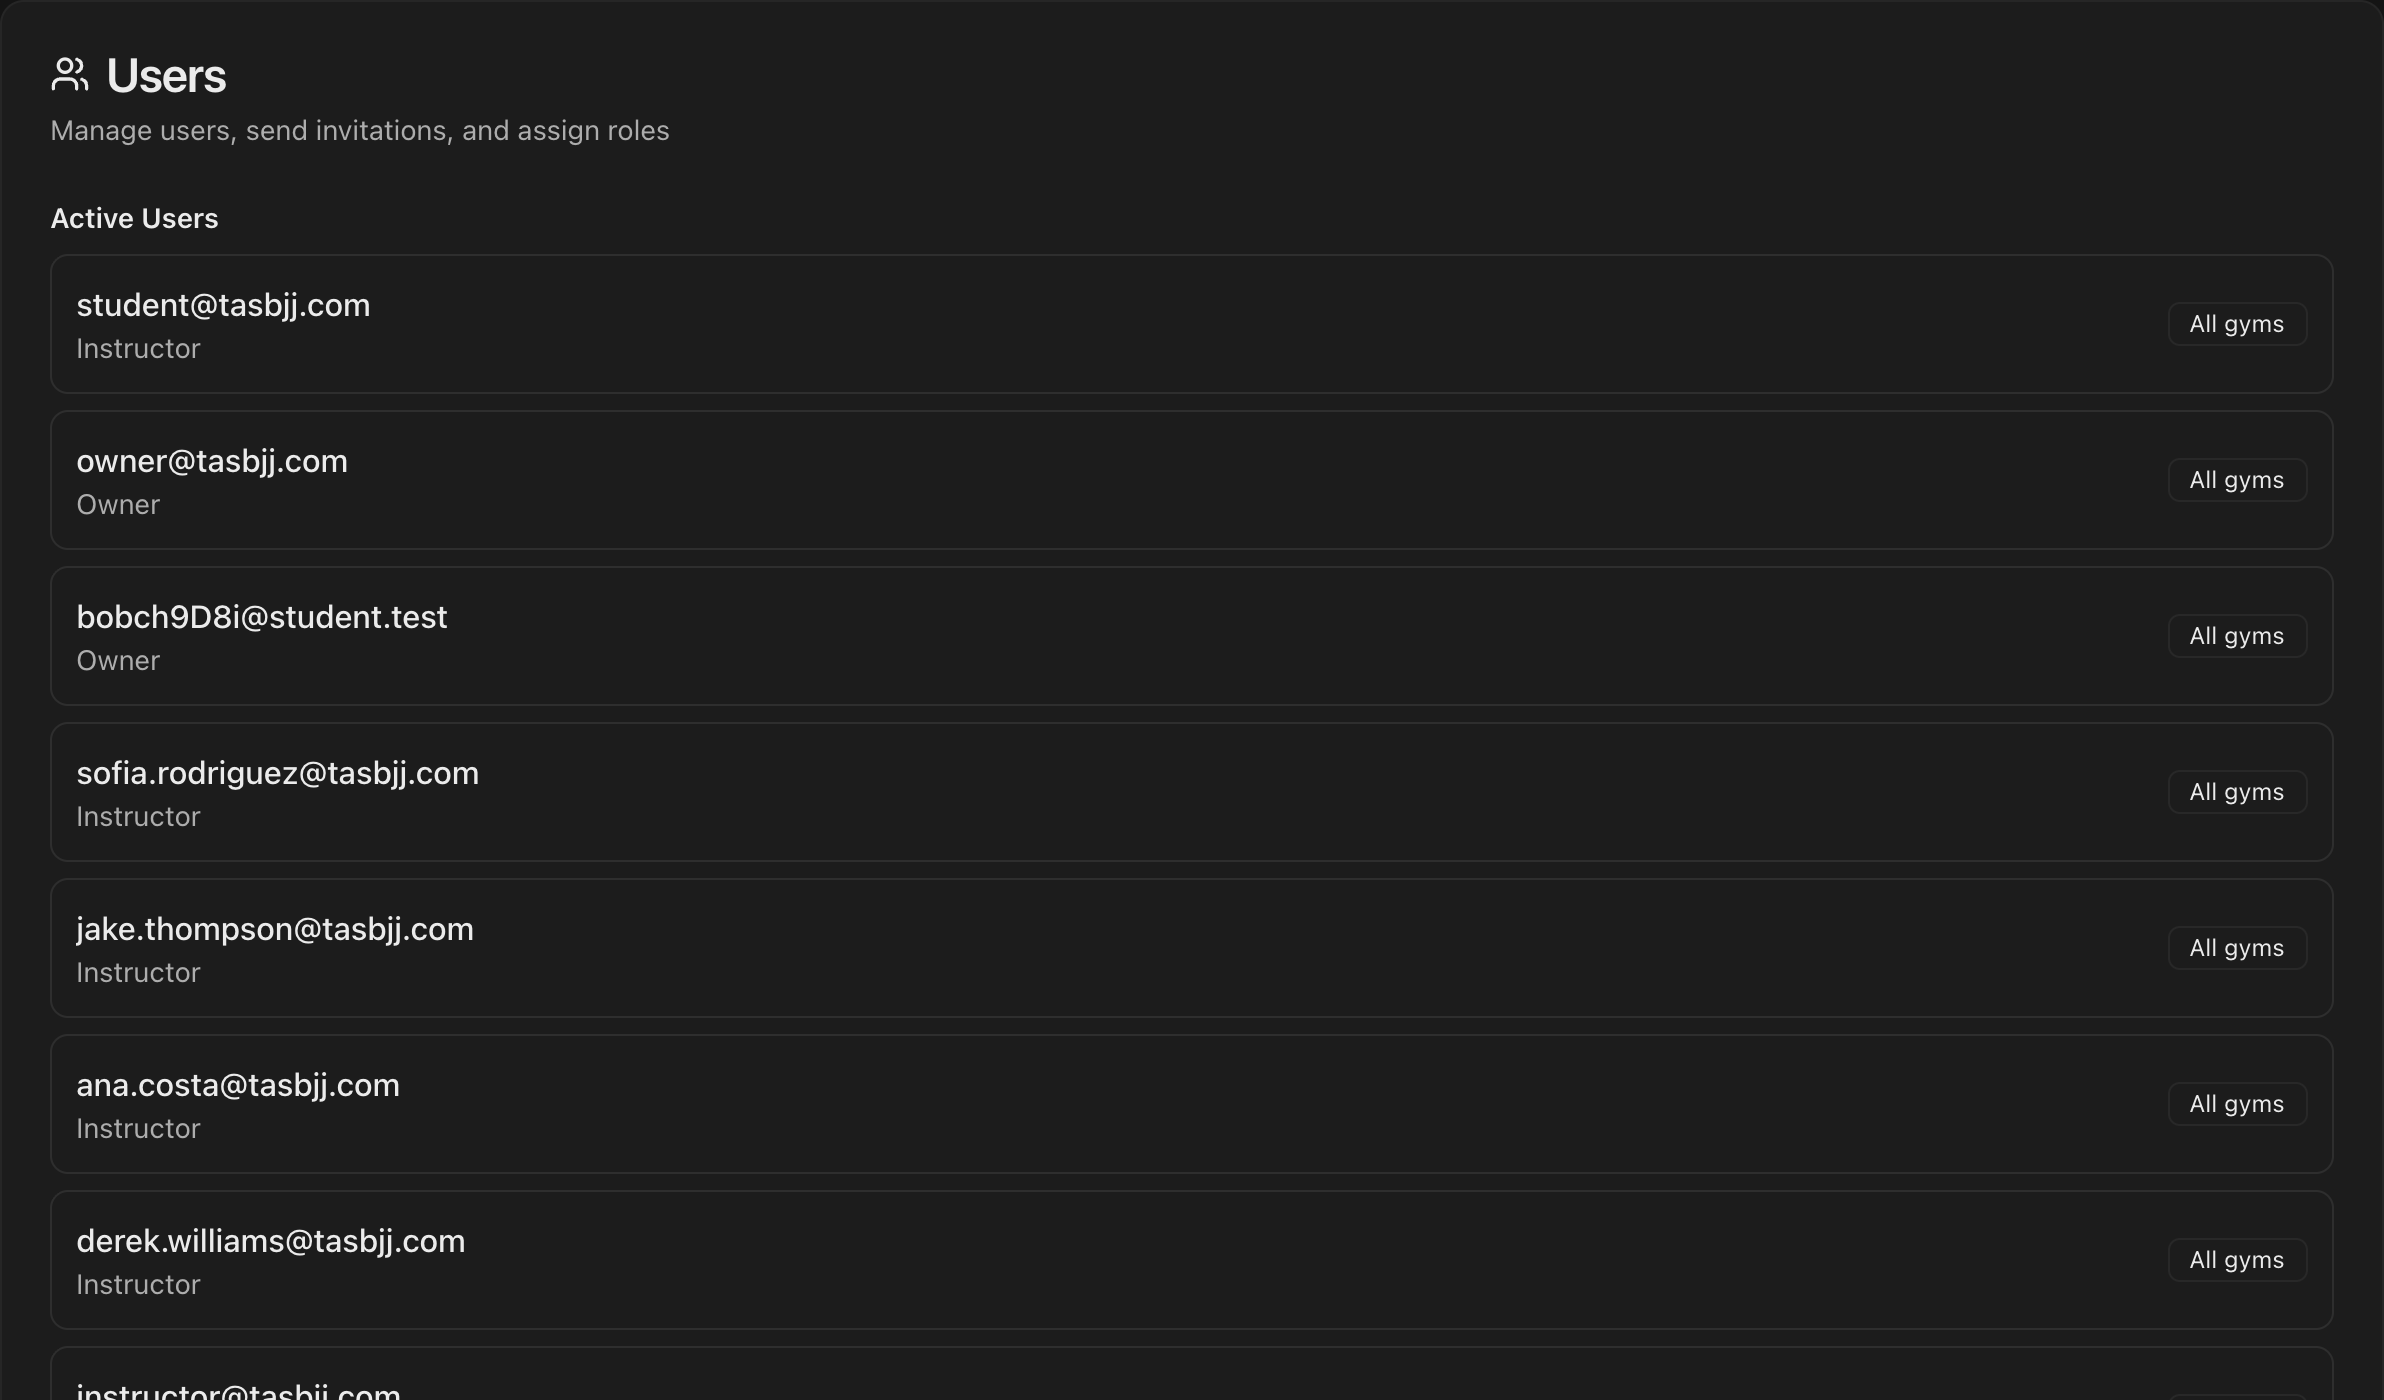
Go to Settings and open Users & Roles.
The Built-in Roles section shows the default Owner, Instructor, and Student roles.
Owner has full administrative access, while Instructor carries a teaching-staff permission set you can review item by item.
Note
Built-in roles cannot be edited. To grant a tailored set of permissions, create a custom role instead.
Note
Permissions stay academy-wide. Gyms are set when you assign a role to a user, so one **Front Desk** role can apply at one gym for one person and at every gym for another. **Owner** always covers all gyms; a partner who should only see one gym gets a custom role instead.
Create a custom role
Click Create Role at the top right of Users & Roles.
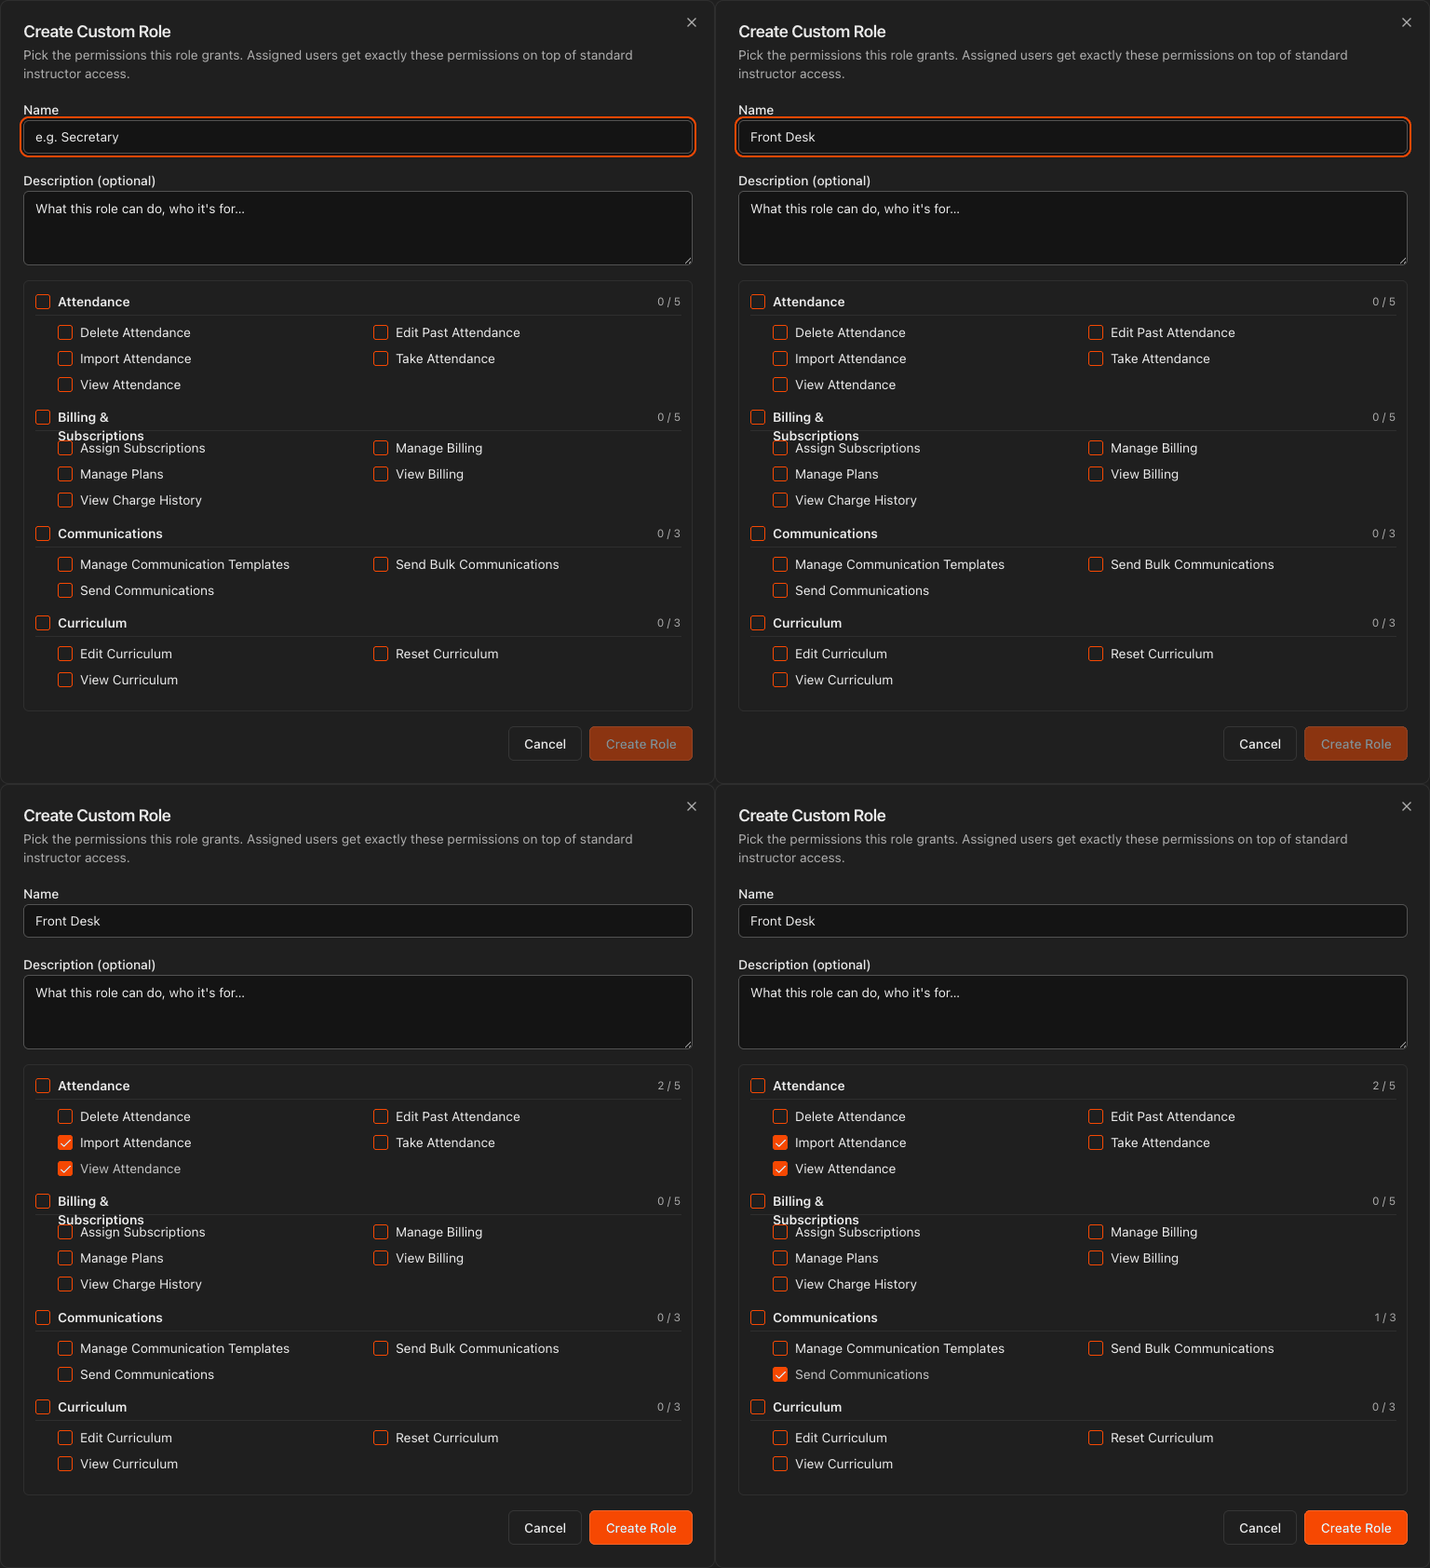
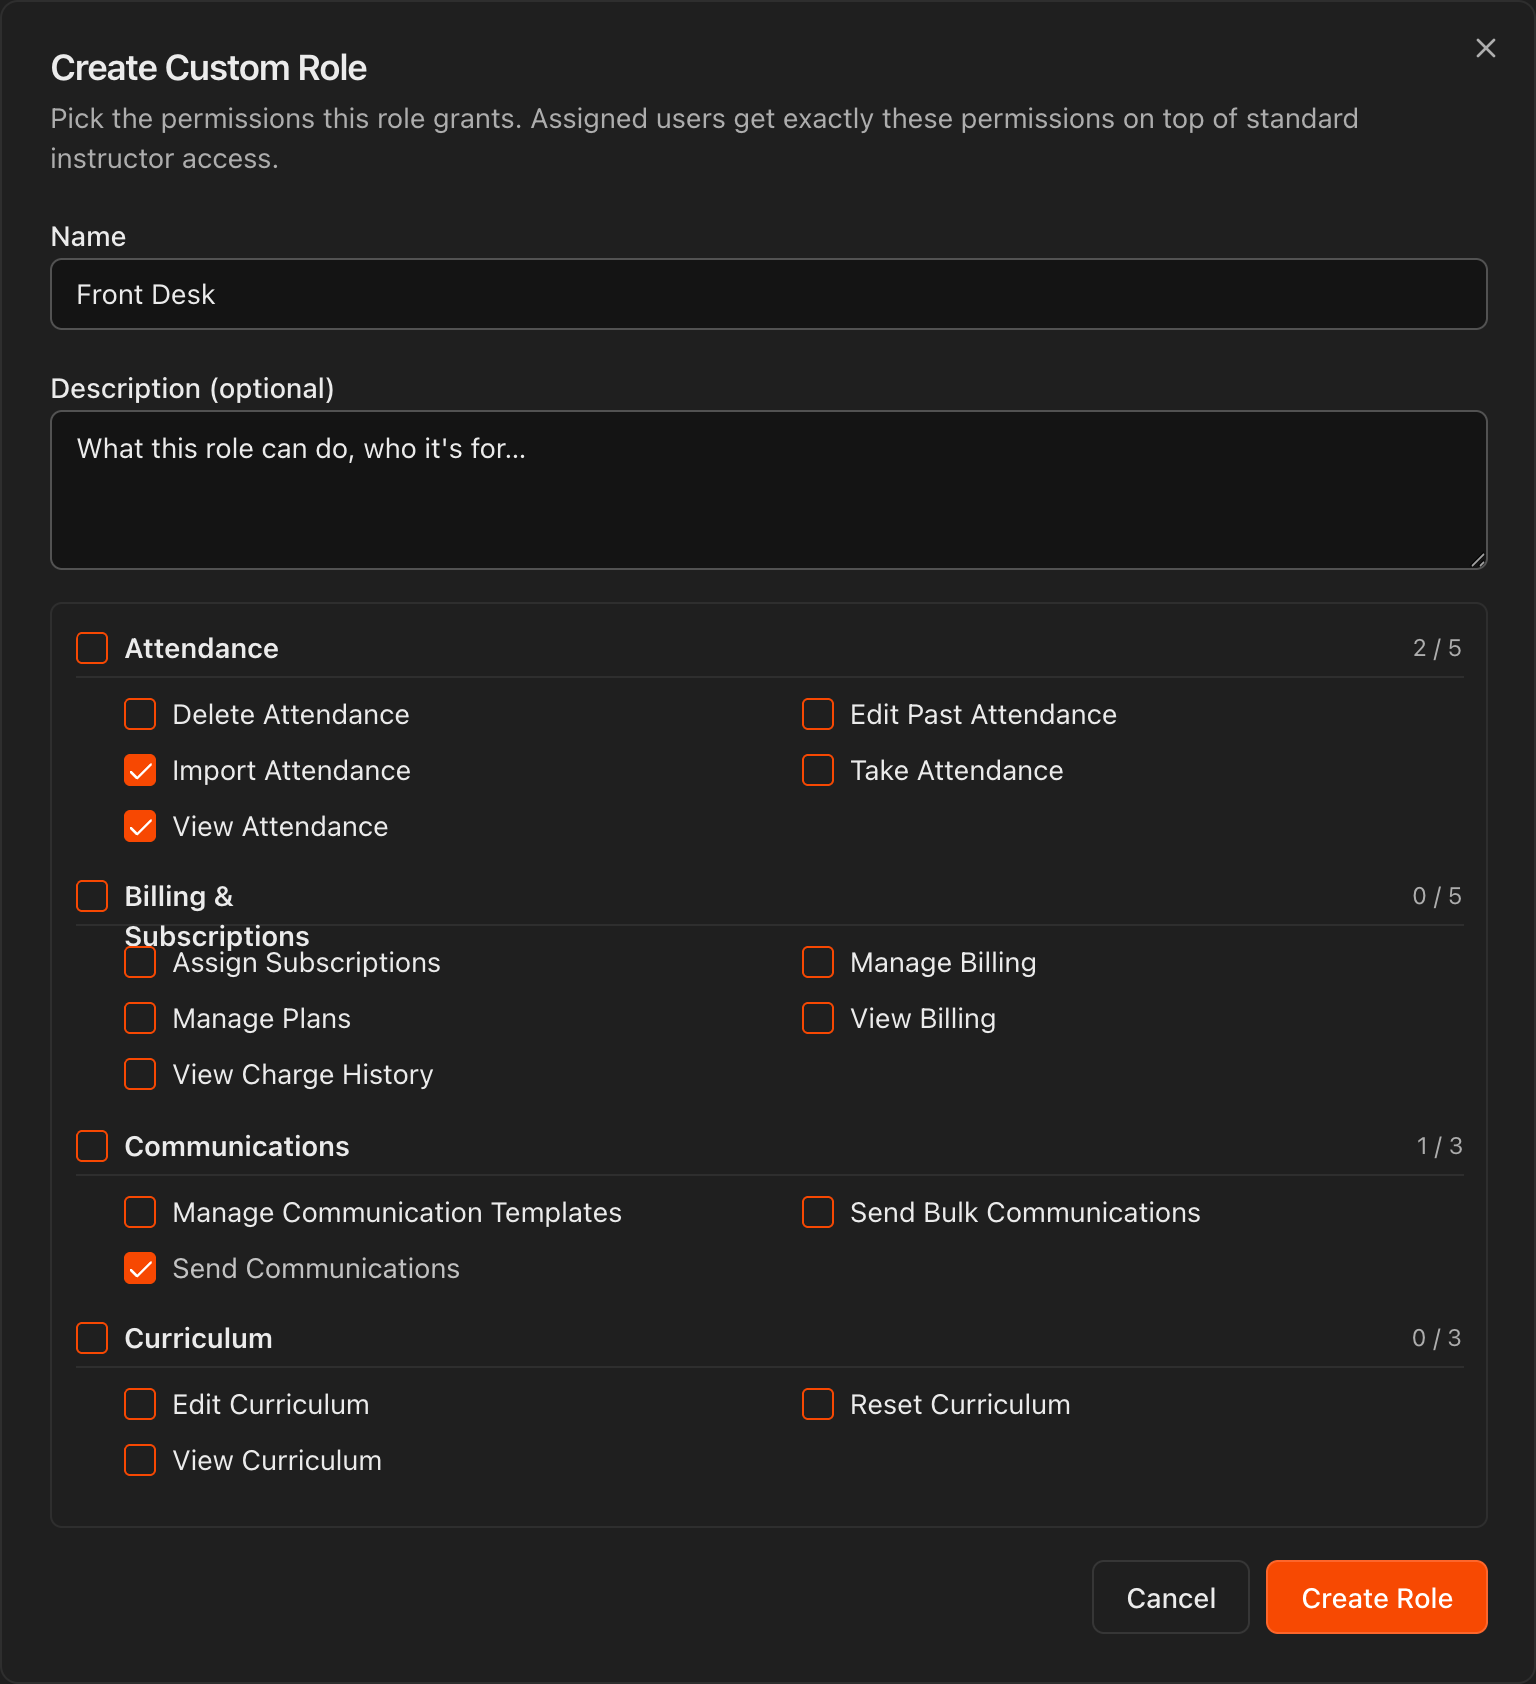
Give the role a Name and an optional Description.
Check the individual permissions the role should grant, organized by category with running counters.
Click Create Role to save it. It appears in the Custom Roles section, where it can be edited or deleted later.
Note
Custom roles are instructor-based. Assigned users get exactly the permissions you check, on top of standard instructor access.
Control access to Financials and billing tools
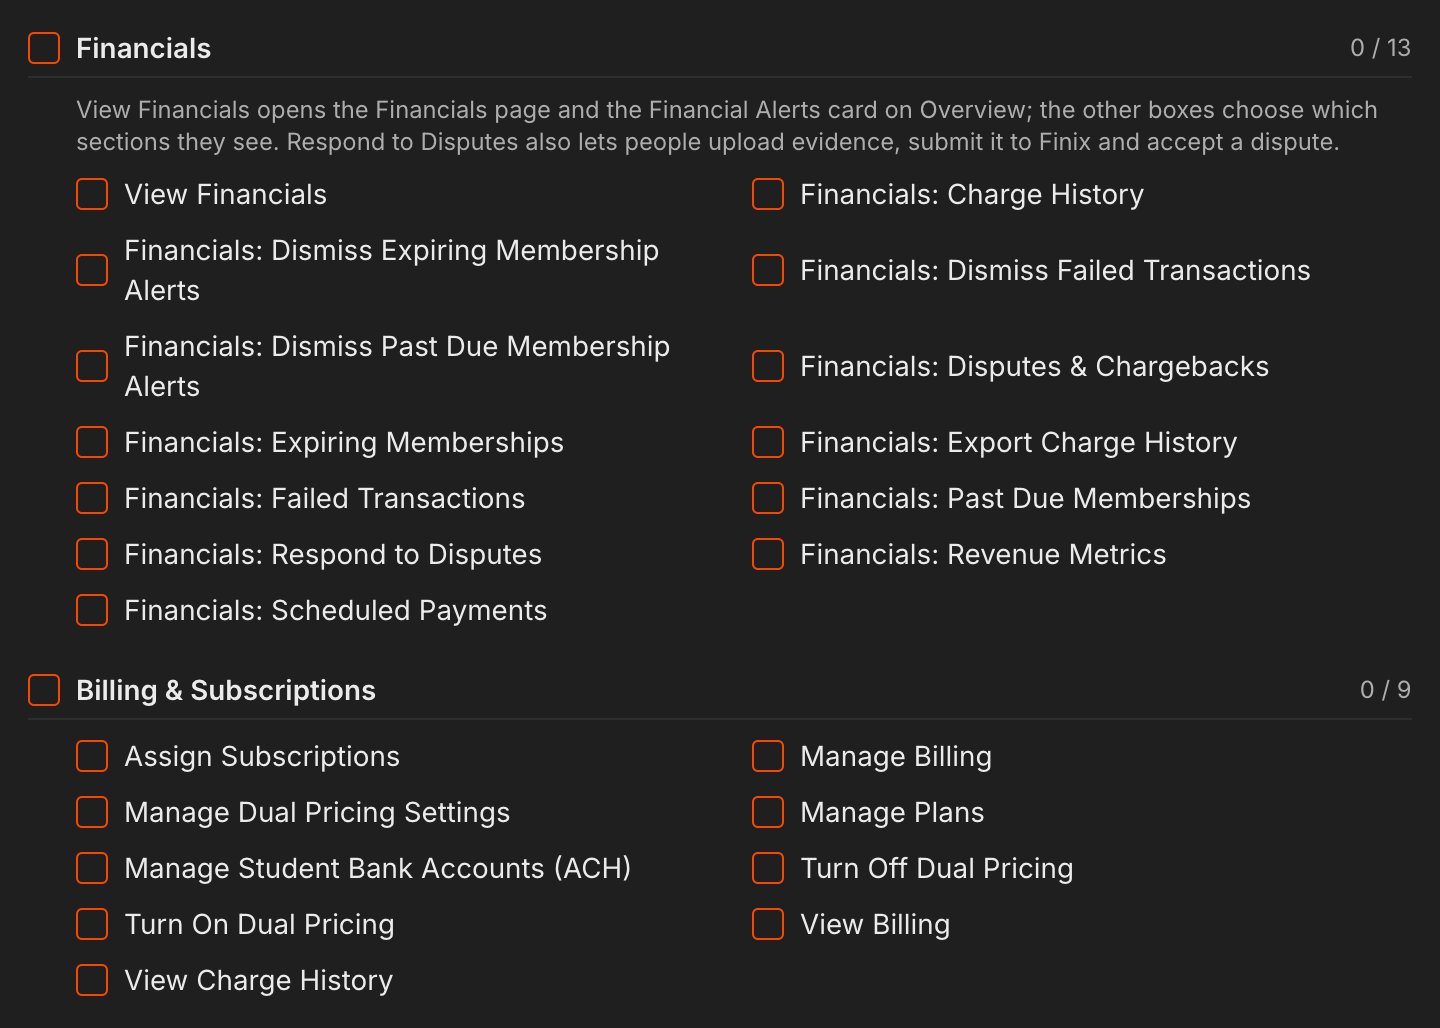
In the role editor, View Financials opens the Financials page and the Financial Alerts card on Overview.
The other Financials boxes choose which sections the role sees and what it can do there, such as exporting charge history or dismissing alerts. Financials: Respond to Disputes lets the role upload evidence, submit it to Finix, and accept a dispute.
Under Billing & Subscriptions, Turn On Dual Pricing, Turn Off Dual Pricing, and Manage Dual Pricing Settings control Dual Pricing, and Manage Student Bank Accounts (ACH) controls students' bank accounts.
Invite your staff by email
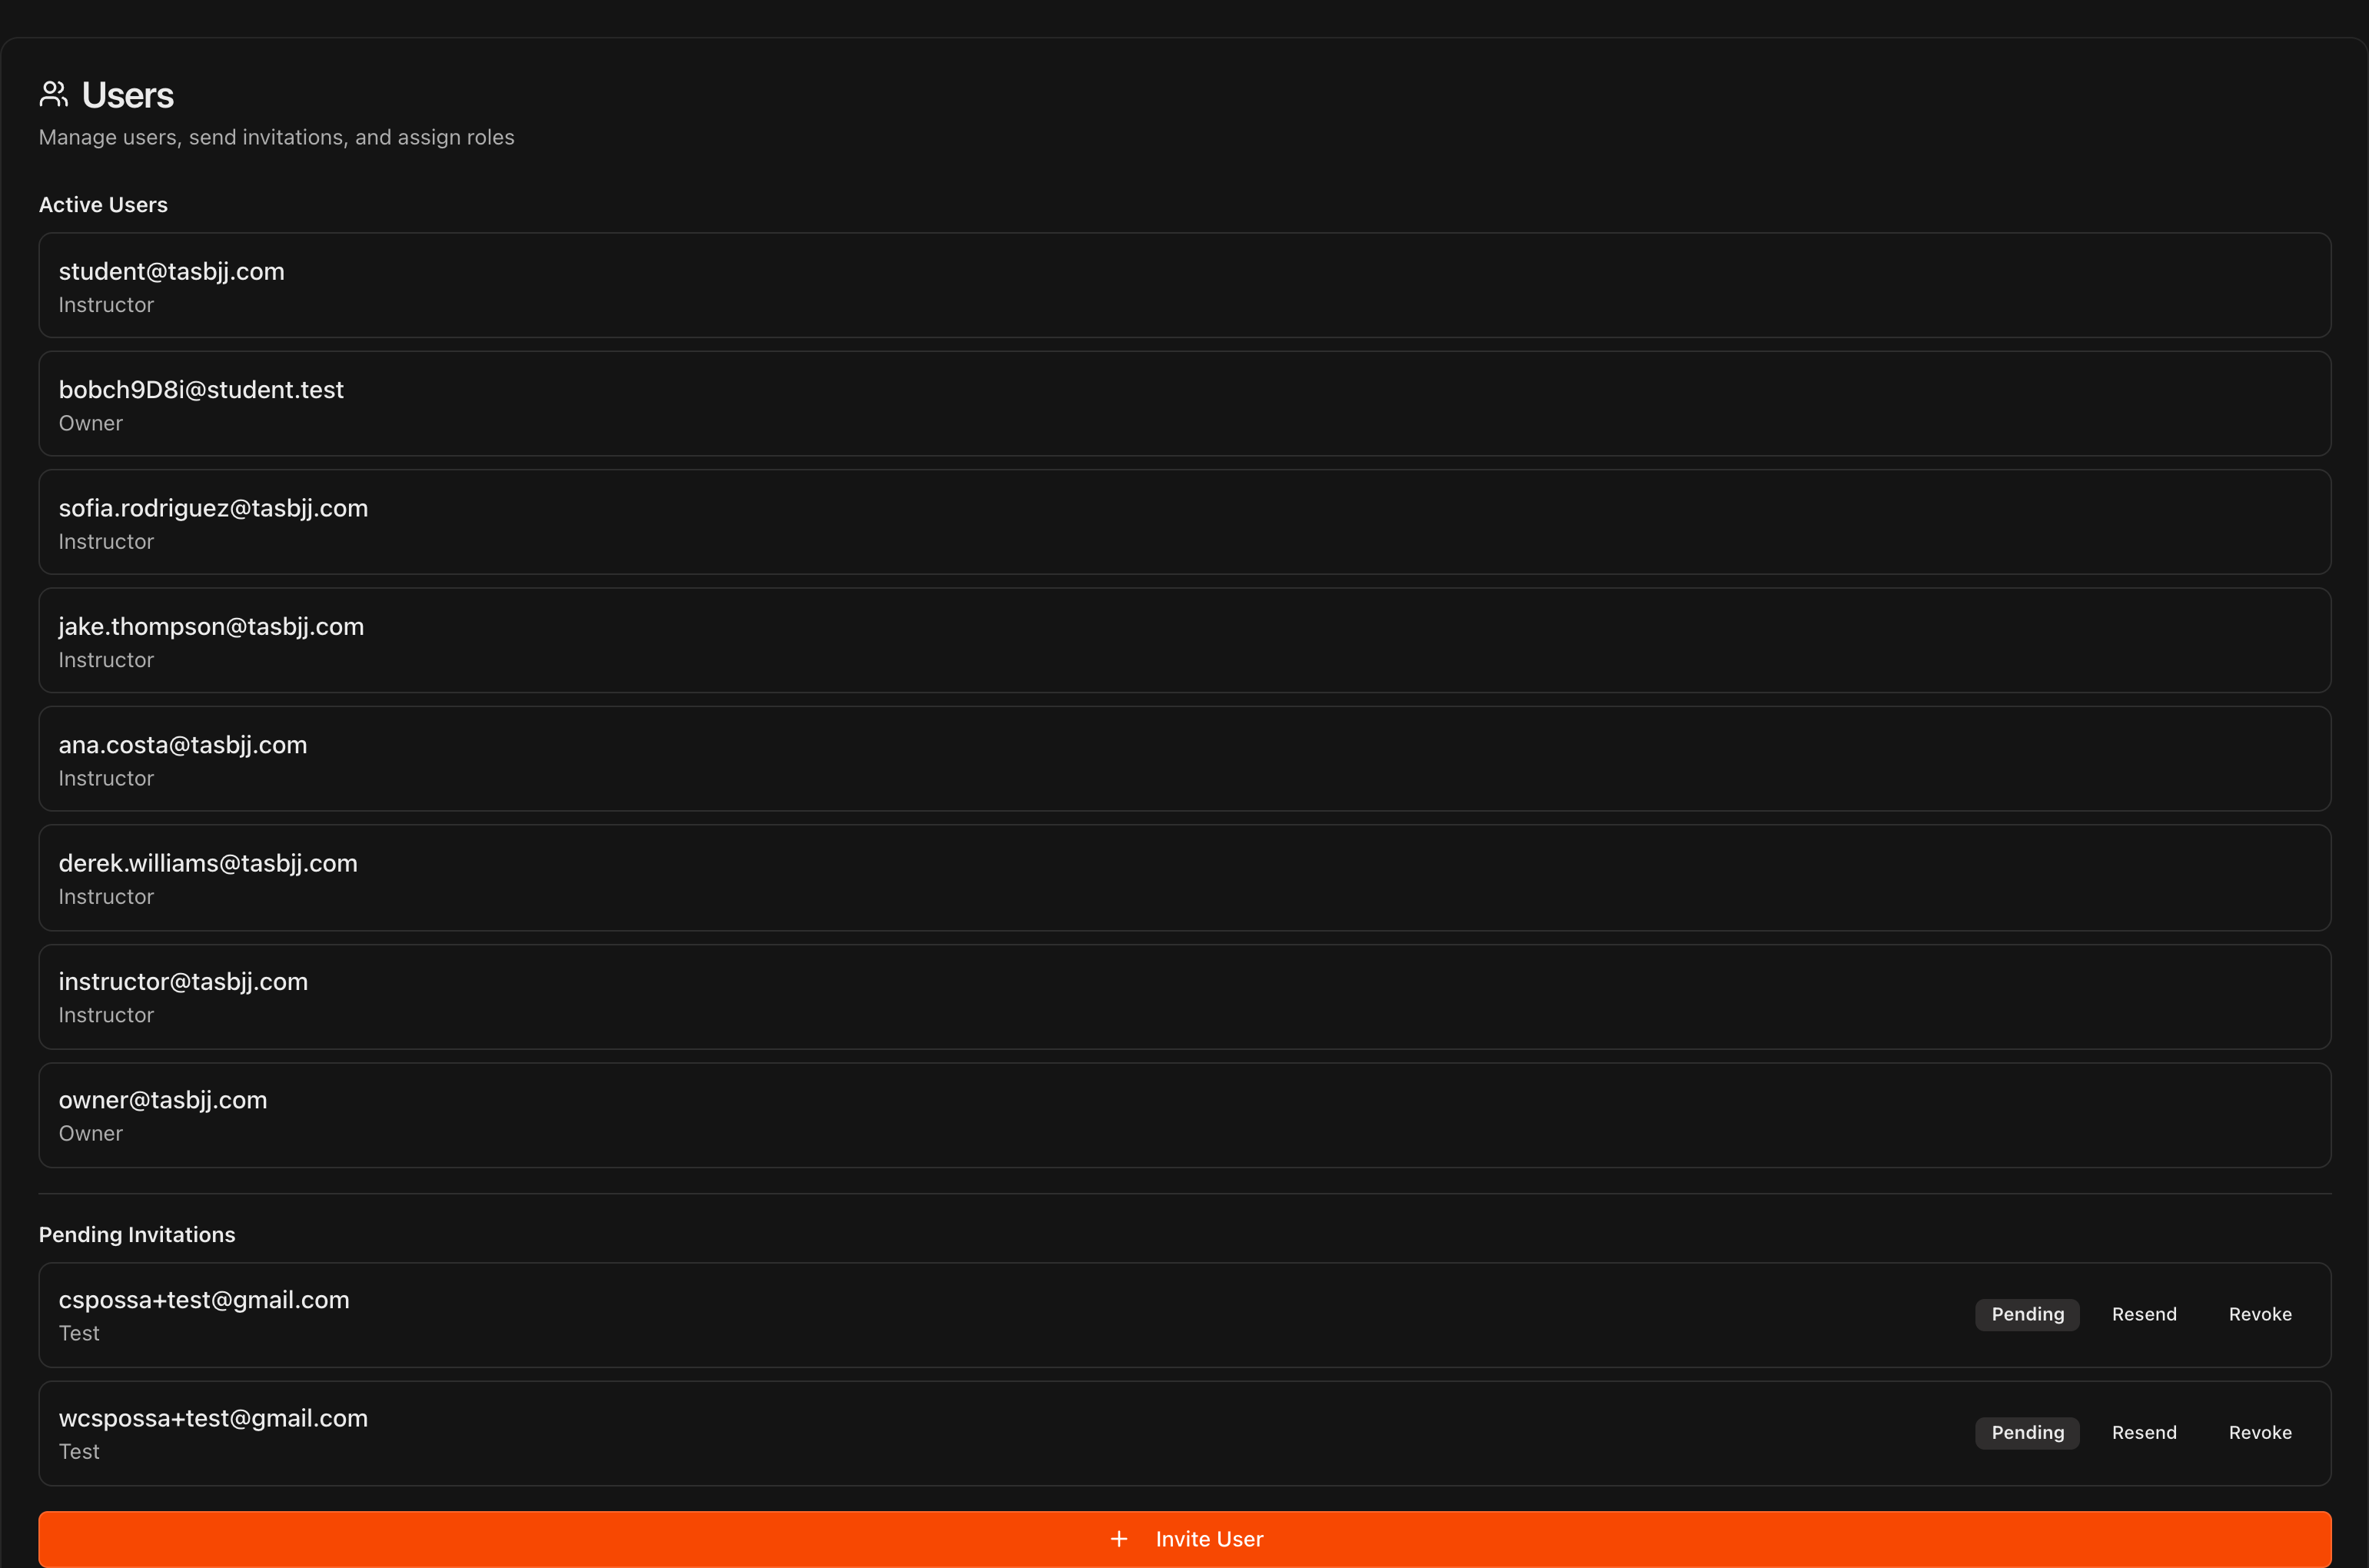
Scroll to the Users section, which lists your Active Users and their roles.
Click Invite User at the bottom of the section.
Sent invites appear under Pending Invitations, where you can Resend or Revoke them.
Assign a role during the invite
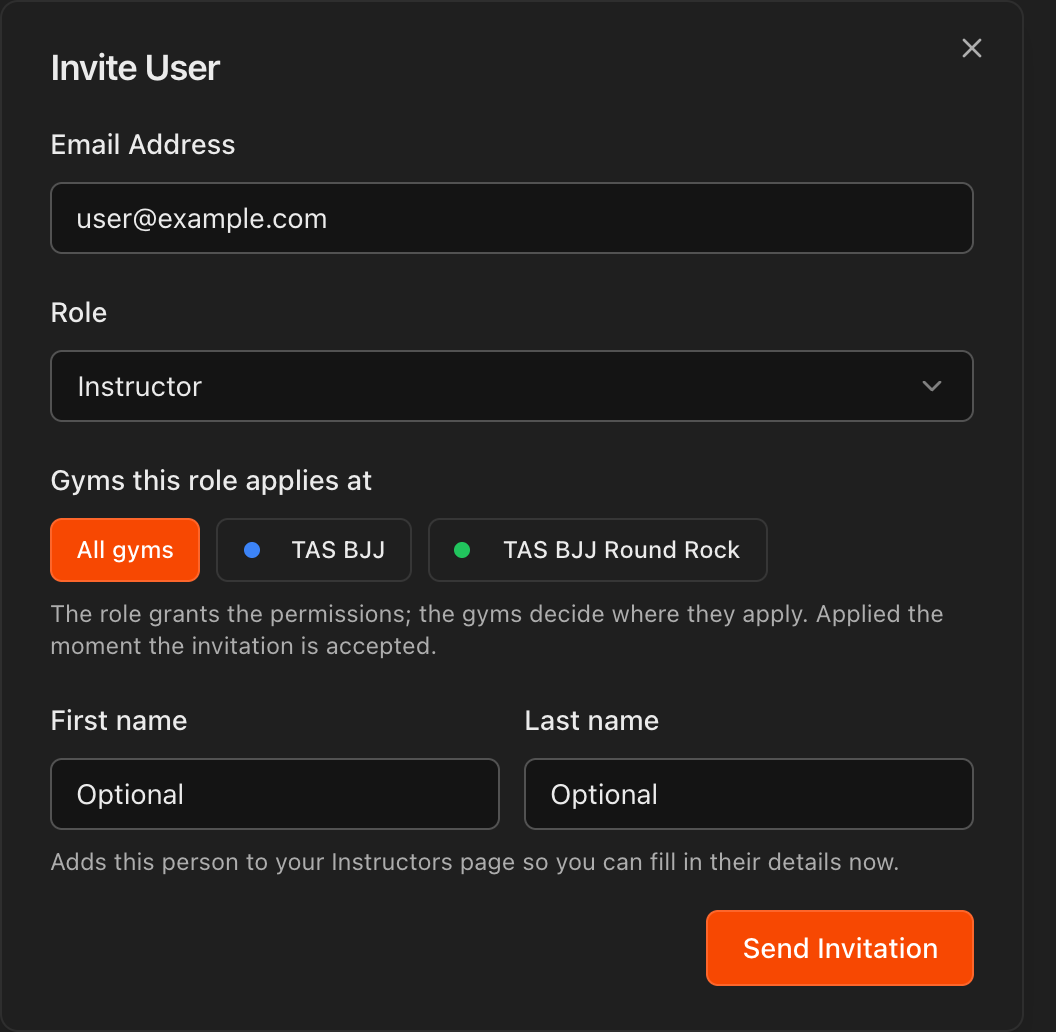
In the Invite User dialog, enter the staff member's Email Address.
Use the Role dropdown to pick a built-in role or any of your custom roles.
Optionally add a First name and Last name to create their profile on the Instructors page right away.
Click Send Invitation. Your staff member receives an email invite to join your academy.
Under Gyms this role applies at, choose All gyms or tick specific gyms. The role grants the permissions; the gyms decide where they apply.
Tip
Adding the first and last name up front means you can fill in the rest of their instructor details before they even accept the invite.