Open the Attendance page and pick a date
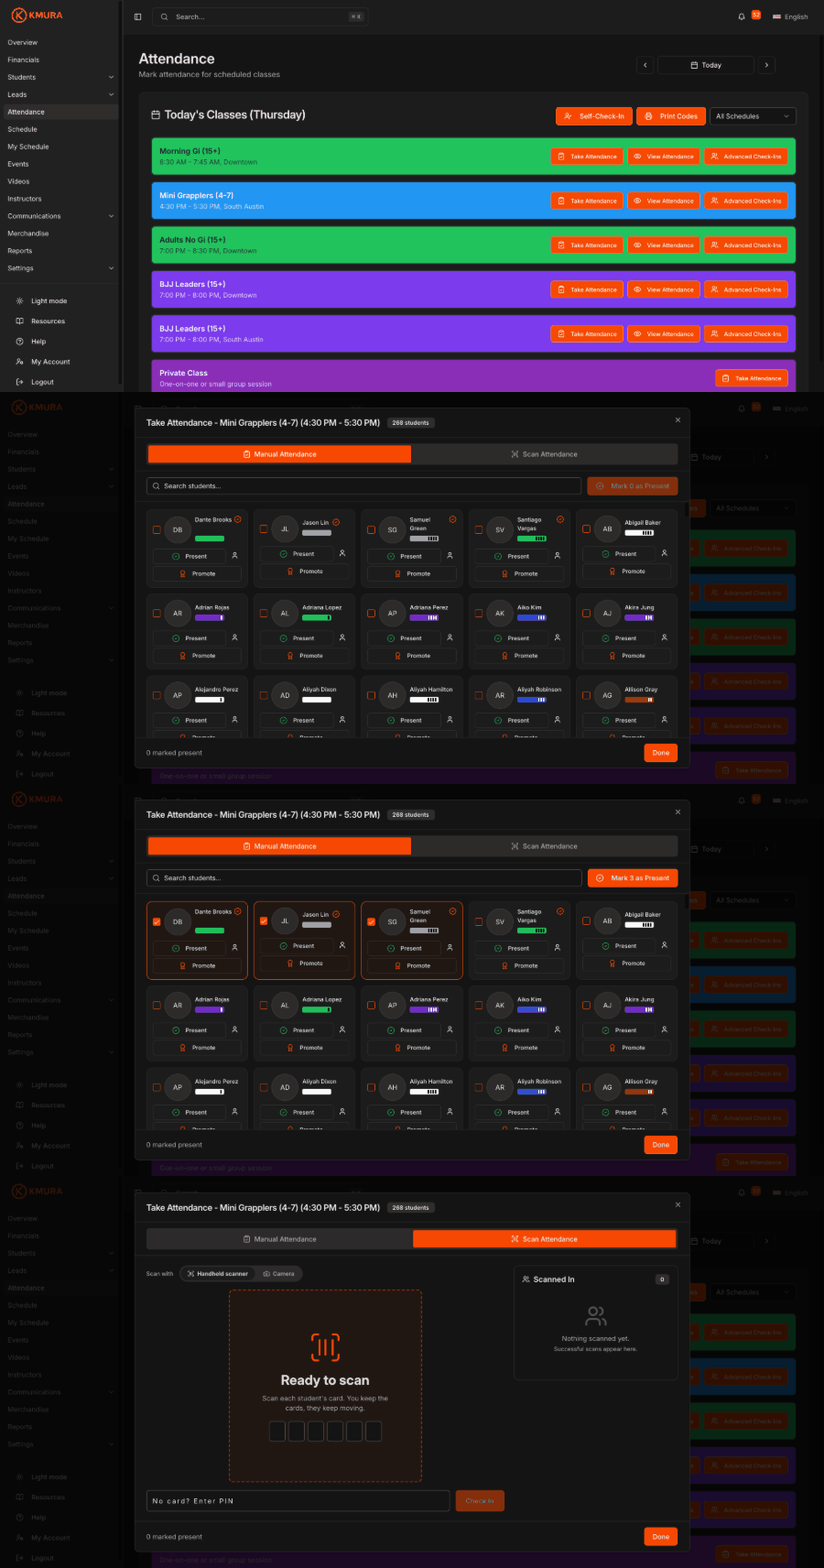
In the left menu, click Attendance.
The page opens on today by default. Use the date selector at the top right to move to another day, or click Today to jump back to the current date.
When you pick a past date, a banner confirms you are marking retroactive attendance for that day.
Note
The Attendance page pulls its classes from the **Schedule** page, so it automatically lists every class scheduled for the date you select.

Filter by schedule
The class list shows every class for the selected date across all of your schedules.
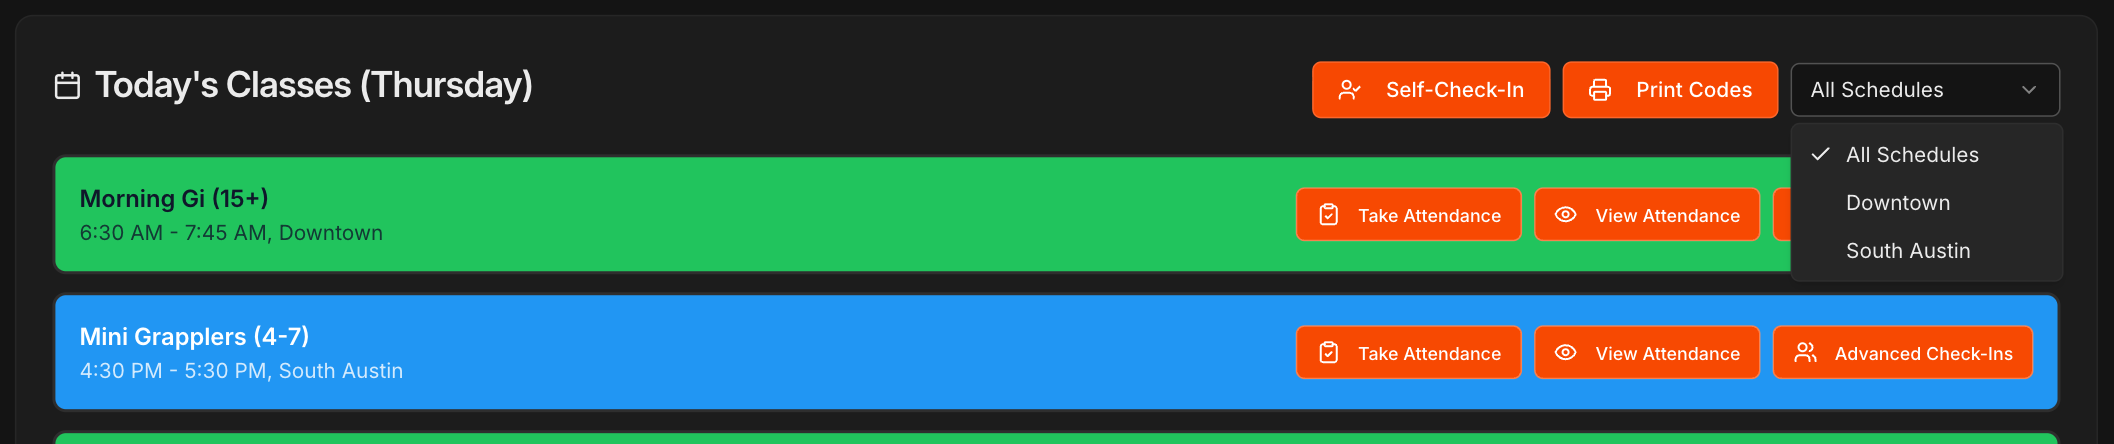
Open the All Schedules dropdown and pick a schedule to show only its classes. Each schedule belongs to one gym, so attendance taken on it counts toward that gym.
Tip
Schedules come from the **Schedule** page. With a single schedule you can leave this set to **All Schedules**.
Note
You can mark any student present at any gym. A student whose home gym is elsewhere must first sign that gym's waiver required for attendance; Kmura prompts for it before the attendance completes.
Open Take Attendance for the class
Click Take Attendance on the class you are teaching, for example Mini Grapplers (4-7). It sits to the left of View Attendance.
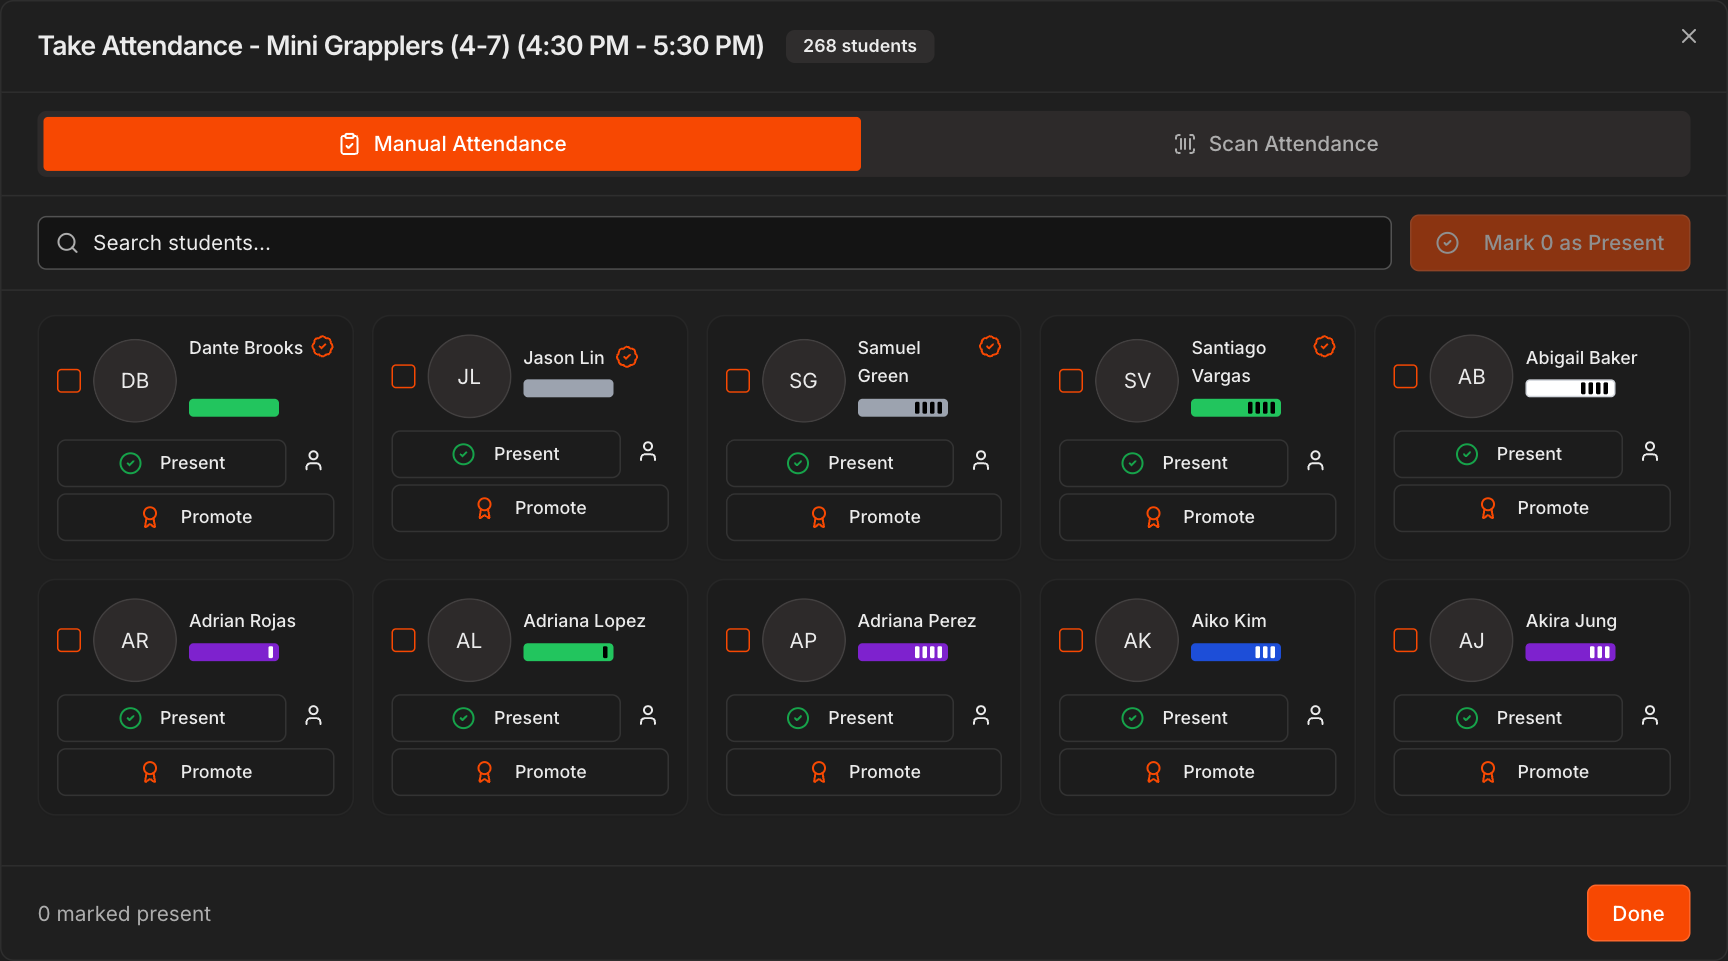
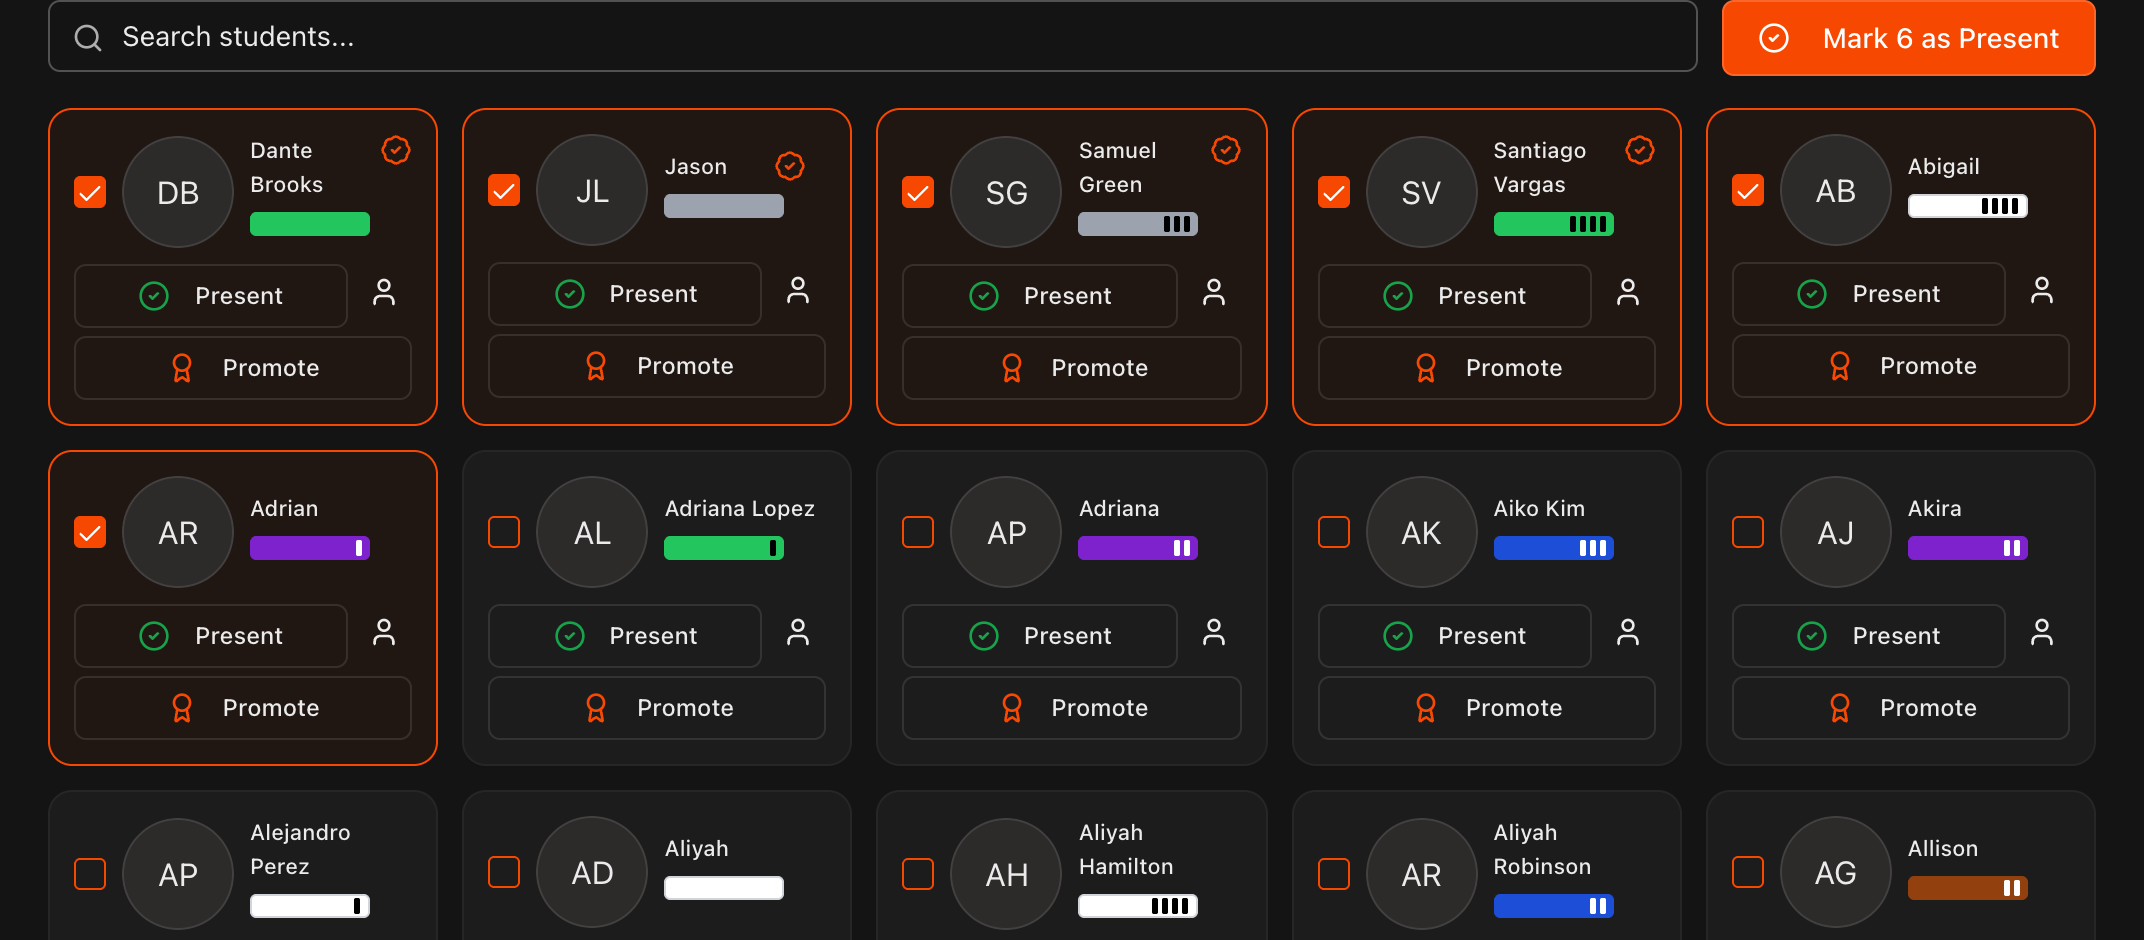
The Take Attendance window opens on the Manual Attendance tab, with a search box, the student roster, and Instructor Attendance below it.
Note
**Private Class** has only **Take Attendance**, because **View Attendance** and **Advanced Check-Ins** do not apply to one-on-one sessions.
Find your program students at the top
If the class is tied to a Program, that program's students are listed first in the Take Attendance roster, each marked with a small orange badge next to their name.
This makes it quick to find the right students, but you are not limited to them. Scroll the full roster or use Search students... to find anyone in the account.
Note
This ordering works when the program is set up in three places: created under **Settings** > **Curriculum** > **Programs**, assigned to the student on the **Student Information** > **Details** tab, and assigned to the class on the **Schedule** page. A class assigned to a sub-program lists that sub-program's students first, and their attendance counts toward the parent program's belts. Students can also be assigned to a program in bulk with the **Manage** button on the **Programs** card.

Select students and mark them present
Check the box on each student you want to mark present.
Click Mark N as Present to check in everyone you selected at once. The number updates as you select.
The footer counts how many are marked present. Click Done when you finish.
Tip
To mark a single student, click the green **Present** button on their card instead of using the checkboxes.
Mark instructors present
Scroll below the student roster to Instructor Attendance, which lists the instructors for the class.
Click Present on an instructor, or check several and click Mark N as Present.

Scan students' check-in cards
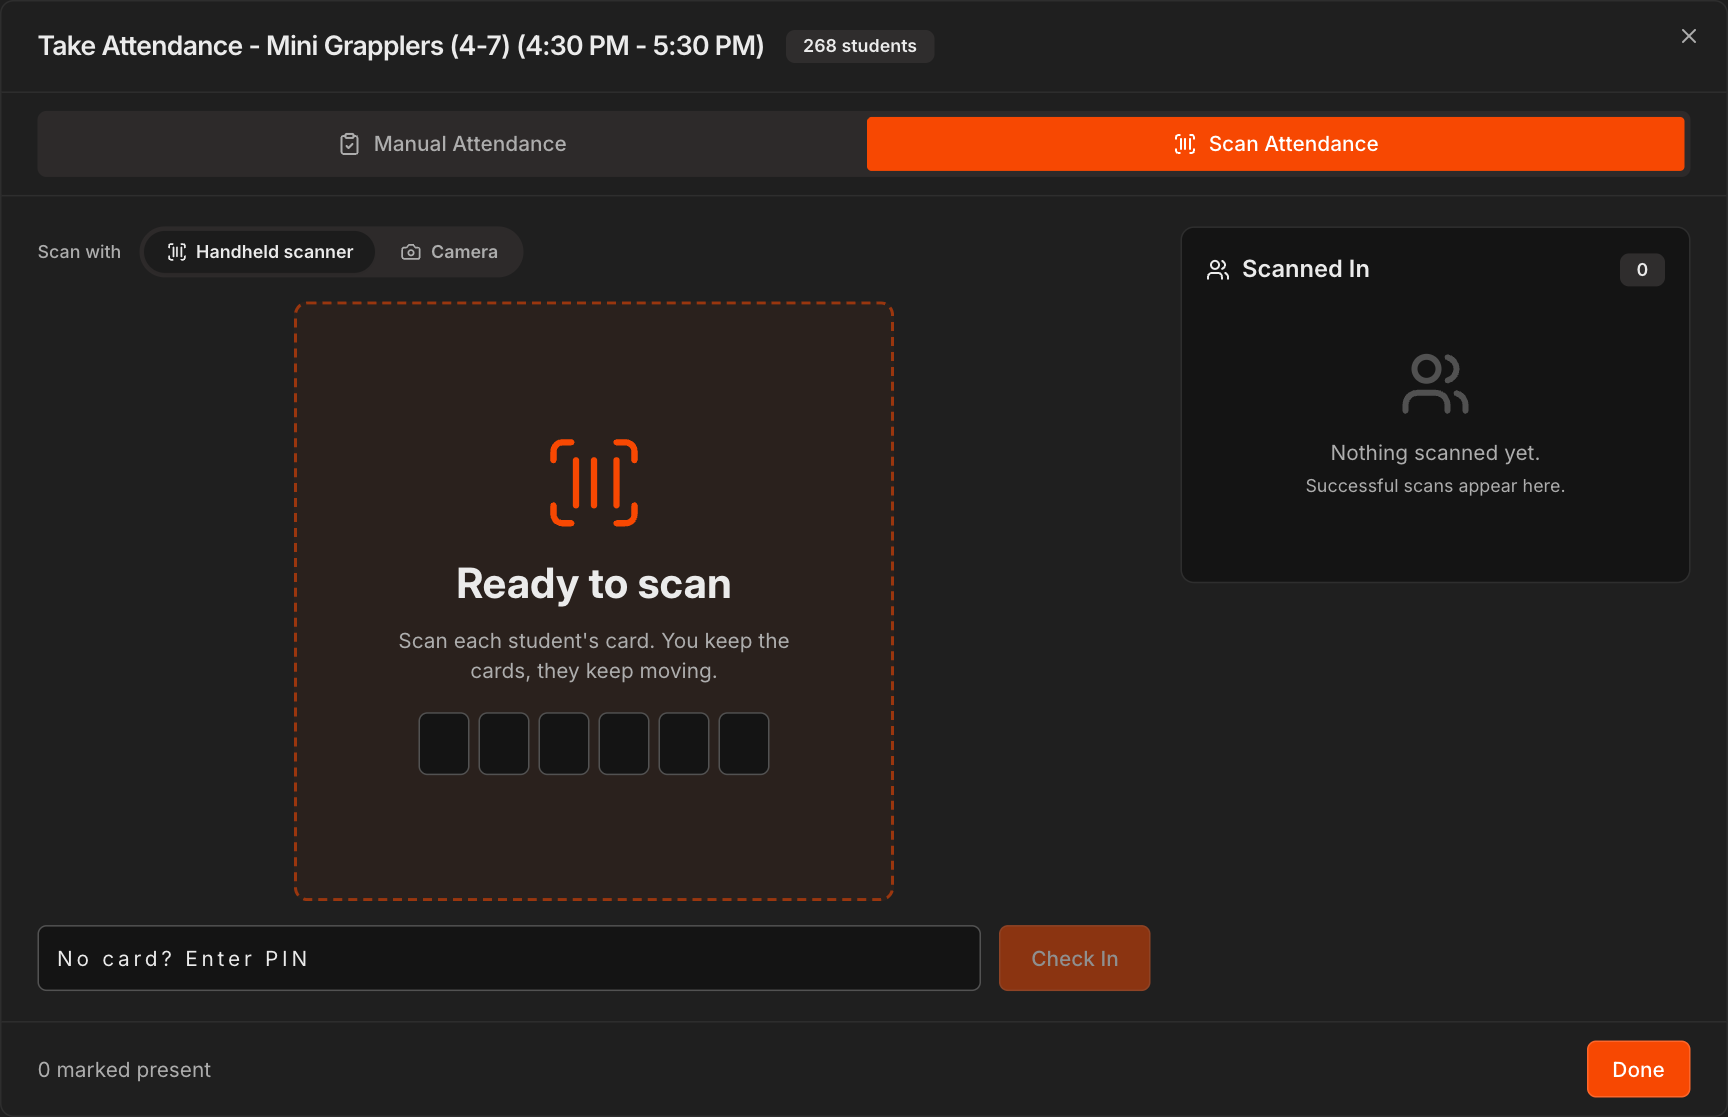
Click the Scan Attendance tab to collect students' cards at the door and scan them yourself.
Under Scan with, choose Handheld scanner for a USB barcode scanner, or Camera to hold each card's QR code up to your device's camera.
Each successful scan flashes green with the student's name and adds them to Scanned In. A failed scan flashes red with the reason. Either way the screen resets on its own.
Student forgot their card? Type their PIN in No card? Enter PIN and click Check In.
Note
Scans and manual check-ins count toward the same attendance, so you can scan most of the class and switch to **Manual Attendance** for anyone without a card. Cards are printed with **Print Codes**, covered in Student Self-Check-In.
Promote a rank from the roster
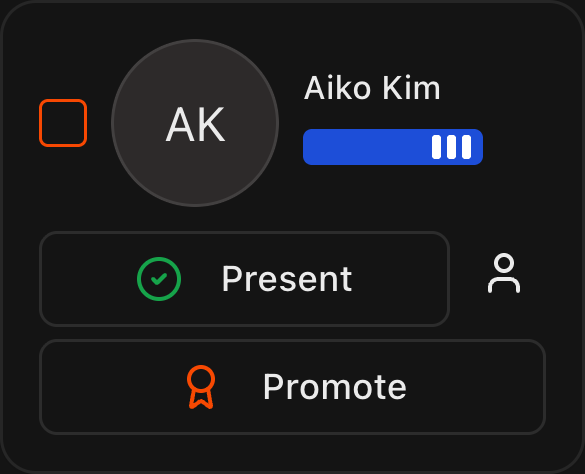
Each student card in the Take Attendance window has a Promote button.
Click Promote to advance that student's belt or rank right from the attendance screen.
Tip
The colored bar under each student's name shows their belt in the class's program, so you can confirm a rank before promoting.