Open the Landing Page editor and find your URL
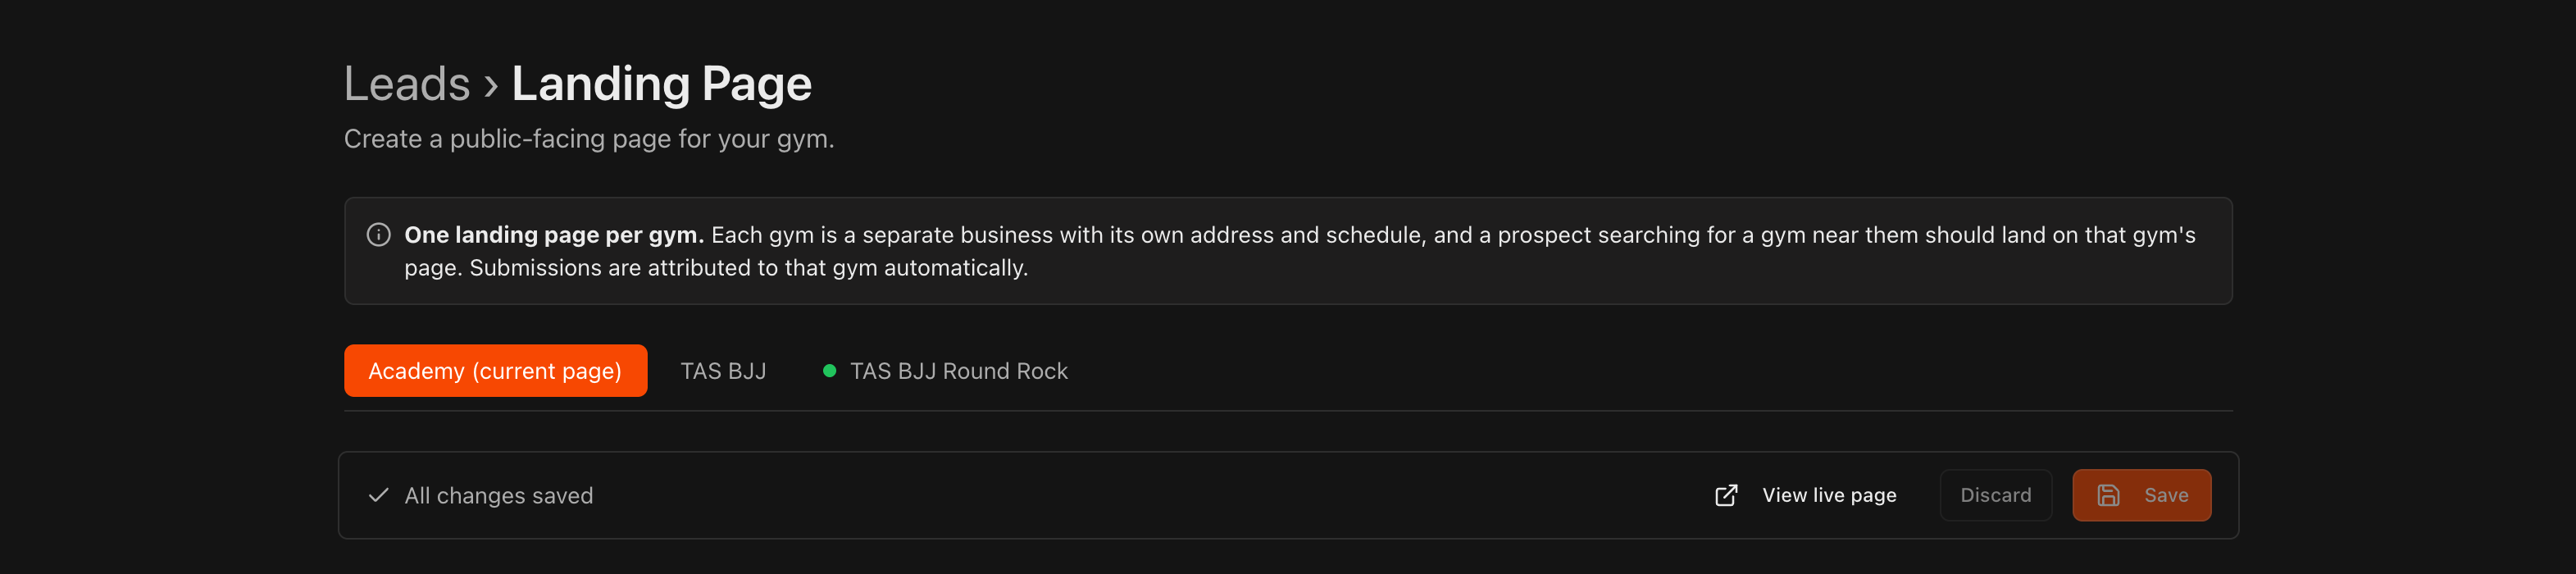
Under Leads, click Landing Page to open the editor.
Find your gym's unique public address under Your Public Page URL, hosted on Kmura's domain.
To change the URL, go to Settings > General; the same URL also powers your embeddable schedule widgets.
There is one landing page per gym. With more than one gym, pick which page you are editing from the tabs at the top: Academy (current page) or one of your gyms. Submissions are attributed to that gym automatically.
A new gym's page starts empty and stays unpublished until you publish it. Pages cannot be copied between gyms yet, so build each one on its own.
Upload a header image
In the Header Image section, click Upload Image to add the banner shown at the top of your page.
Use a JPG, PNG, or WebP file up to 5MB.
For best results, upload an image sized 3840 x 768 pixels (minimum 1920 x 384). The banner renders as a full-width strip 384 pixels tall on desktop, so a 5:1 image fills it without unexpected cropping.
Tip
Use a wide, high-quality photo of your mats or team, since it is the first thing visitors see. The banner crops to fill the visitor's screen width (256 pixels tall on phones), so keep faces and logos near the center of the image.
Build your page from sections
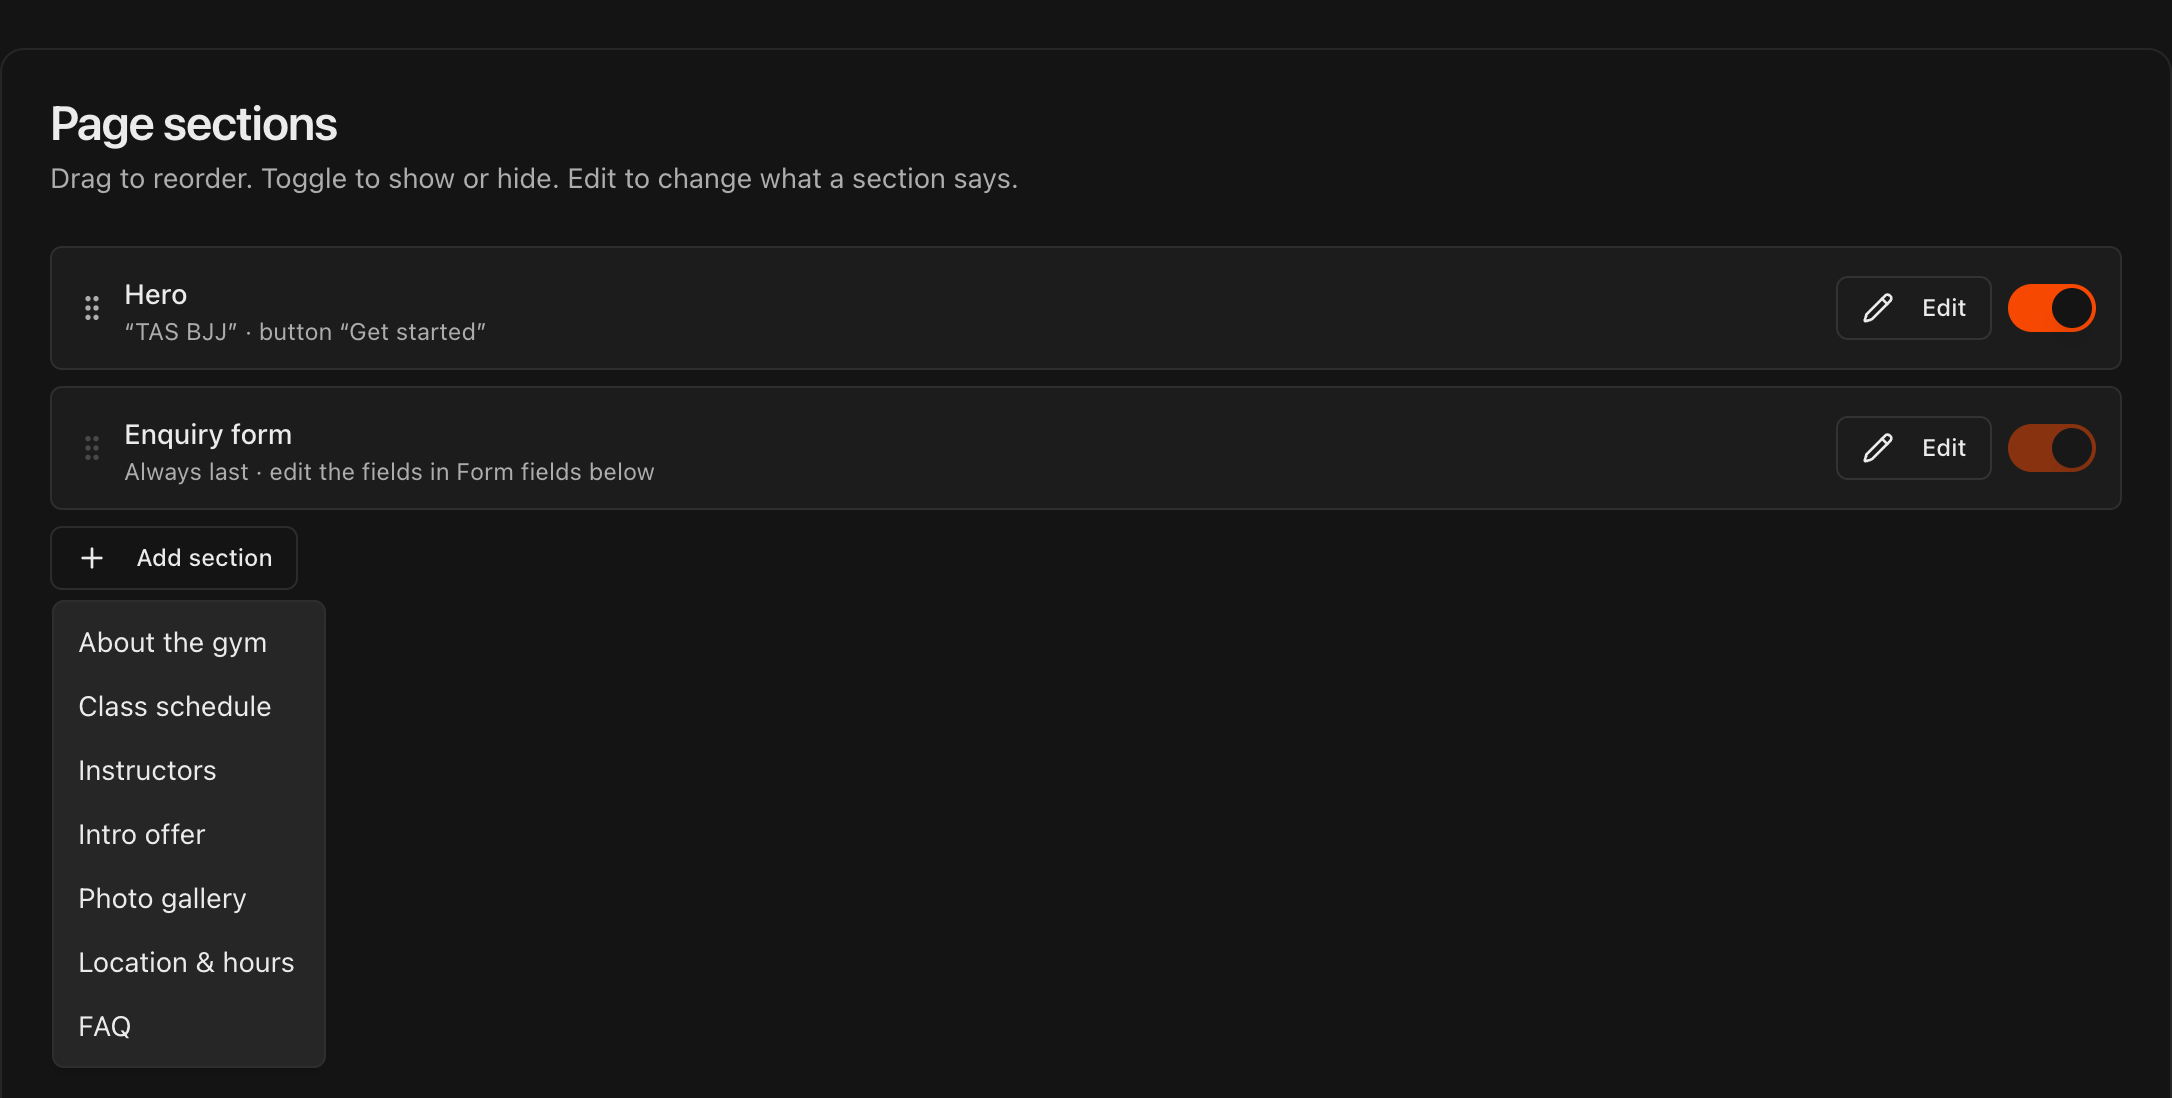
In Page sections, your page is a stack of sections. Hero is always first and Enquiry form is always last.
Click Add section and pick from About the gym, Class schedule, Instructors, Intro offer, Photo gallery, Location & hours, and FAQ.
Click Edit on any section to change what it says, then click Save section.
Drag the handle on the left to reorder sections. Use the toggle to show or hide a section without deleting it. Click Delete section inside the editor to remove it.
Watch the Live preview on the right update as you go. Switch between Phone and Desktop to check both layouts.
Tip
Start with **About the gym**, **Class schedule**, and **Intro offer**. Those three answer what a prospect wants to know before they fill in the form.
Show your live class schedule
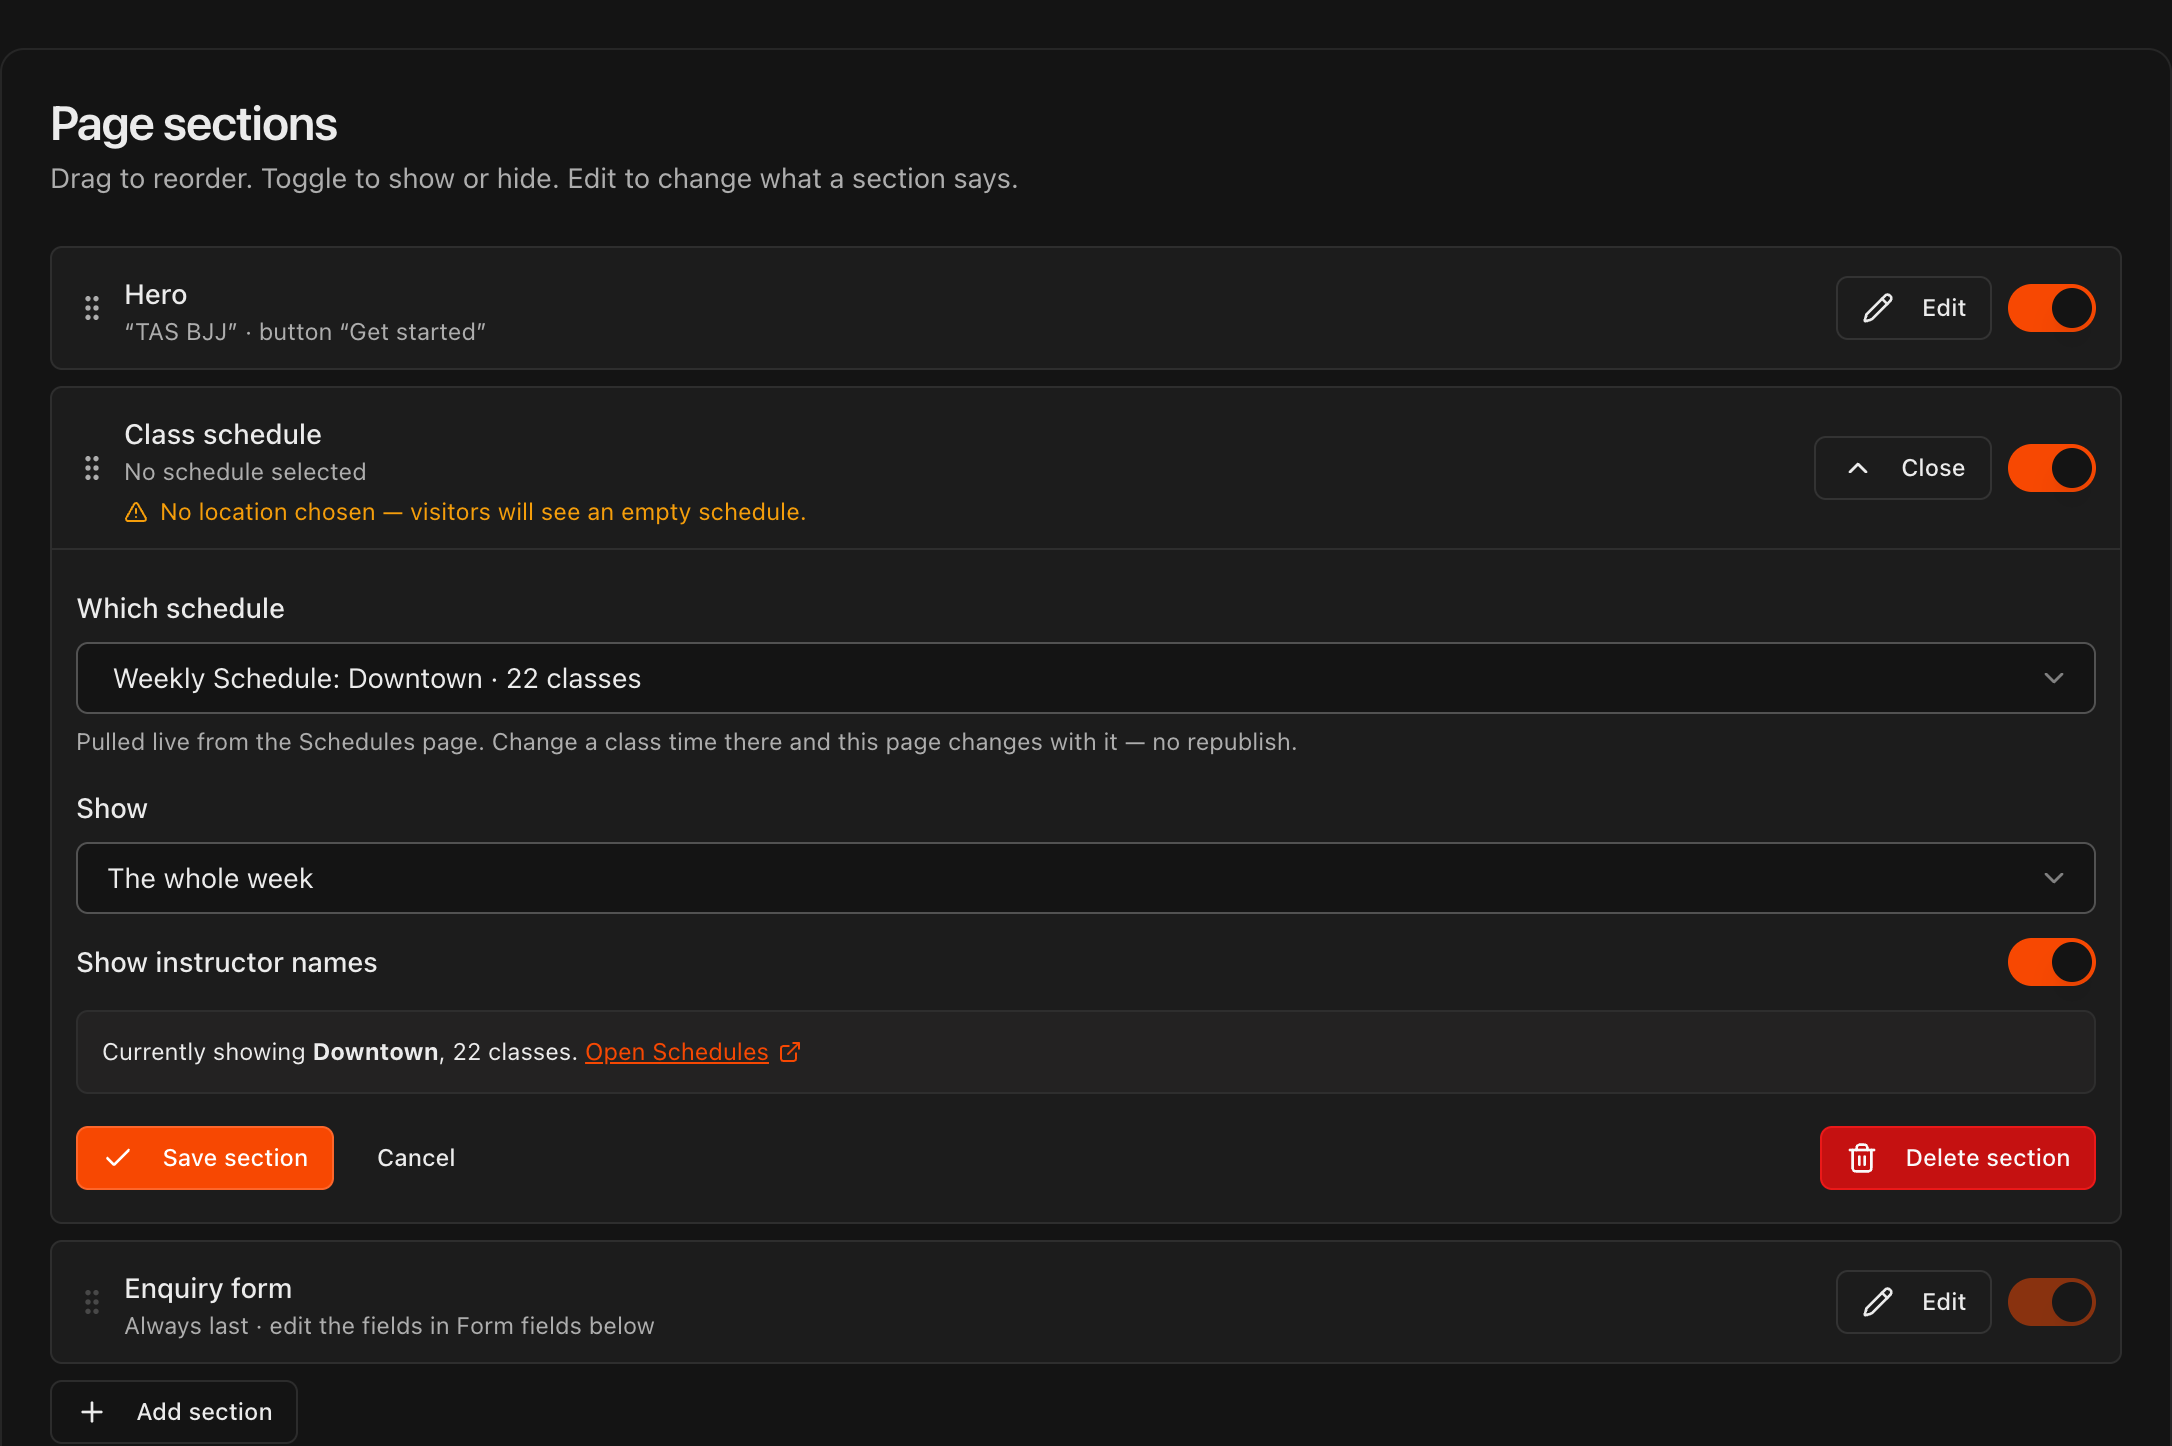
Add a Class schedule section and click Edit.
Under Which schedule, pick one of the schedules from your Schedules page, for example your main location's weekly schedule.
Choose whether to Show the whole week or the next 7 days, and toggle Show instructor names on or off.
Click Save section.
Note
The schedule is pulled live from the **Schedules** page. Change a class time there and the landing page updates with it. There is nothing to republish.
Set up your lead capture form
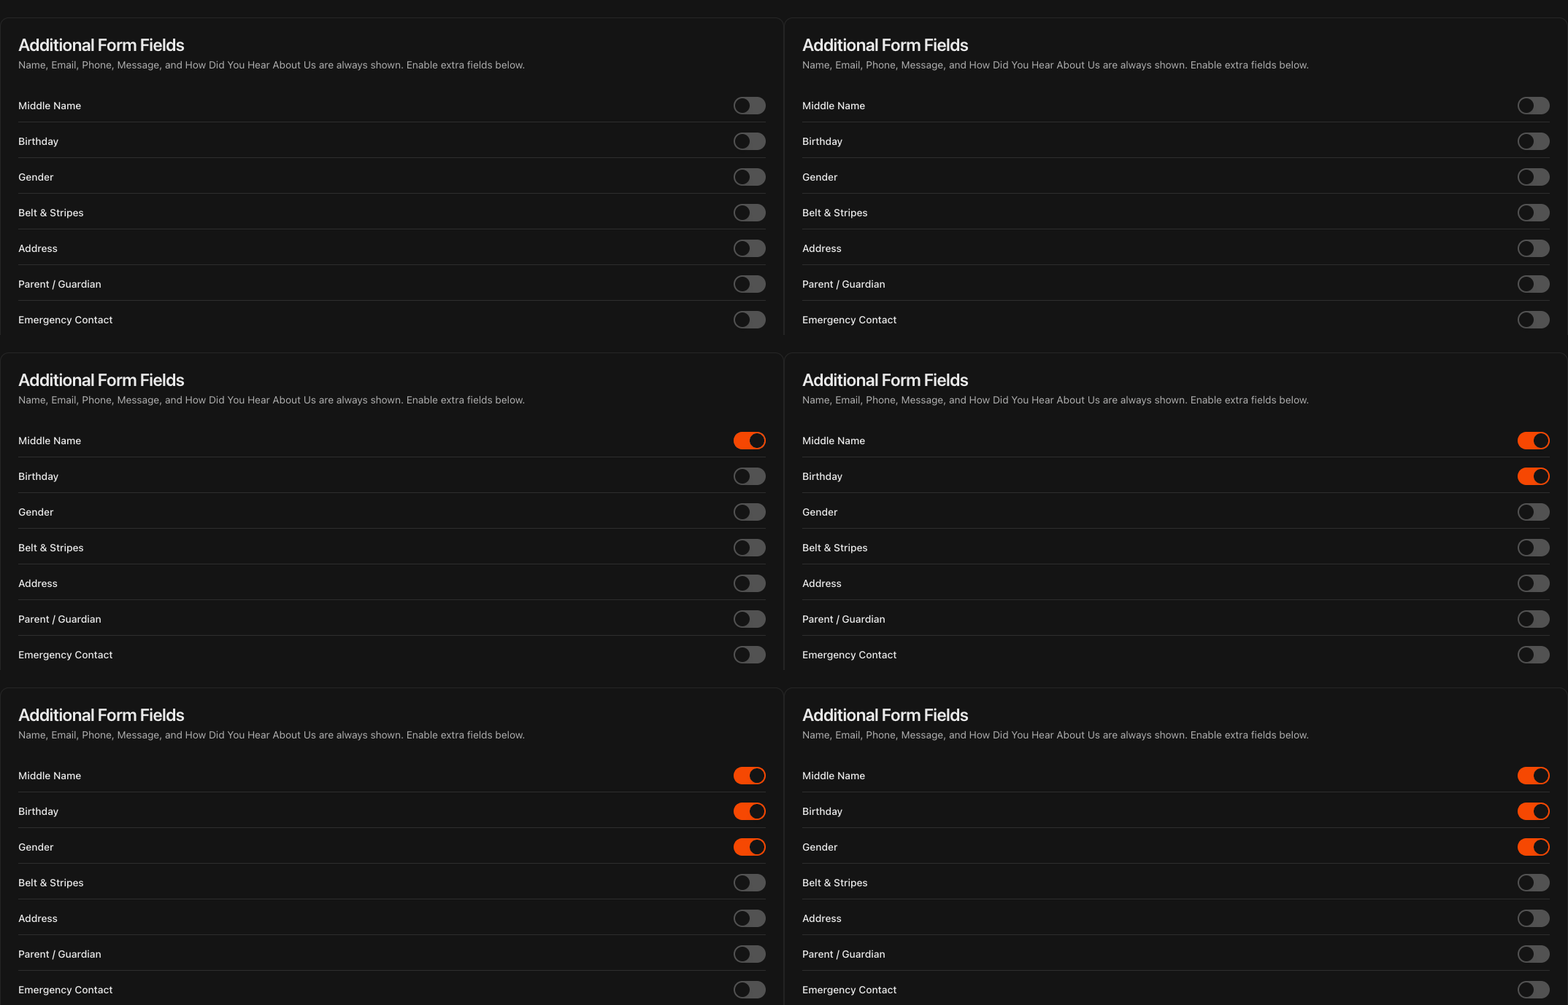
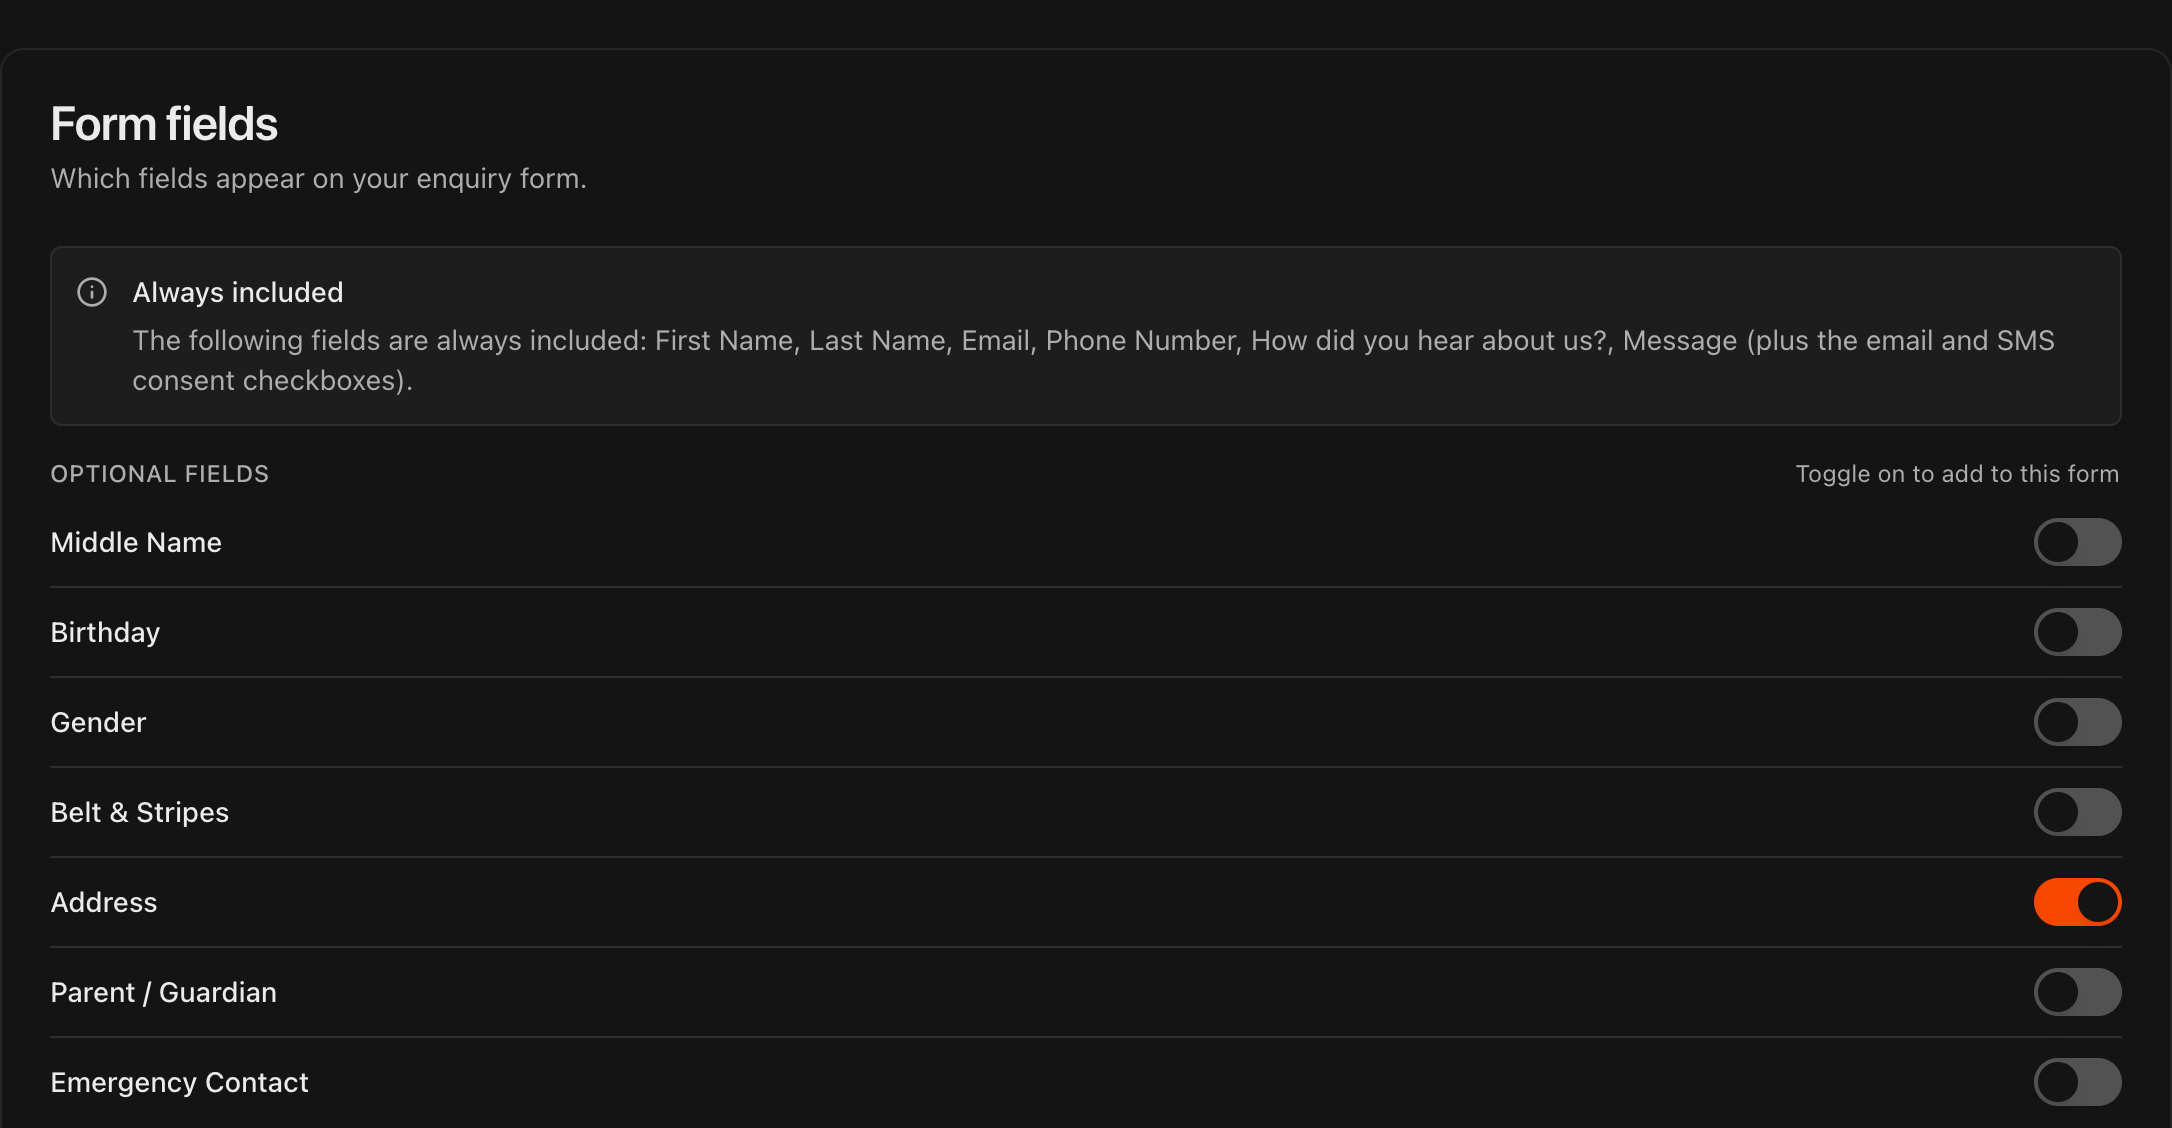
Scroll to Form fields. The Always included box lists what every Kmura form collects: First Name, Last Name, Email, Phone Number, How did you hear about us?, and Message, plus the email and SMS consent checkboxes.
Email and Phone Number are required on the public form. Visitors cannot submit without them.
Toggle on any Optional fields you want to collect: Middle Name, Birthday, Gender, Belt & Stripes, Address, Parent / Guardian, or Emergency Contact.
Note
Only the five default fields are required. Add extra fields sparingly, since longer forms tend to lower completion rates.
Preview and save
The bar at the top of the editor shows Unsaved changes or All changes saved.
Click Save to publish your edits, or Discard to throw them away.
Click View live page to open your public page in a new tab.

Watch submissions become leads
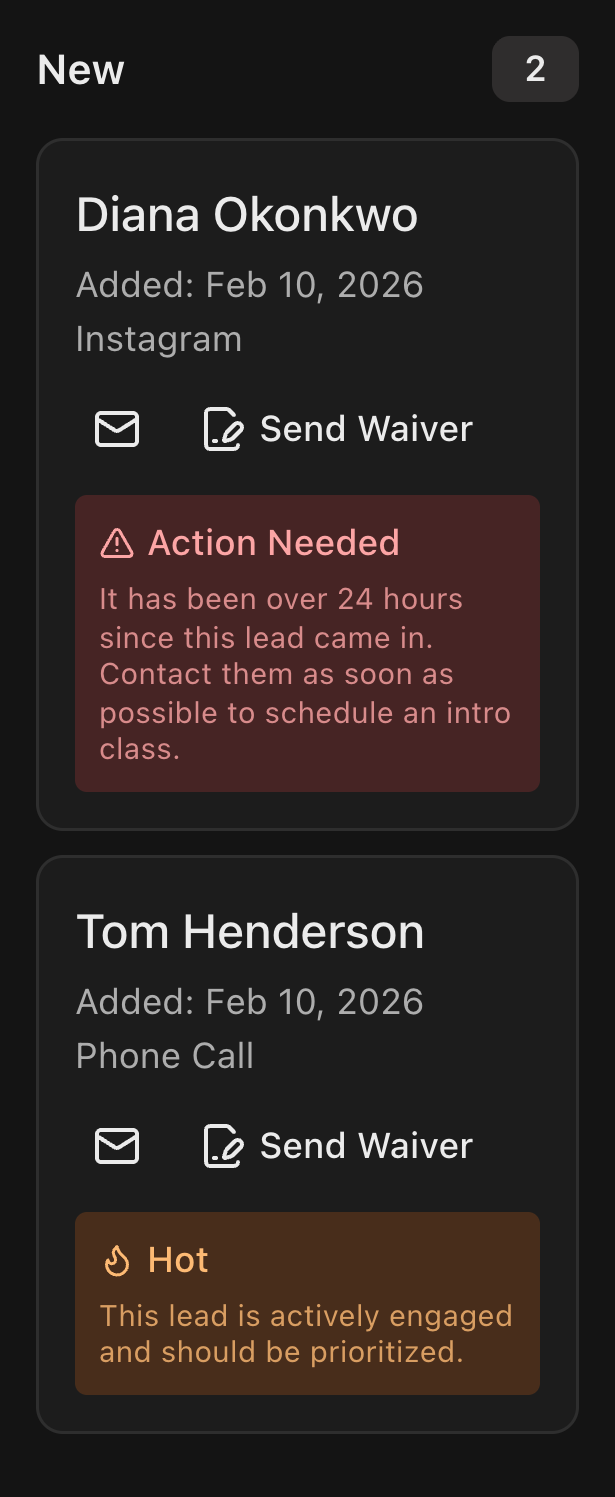
When a visitor submits the form on your landing page, Kmura automatically creates a new lead card in the New column of the Kanban board on the Leads page.
From there, work the lead through your pipeline as usual.