Open the Schedule page
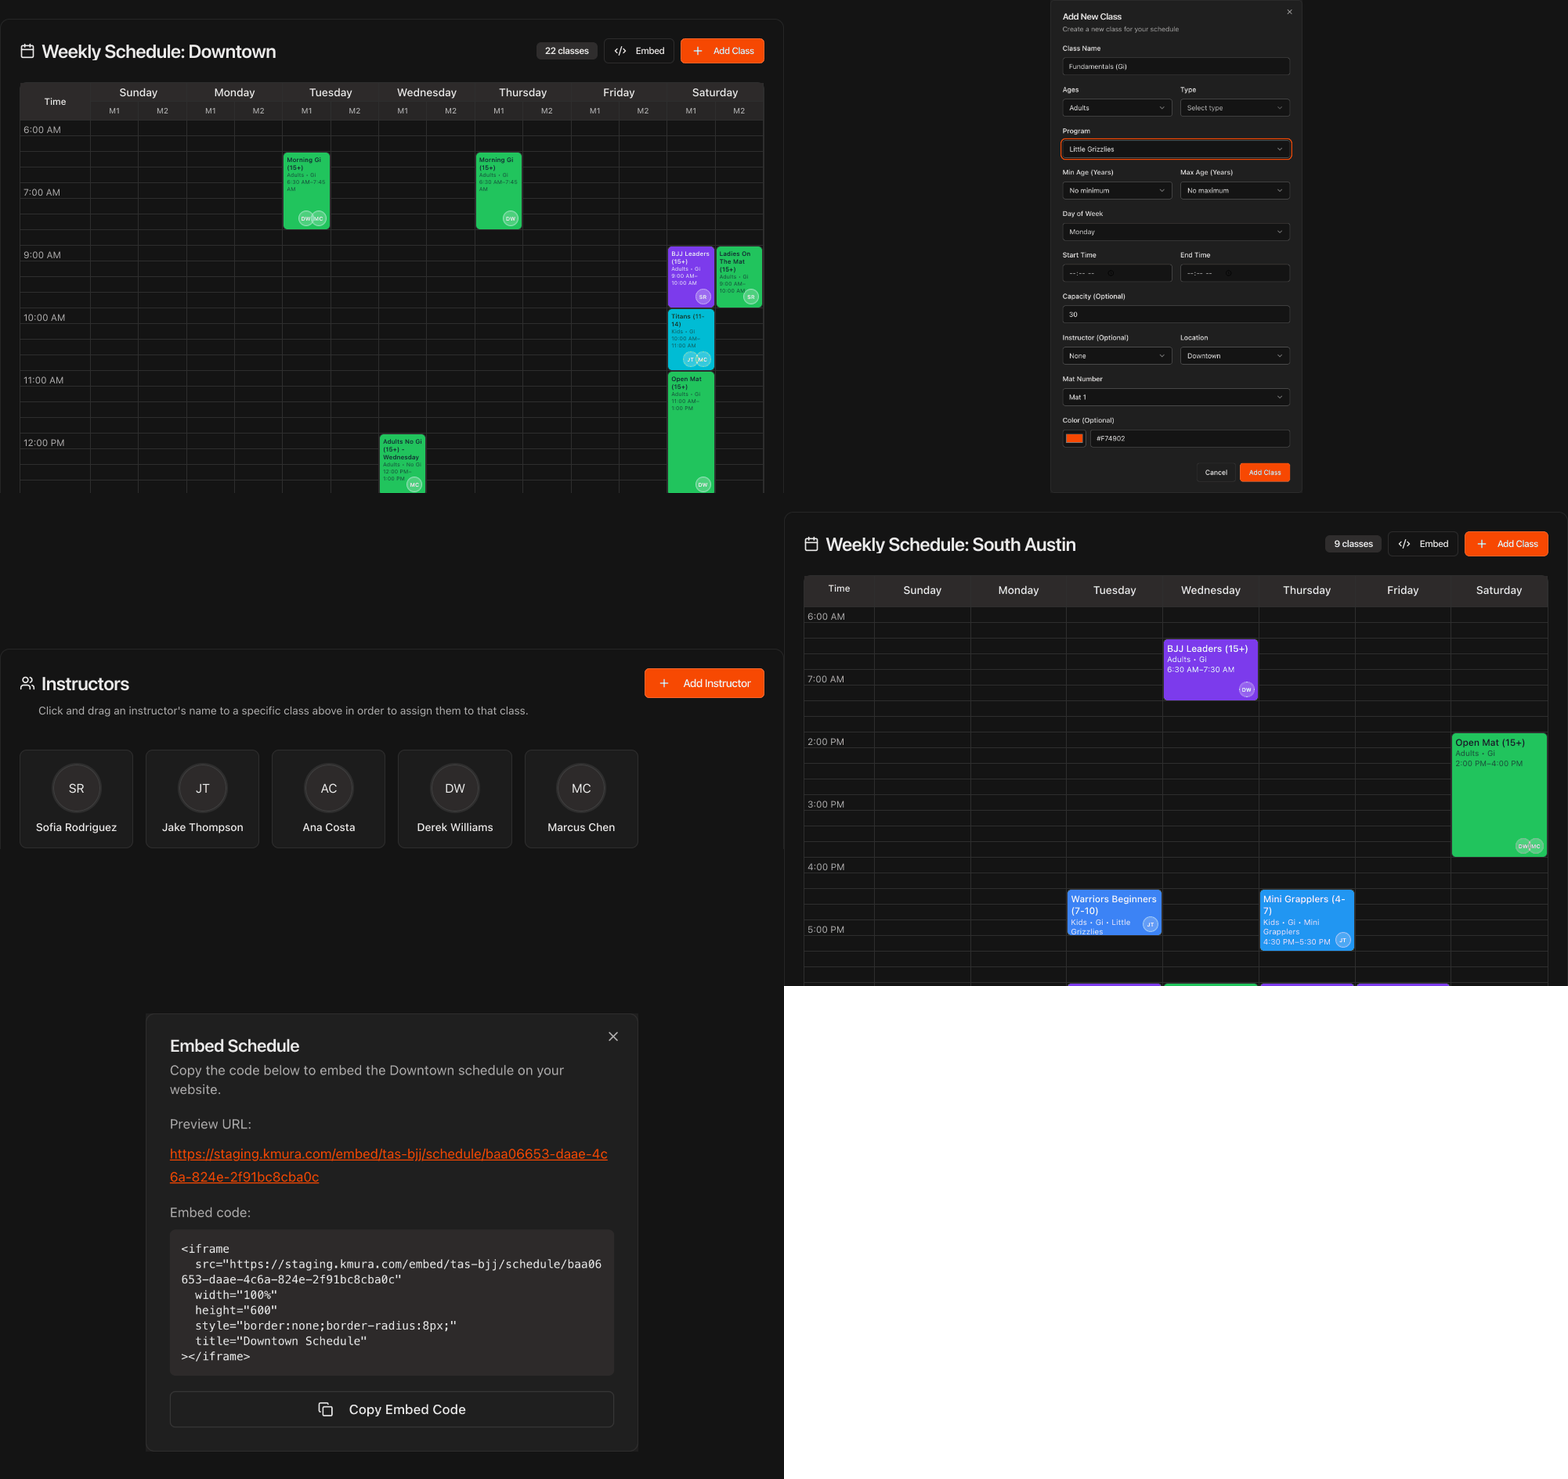
Click Schedule in the left sidebar.
Each schedule shows its own weekly grid, tagged with the gym it belongs to, with every class as a color-coded block.
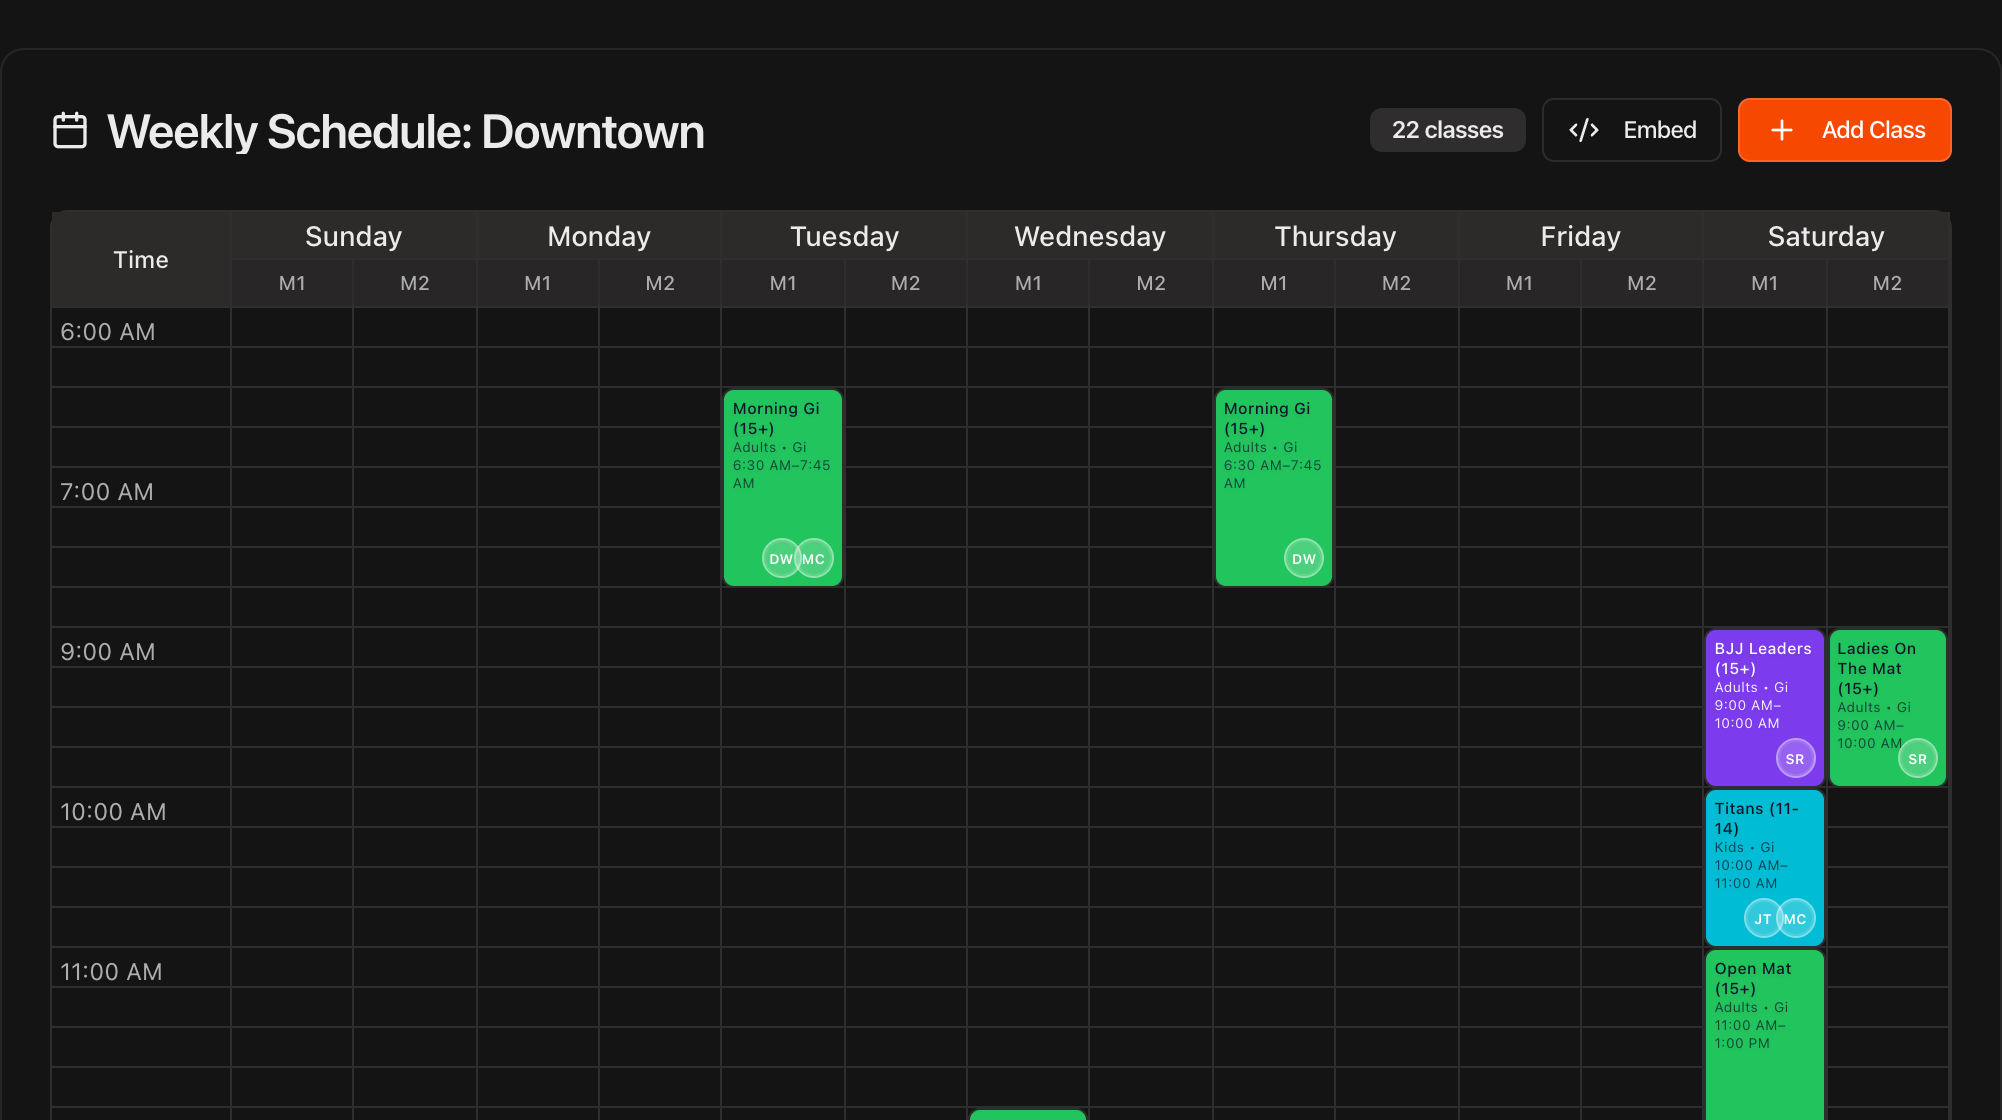
Click any class block to view its details, then click Edit Class to make changes.
Add a class
Click Add Class at the top right of a schedule.
In the Add New Class dialog, fill in the details: Class Name, Ages, Type, Level, Programs, Min Age and Max Age, Day of Week, Start Time and End Time, Capacity, Self-Check-In Cut-Off, Instructor, Schedule, Mat Number, and Color.
Type (Gi, No Gi, Wrestling, MMA) and Level (Fundamentals, Intermediate, Advanced) describe the class. Both are optional, and together they drive the class type requirements in Settings > Curriculum > Promotion Logic.
Click Add Class to save, and the class appears on the schedule right away.
Tip
Only a few fields are required. You can start with just a name, day, and time, then edit the class later to add more detail.
Note
Existing classes have no Level until you edit them. A class with no Level only counts toward **Any level** requirements.
Plan lessons for each class
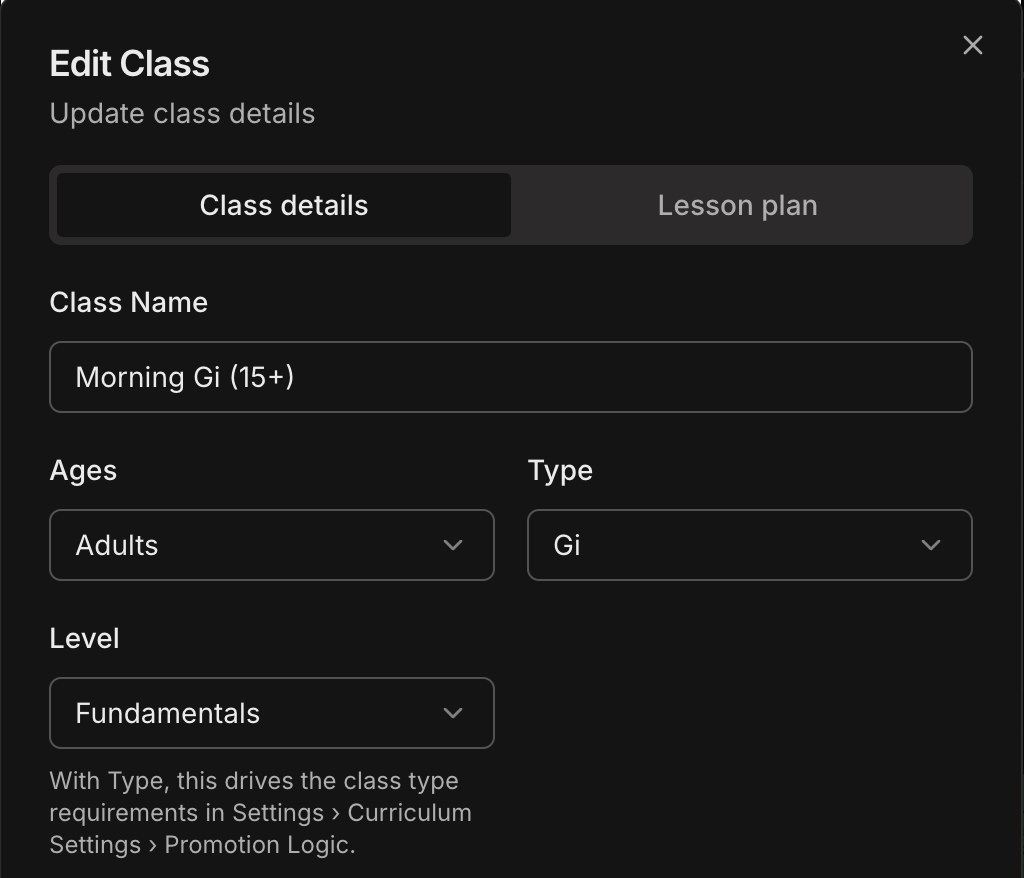
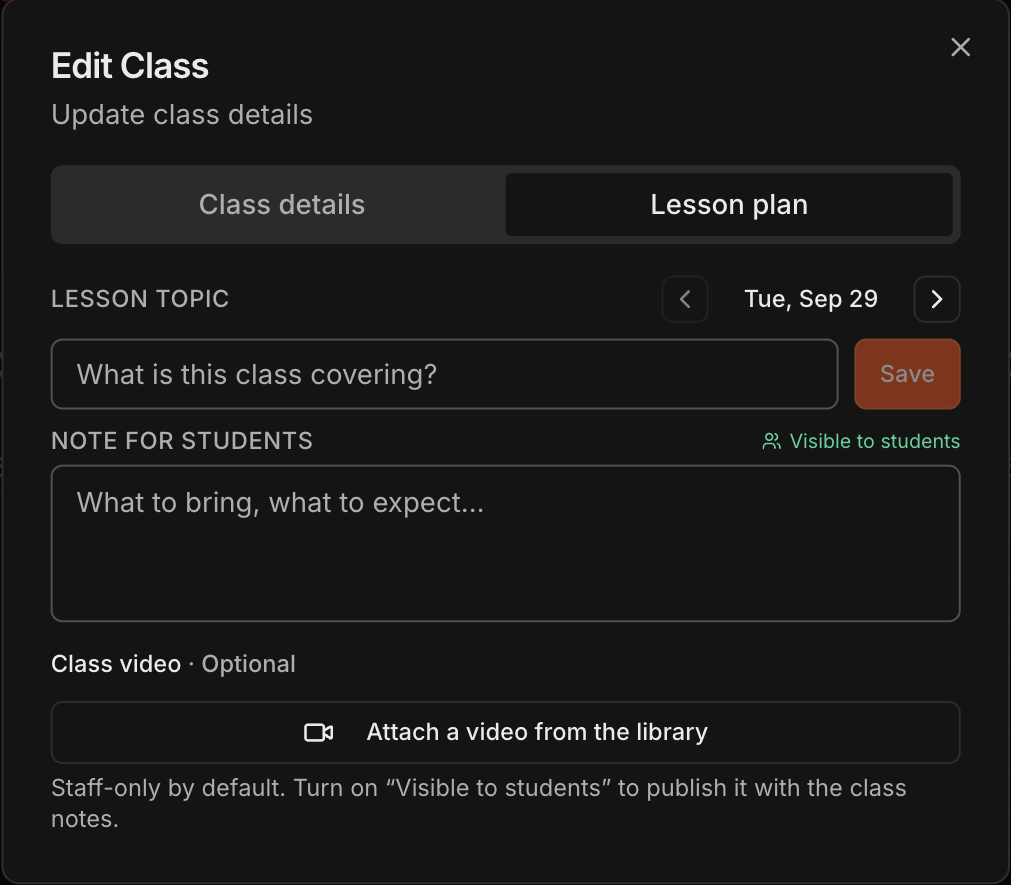
Click Plan this week at the top of the Schedule page to set each class's topic, notes, and video for the week.
To plan one session, click a class block, click Edit Class, and open the Lesson plan tab.
See the Planning Weekly Lesson Plans guide for the full walkthrough.
Use Programs to speed up attendance
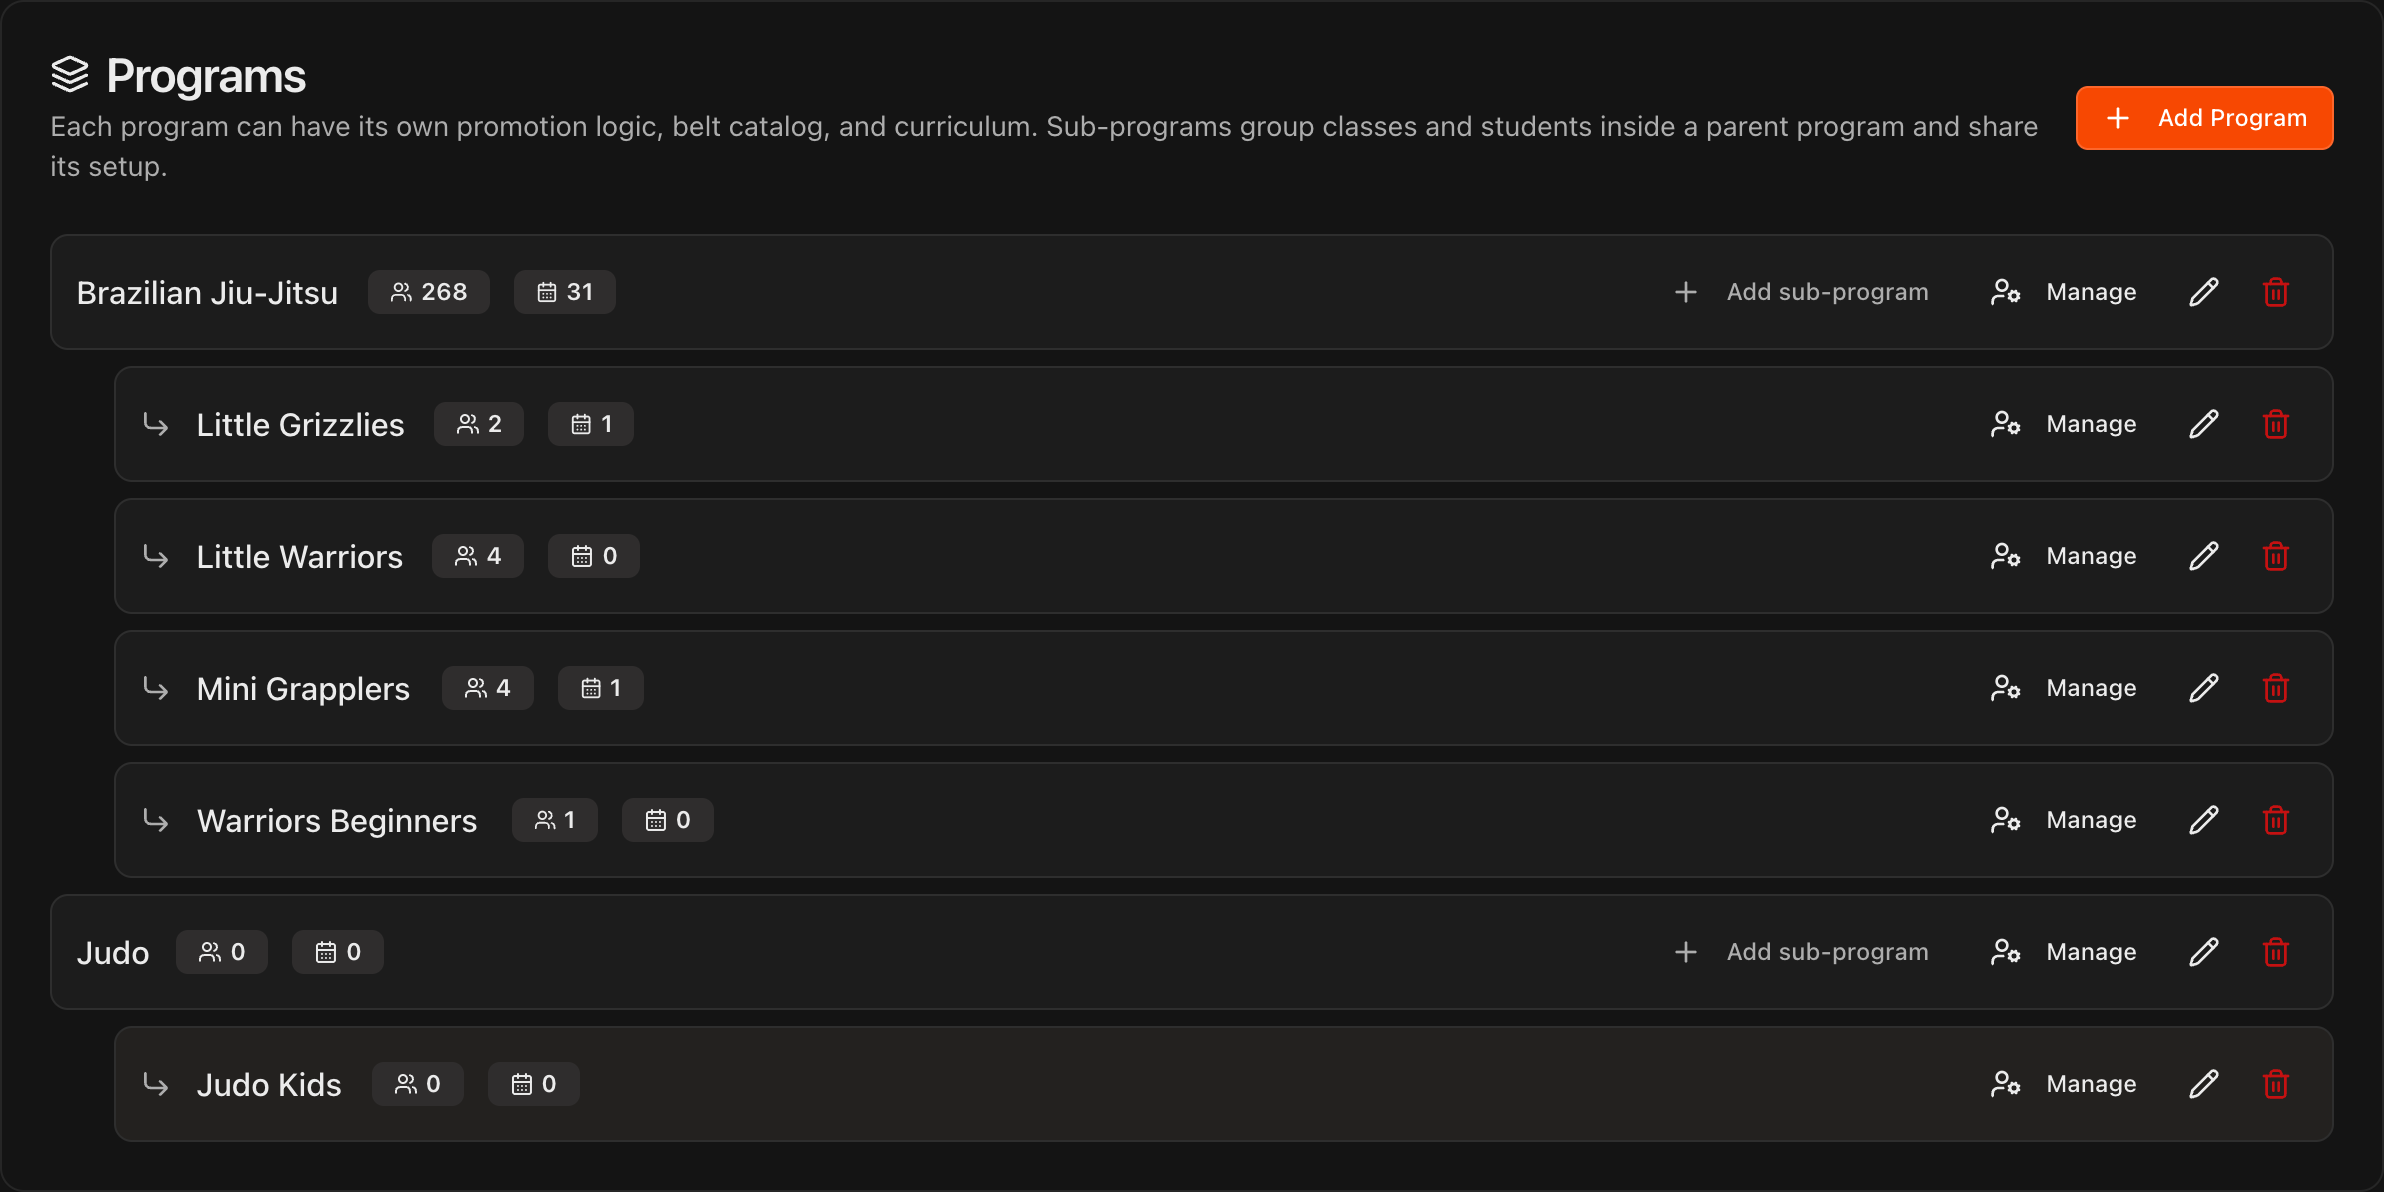
Create programs and sub-programs under Settings > Curriculum > Programs. A sub-program such as a kids group shares its parent's belts and curriculum.
Assign students to a program on the Student Information page > Details tab.
Assign a class to a program with the Program dropdown when adding or editing the class.
Attendance in a class assigned to a sub-program counts toward the parent program's promotion requirements.
Note
When a class is assigned to a program, students in that program appear first in the list when instructors select that class on the **Attendance** page. That makes taking attendance much faster.
Assign instructors to classes
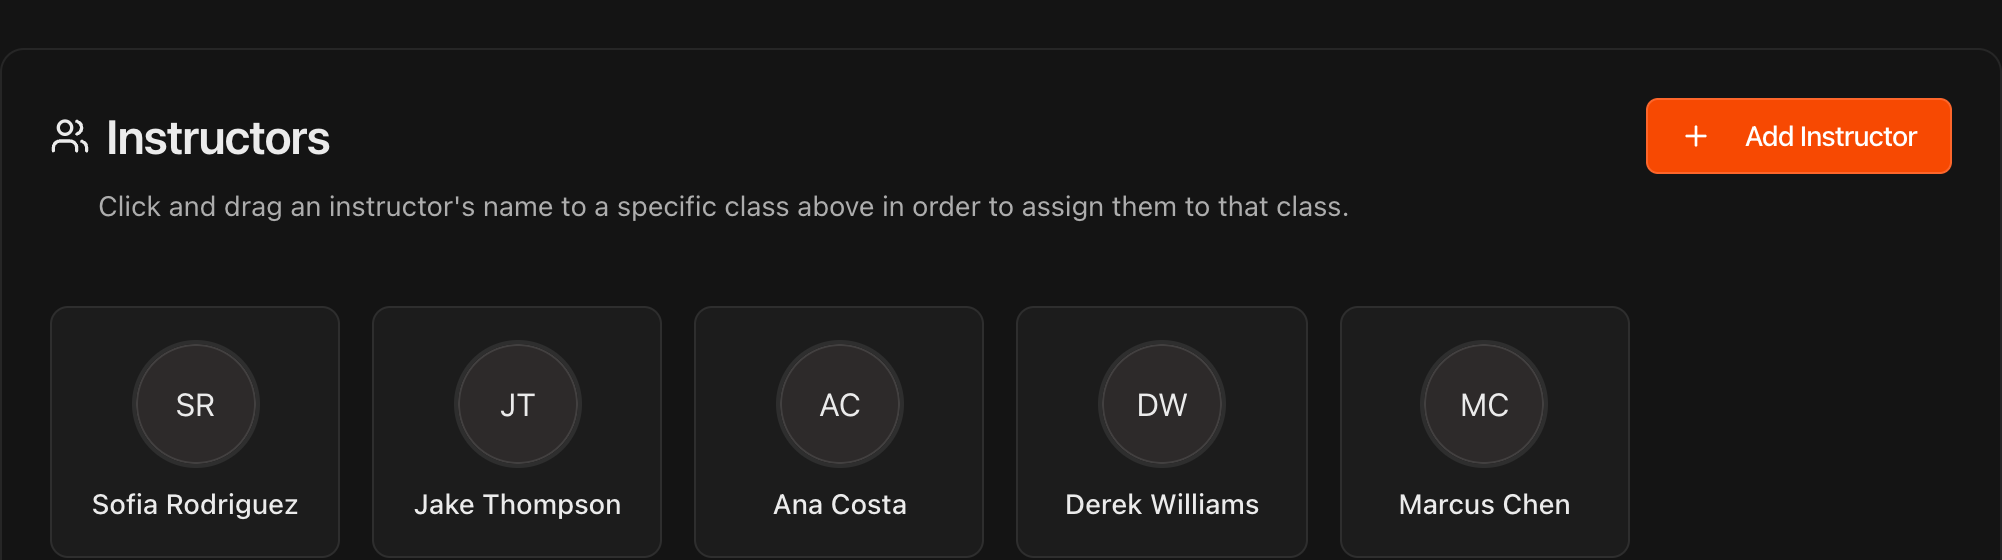
Set the Instructor field when adding or editing a class, or scroll to the Instructors section at the bottom of the Schedule page.
From there, click and drag an instructor's name onto a class to assign them to it.
Click Add Instructor to add a new instructor to your roster.
Note
When instructors log into their own Kmura portal, the **My Schedule** page shows the classes they are assigned to teach, and the **School Schedule** page shows the entire school schedule.
Run separate schedules for gyms or groups
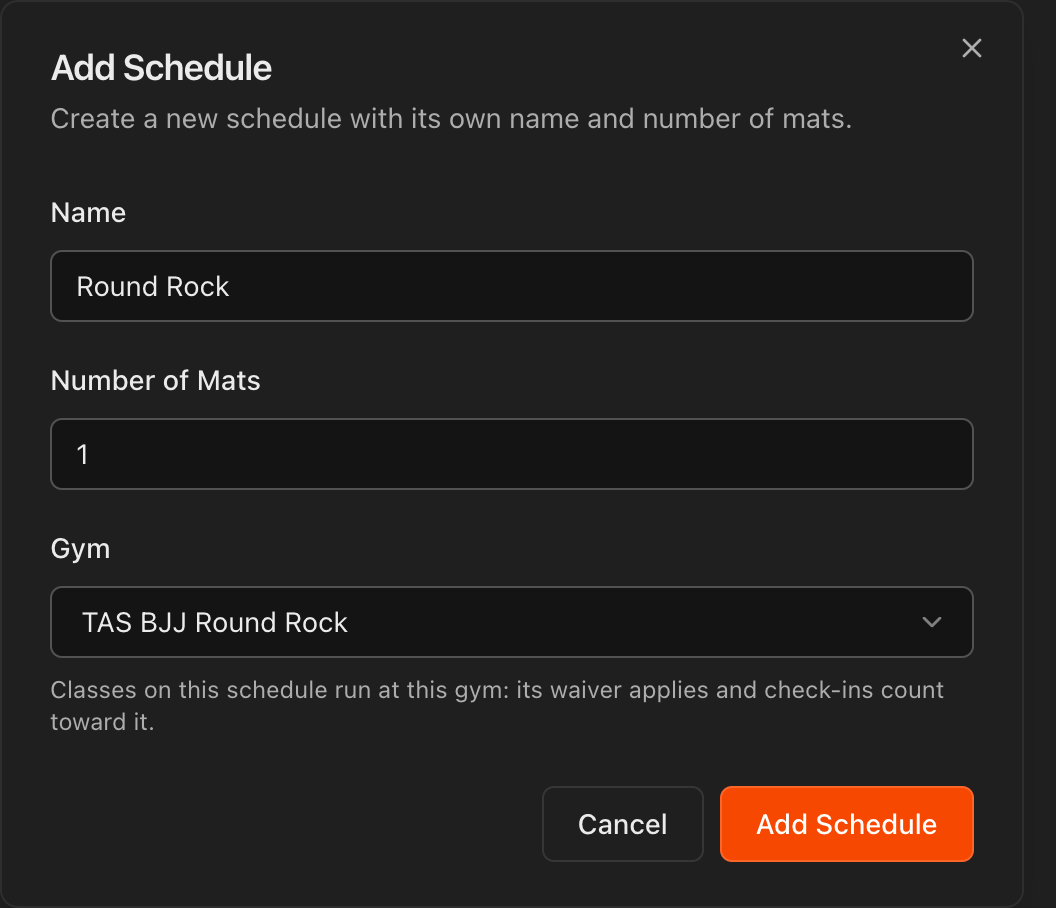
On the Schedule page, click Add Schedule. Give it a Name and Number of Mats, choose the Gym it belongs to, and click Add Schedule.
Classes on a schedule run at that gym: its waiver applies and check-ins count toward it. Each schedule gets its own weekly grid, with its own Embed and Add Class buttons.
Tip
You can also use extra schedules to split one gym into groups, for example one schedule for Adults BJJ and another for Youth BJJ. Both schedules point at the same gym.
Embed your schedule on your website
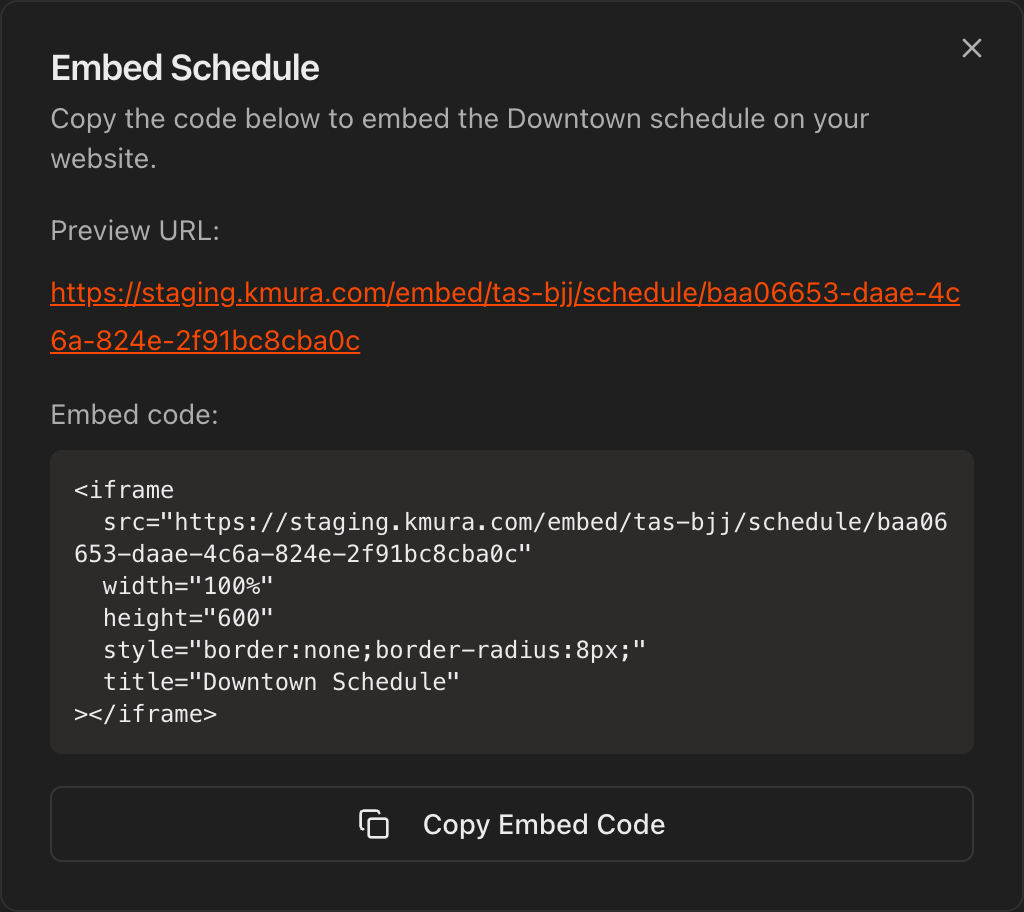
Click Embed at the top right of a schedule.
In the Embed Schedule dialog, click Copy Embed Code and paste the iFrame code into your academy's website.
Note
Any change you make to the schedule in Kmura is reflected on your website automatically. You never have to update the site by hand.