Open Membership Plans and add a plan
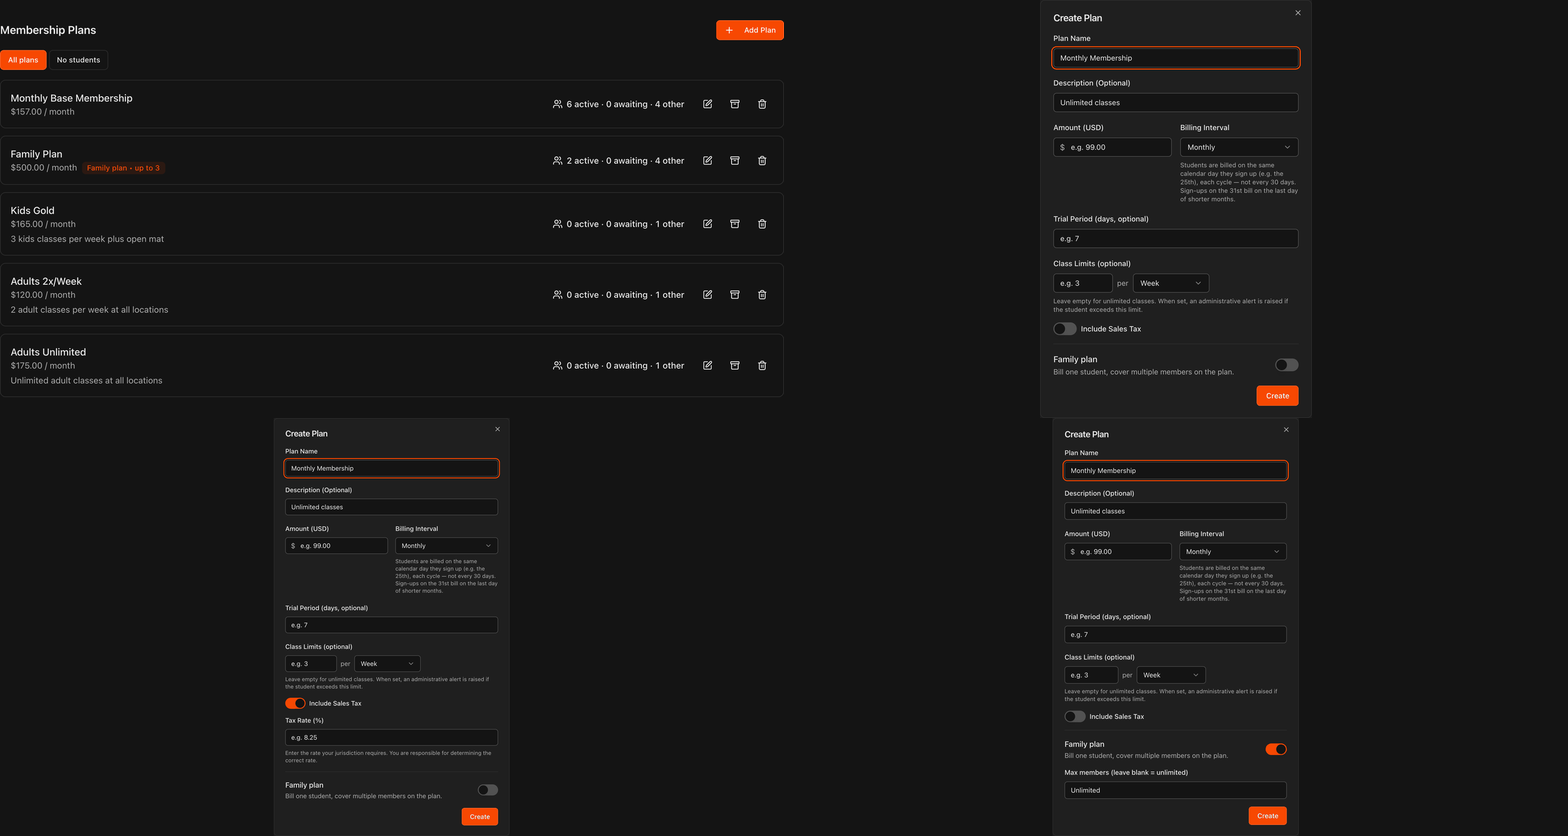
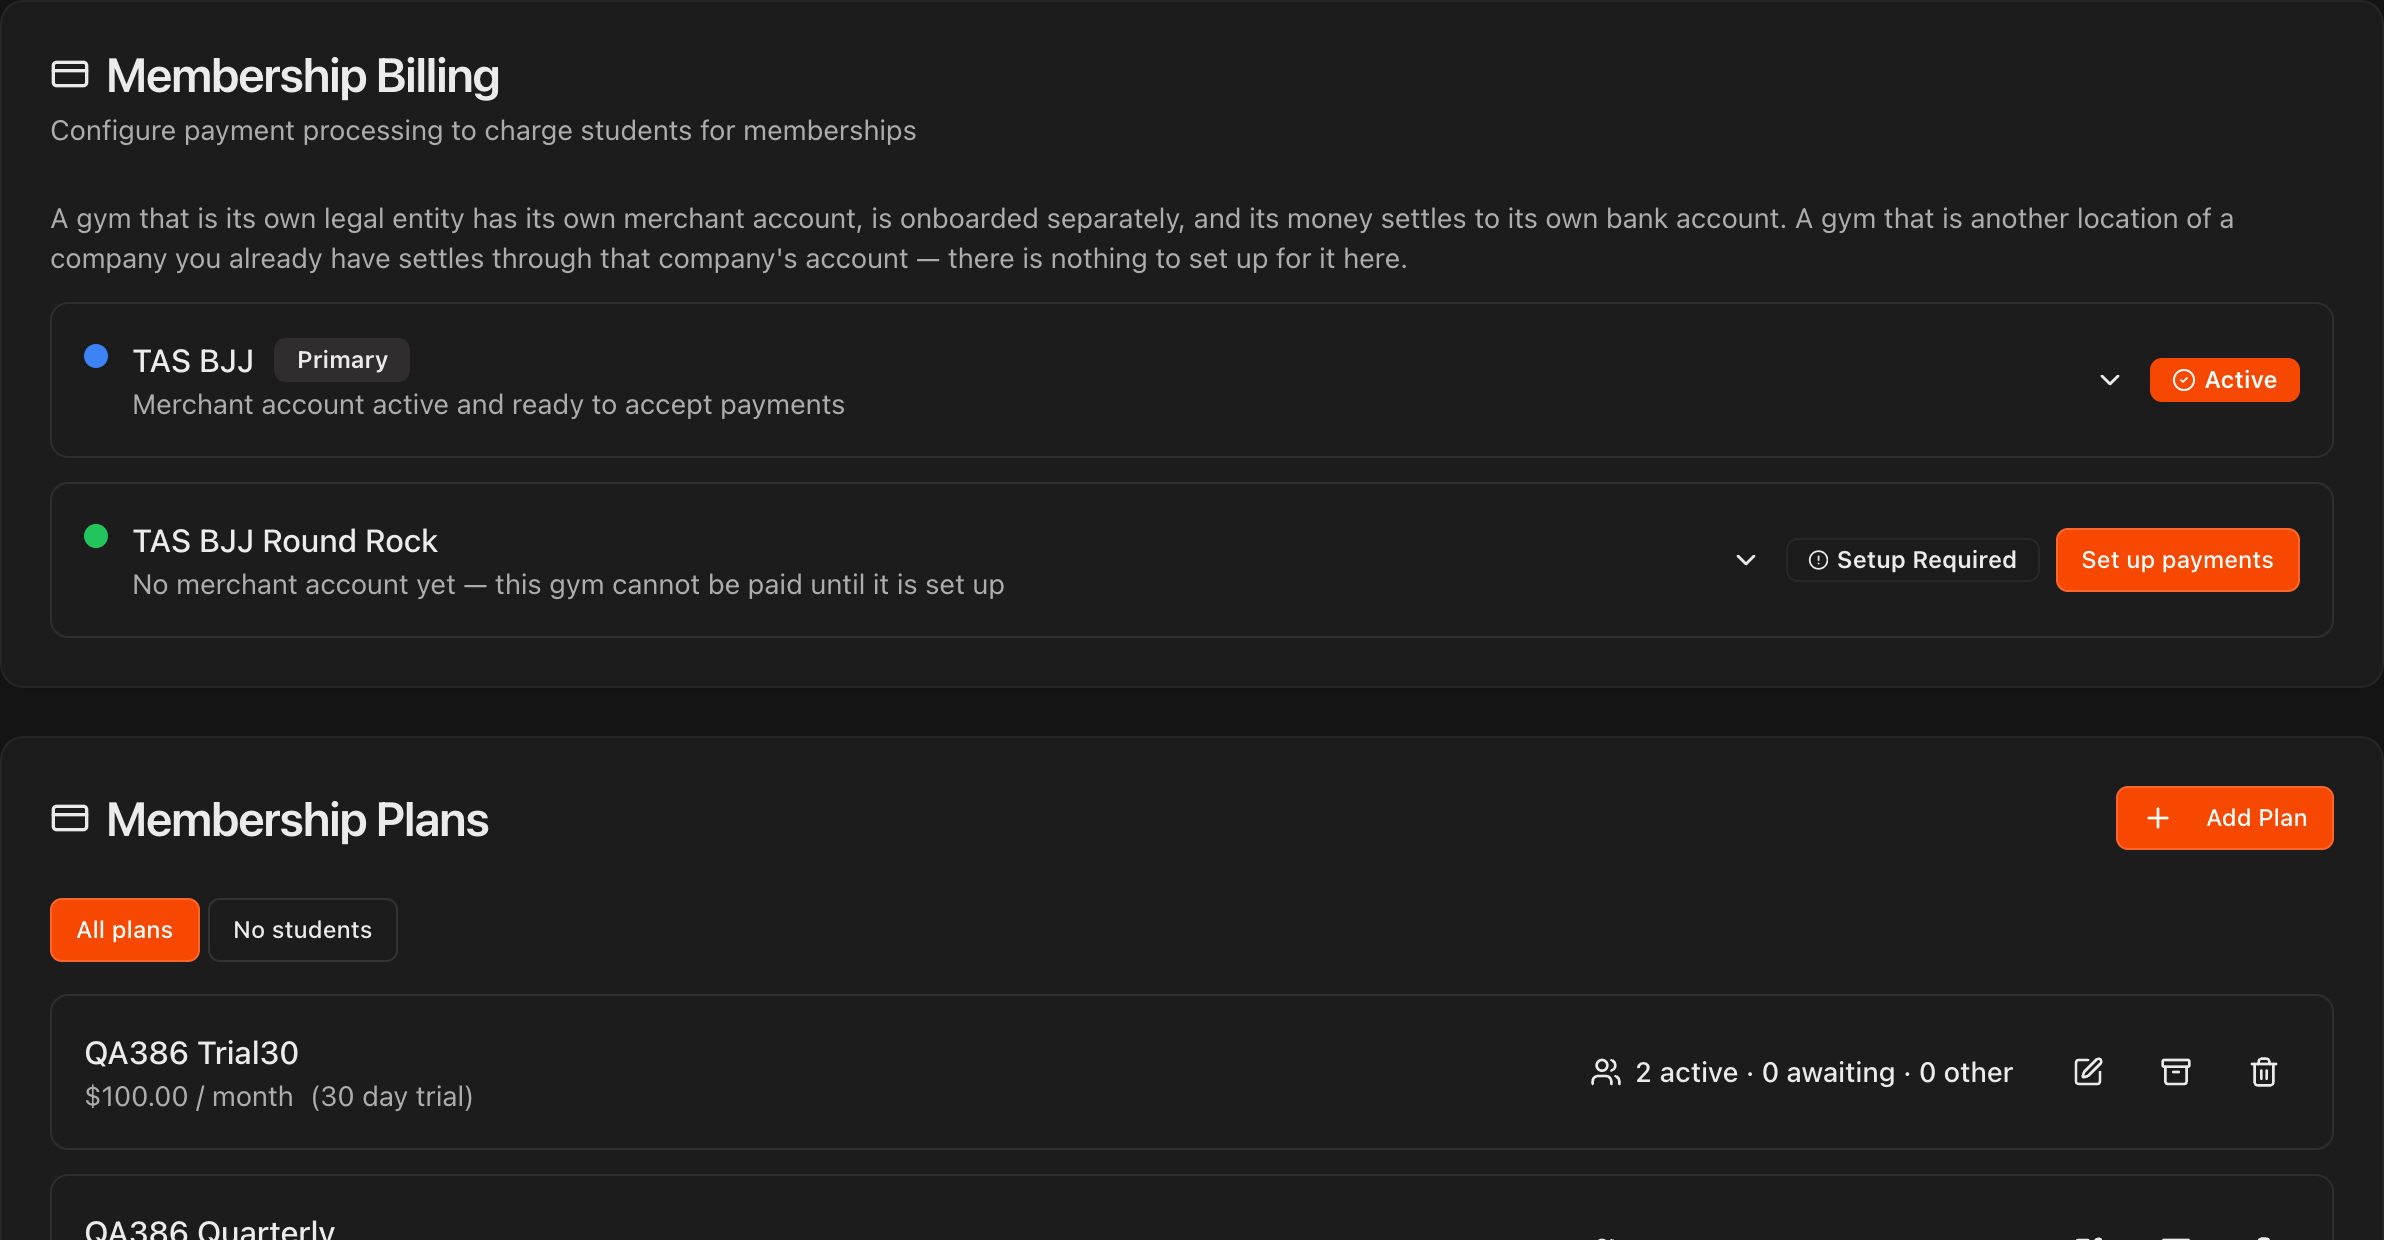
Go to Settings, open Payments, and scroll to Membership Plans.
You can create and save as many base plans as you like. Existing plans are listed with their price, billing interval, and how many students are on each.
Click Add Plan to create a new base plan.
Note
Your Payment Status must show Active before you can charge students through Kmura. See the Apply To Accept Payments guide if you have not been approved yet.
Configure the plan
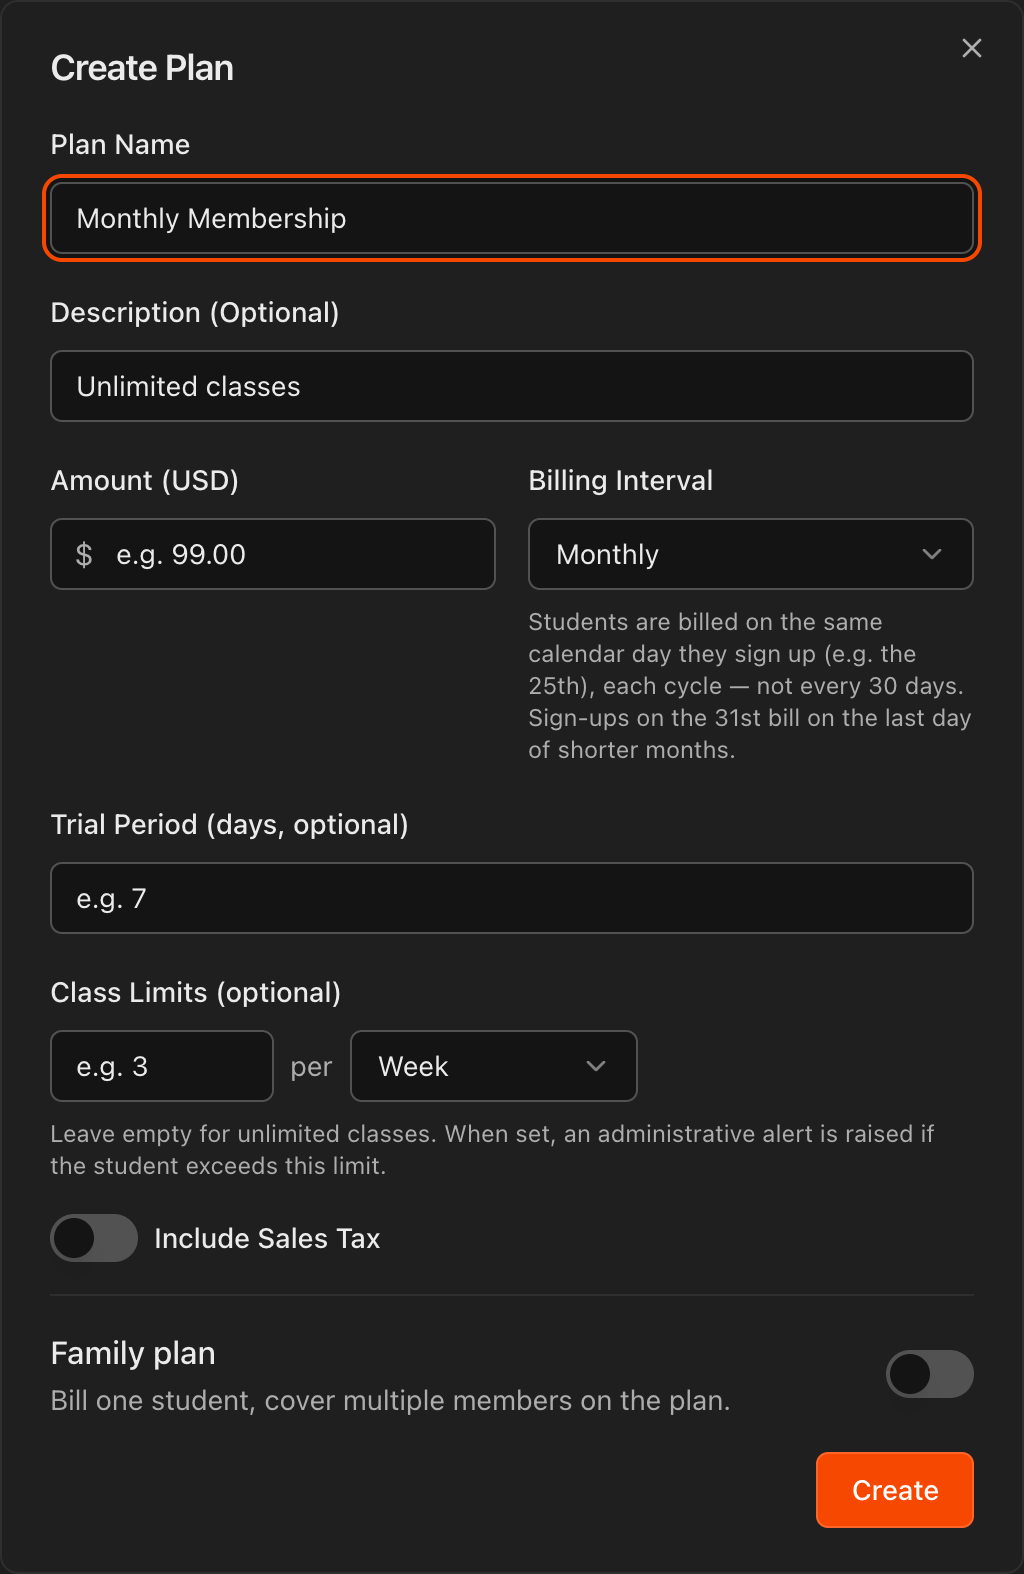
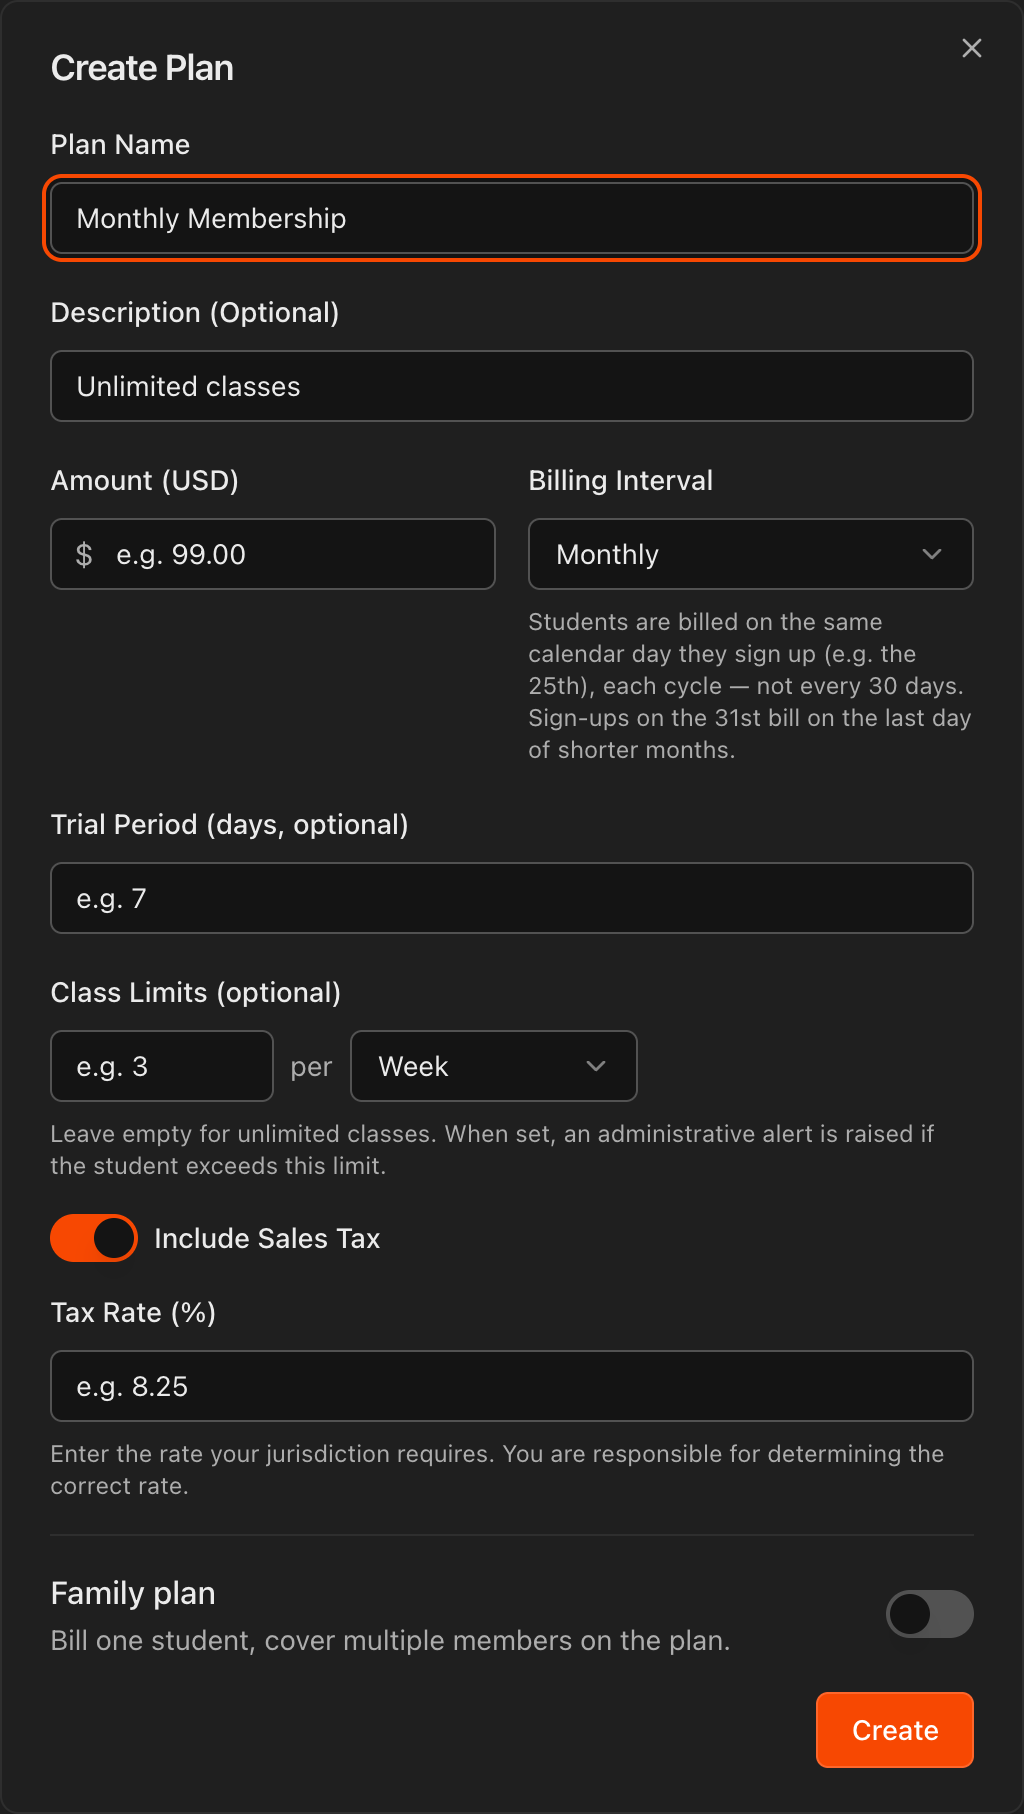
In the Create Plan dialog, enter a Plan Name and an optional Description.
Set the Amount (USD) and choose a Billing Interval (for example, Monthly).
Optionally add a Trial Period in days.
Optionally set Class Limits, such as 3 classes per week. Leave it empty for unlimited classes.
Click Create to save the plan. It appears immediately in your Membership Plans list.
Tip
When a Class Limit is set, Kmura raises an administrative alert if the student exceeds the limit.
Tip
Use clear, student-facing names like Adults Unlimited or Kids 2x/Week. These names appear when you assign students and on their receipts.
Note
With **Dual Pricing** on, the **Amount** you set is the bank (ACH) price, and Kmura shows the matching card price next to each plan in **Membership Plans**. See Setting Up Dual Pricing.
Include video content in the plan
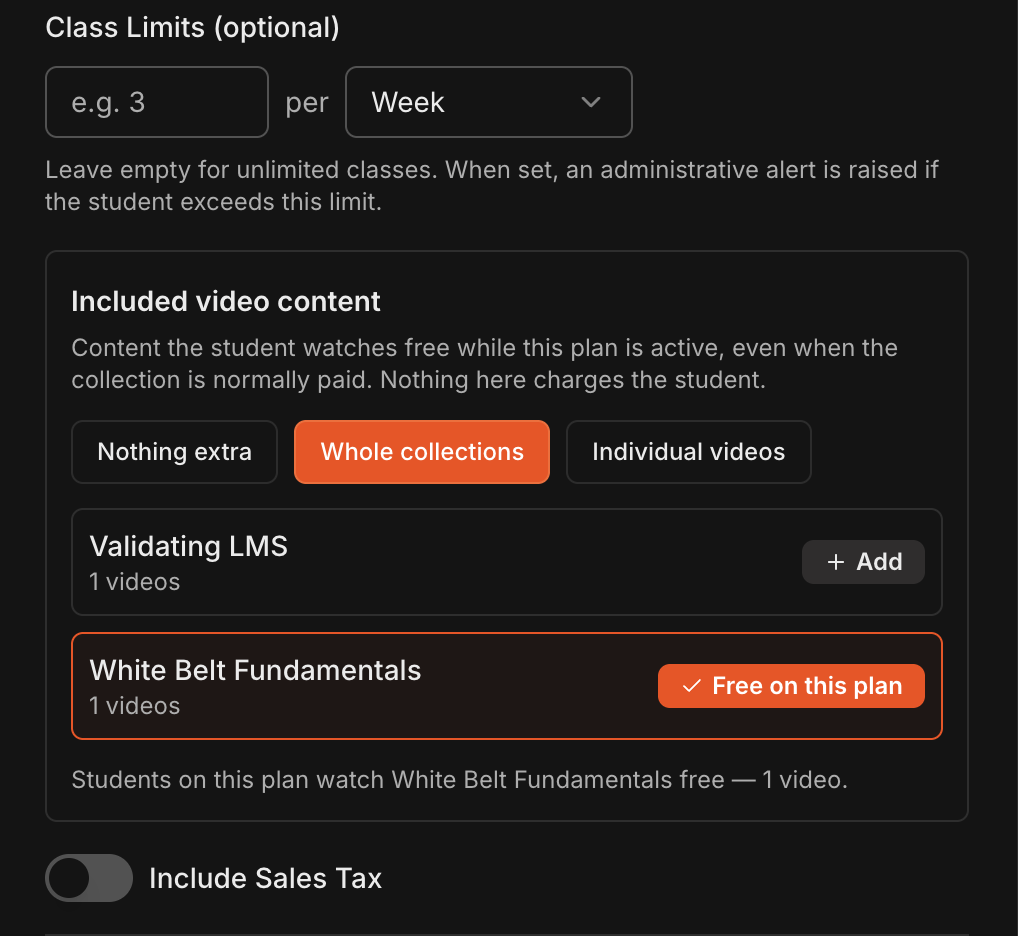
In the Create Plan dialog, scroll to Included video content, below Class Limits.
Choose Nothing extra, Whole collections or Individual videos.
Click Add next to each collection or video the plan should include. It changes to Free on this plan, and a summary line confirms what students on the plan get.
Click Create.
Note
Included content is free only while the plan is active. It does not change the collection's own price for other students, and it never charges the student.
Tip
Use this to bundle a paid technique library into a premium membership tier.
Add sales tax if desired
In the Create Plan dialog, turn on Include Sales Tax to collect tax on this plan.
Enter the Tax Rate (%) your jurisdiction requires.
Note
You are responsible for determining the correct rate for your jurisdiction. When applied, sales tax is itemized as a separate line item on student email receipts.
Create a family plan
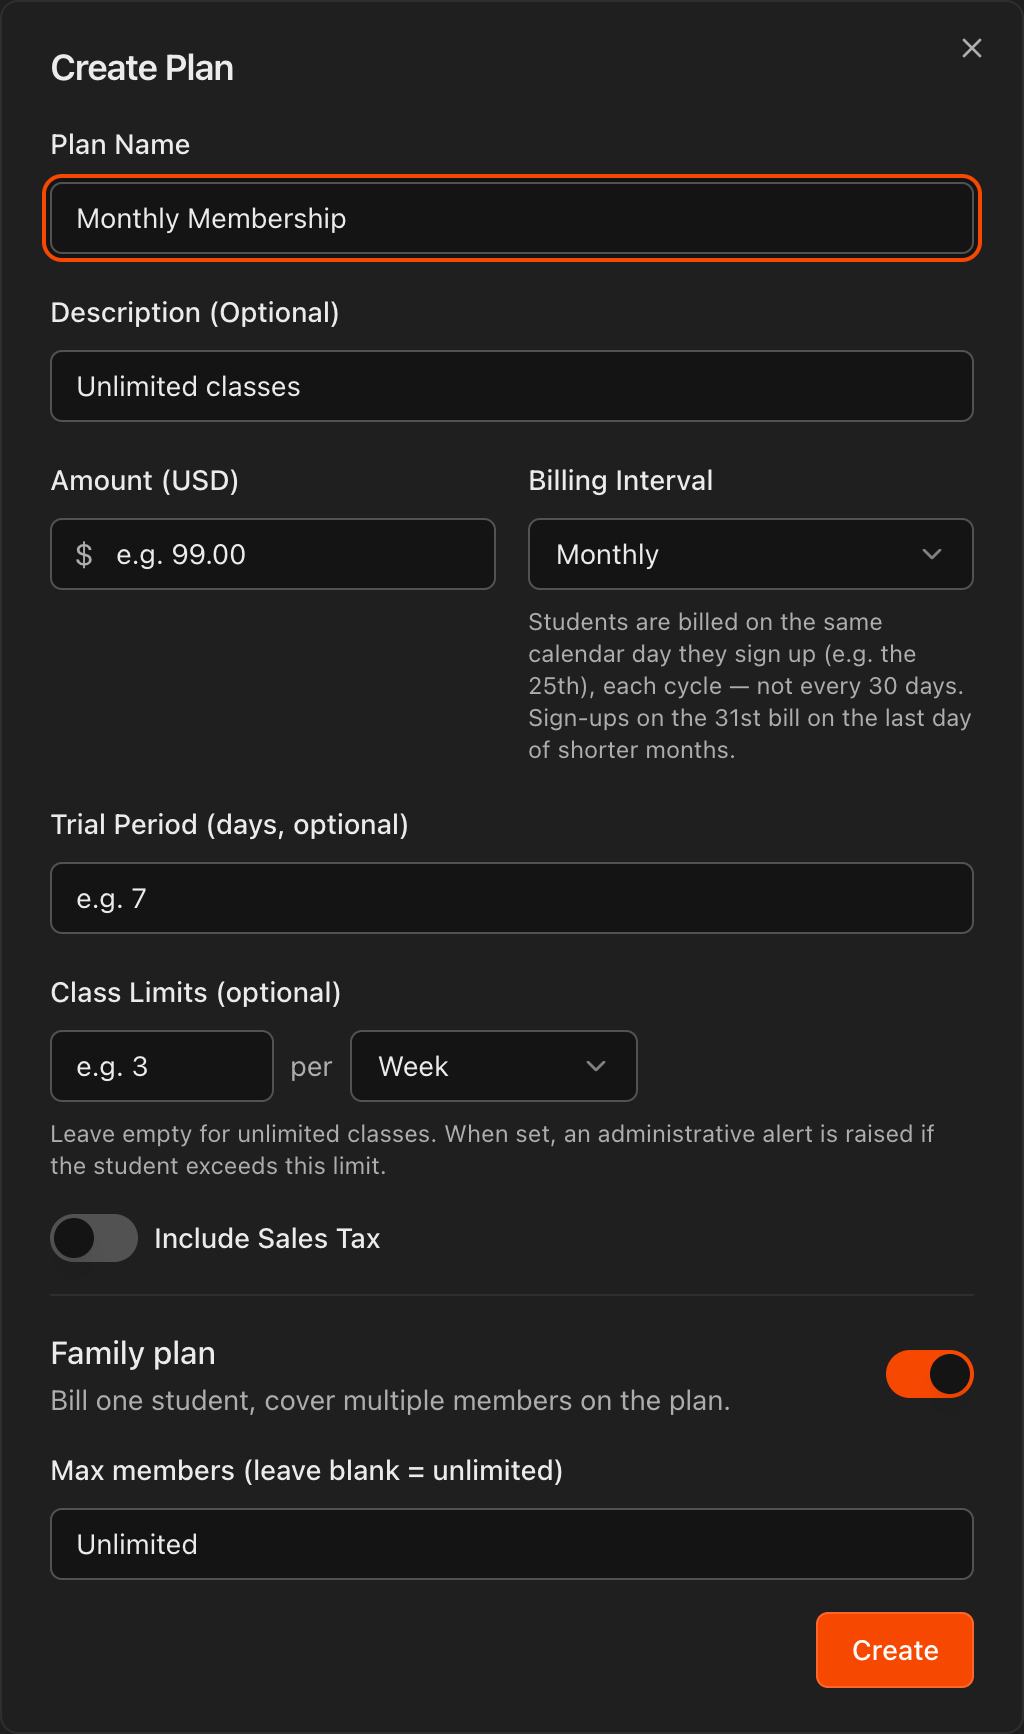
Turn on the Family plan toggle to bill one student while covering multiple family members on the plan.
Optionally set Max members, or leave it blank for unlimited.
Click Create to save the family plan.
Note
Whoever is first assigned to a family plan (from their student information page) becomes the payer. While assigning that student, you can add the other members of the family, who are part of the plan but are not payers.