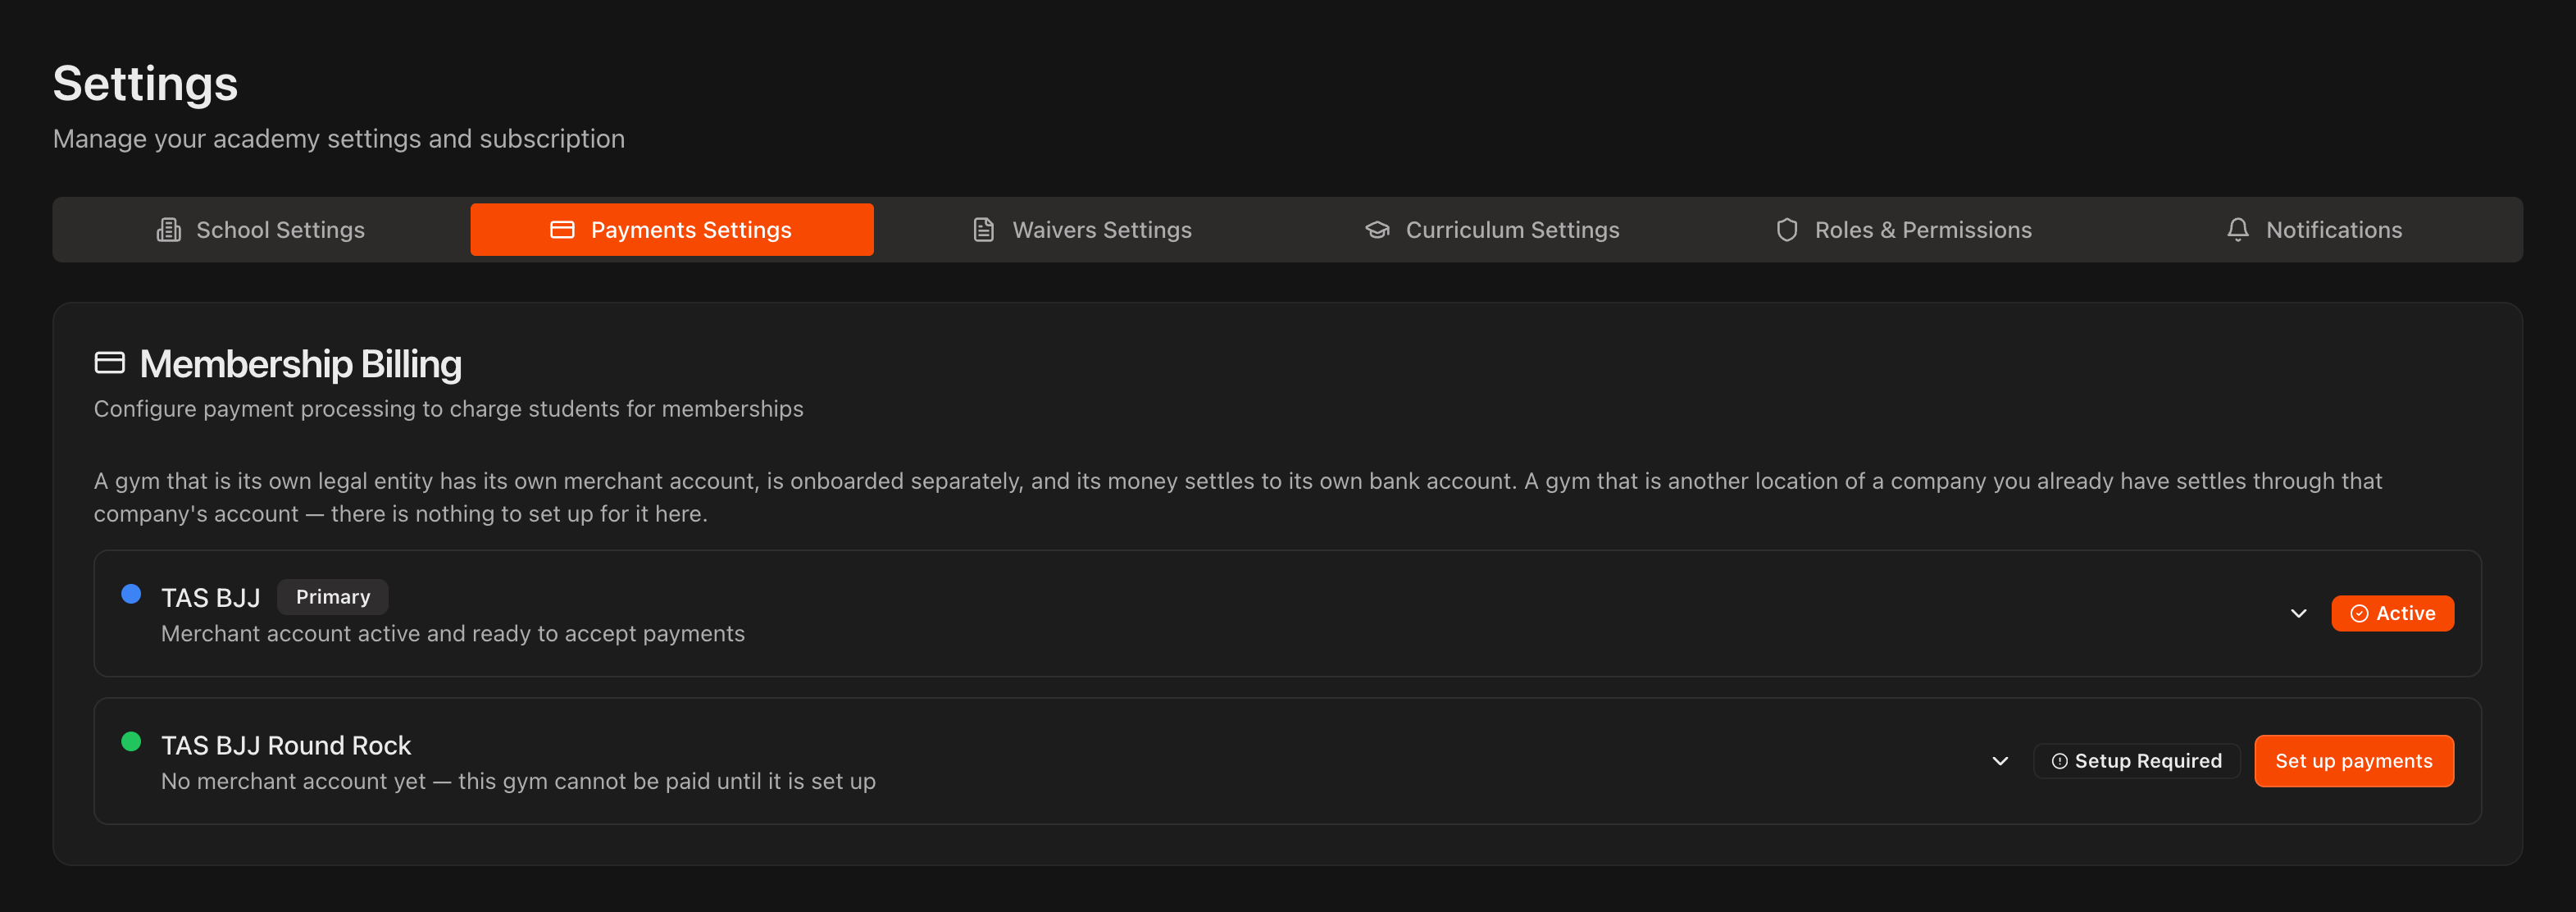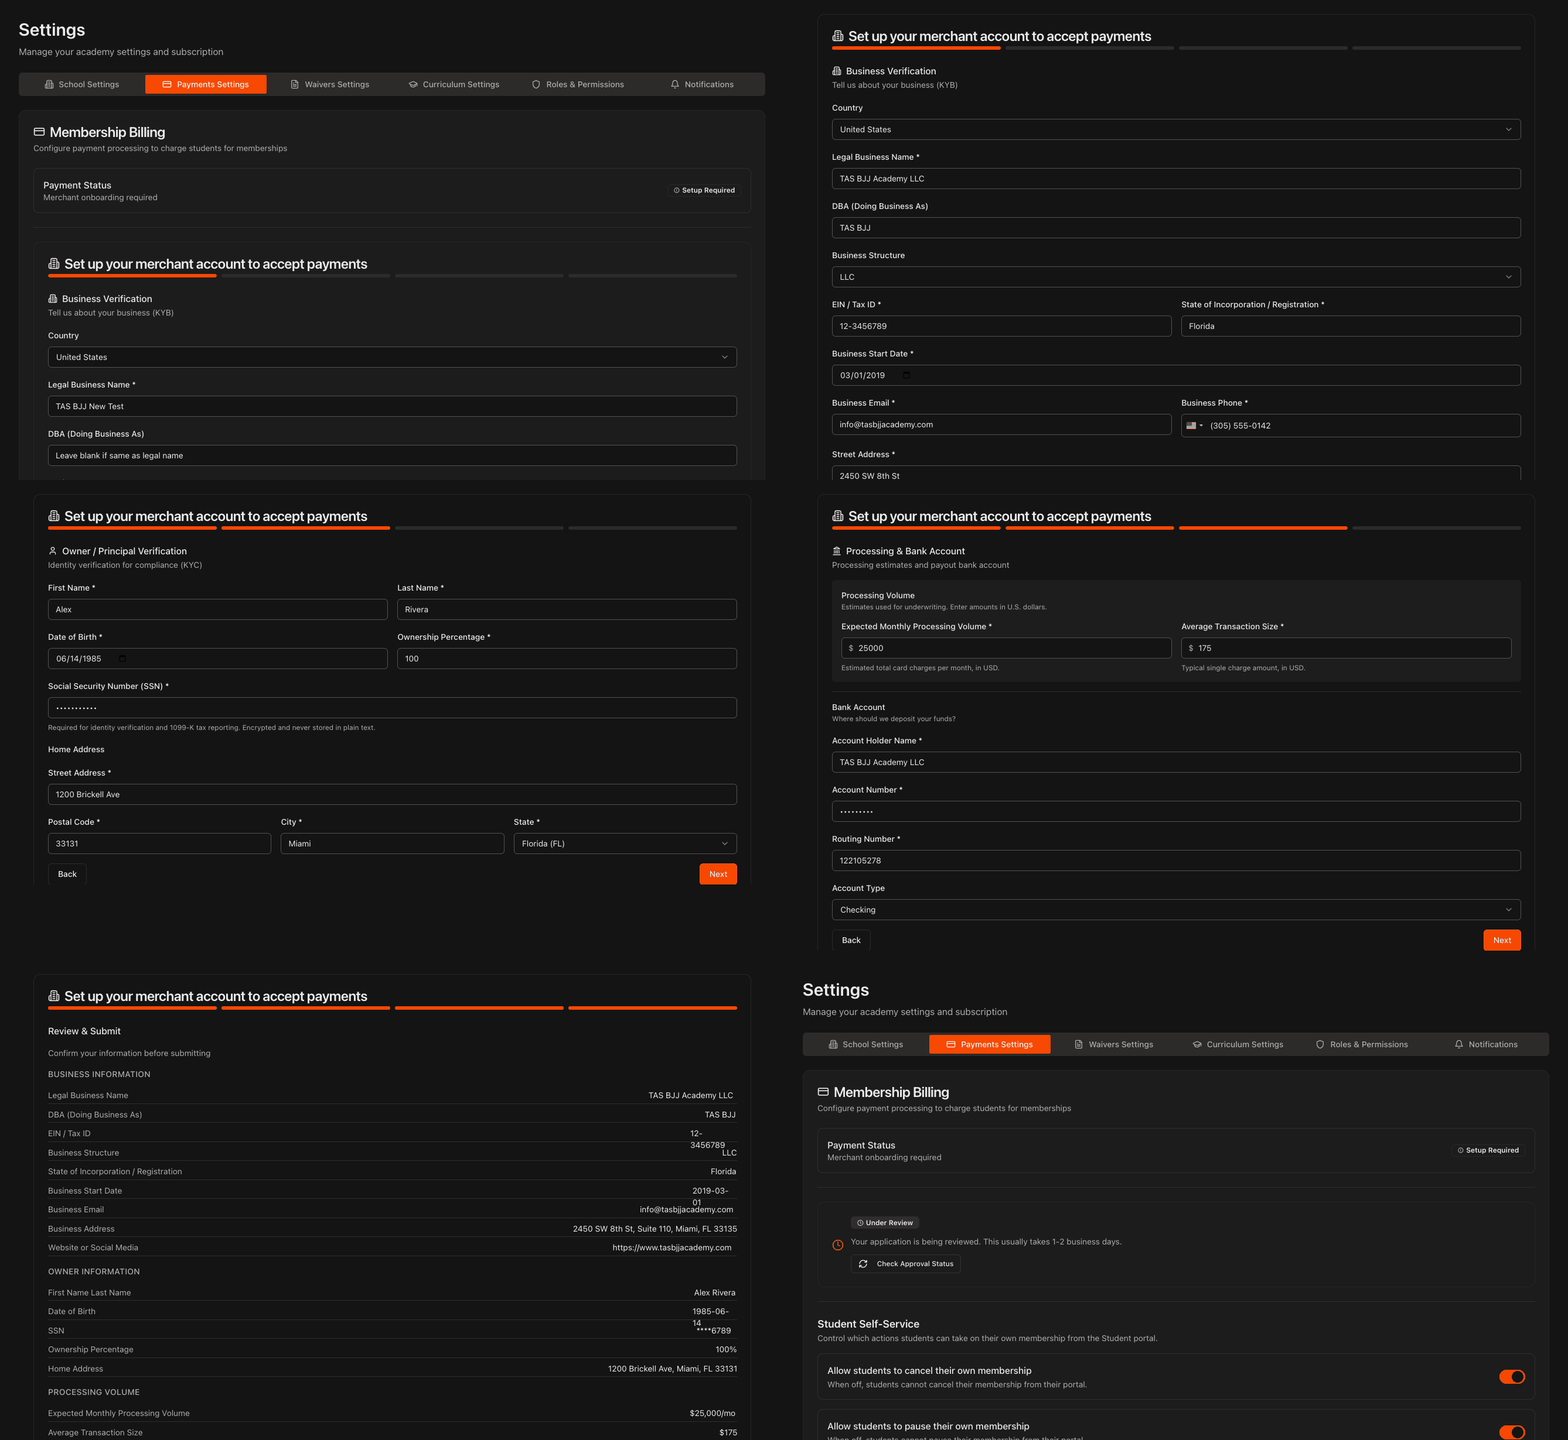
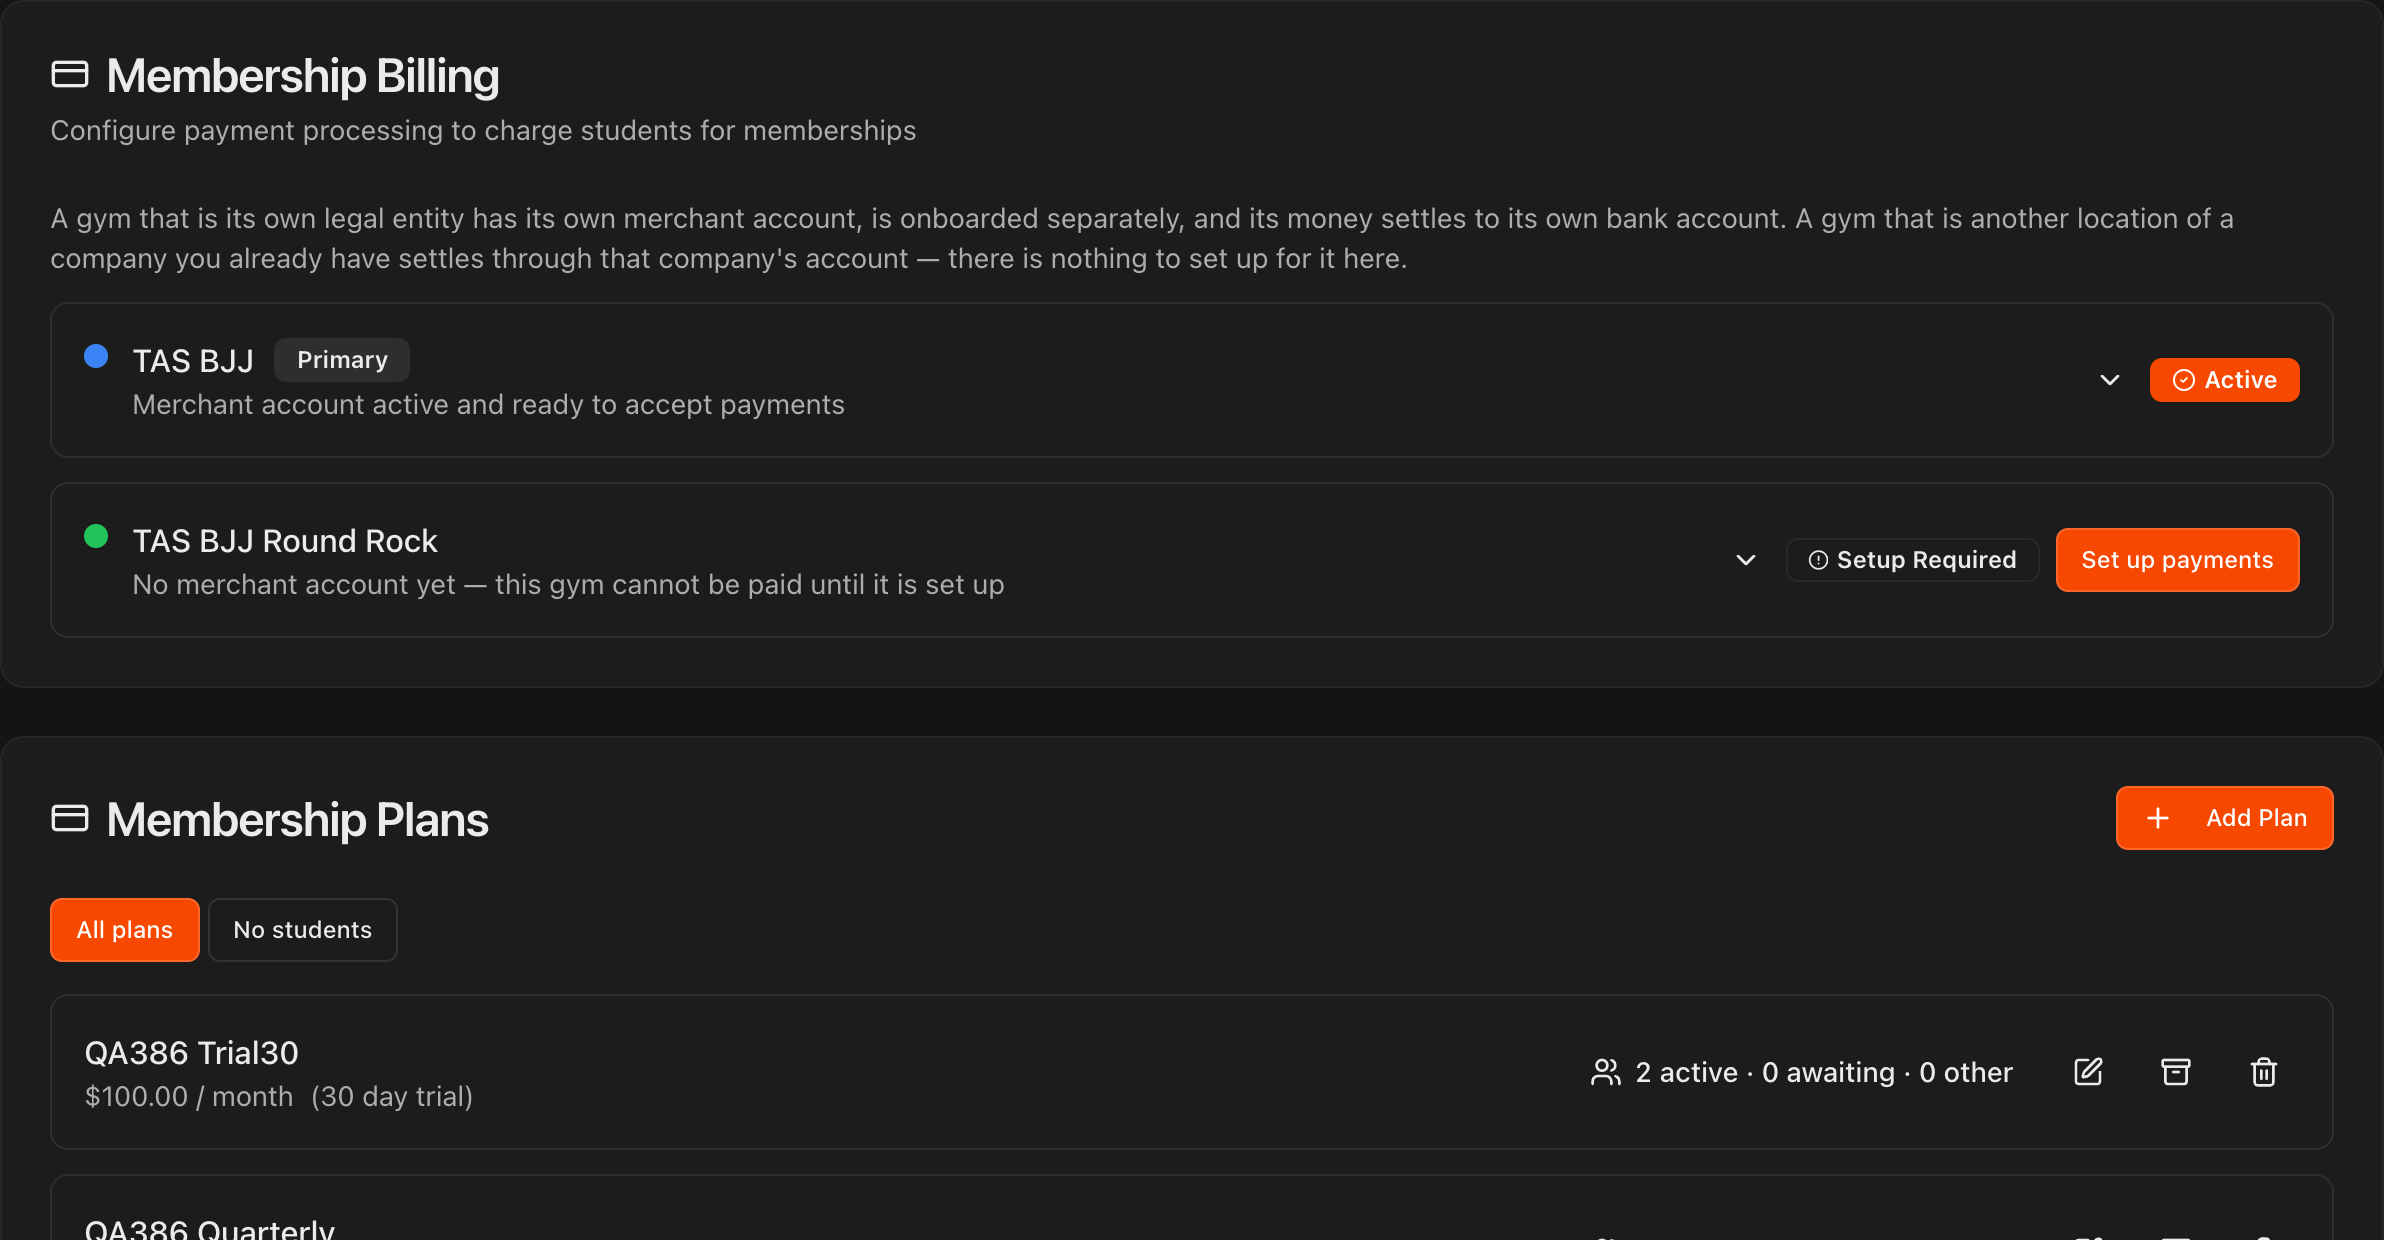
Open your Payments Settings
Go to Settings and open Payments.
Under Membership Billing, Payment Status shows Setup Required until your application is approved.
Directly beneath it is the application, titled Set up your merchant account to accept payments. It has three pages plus a final review page, and the progress bar at the top tracks where you are.
Note
Everything you enter in this application is relayed directly to our Tier 1 PCI-compliant payment processor. Kmura does not store this information on its servers.
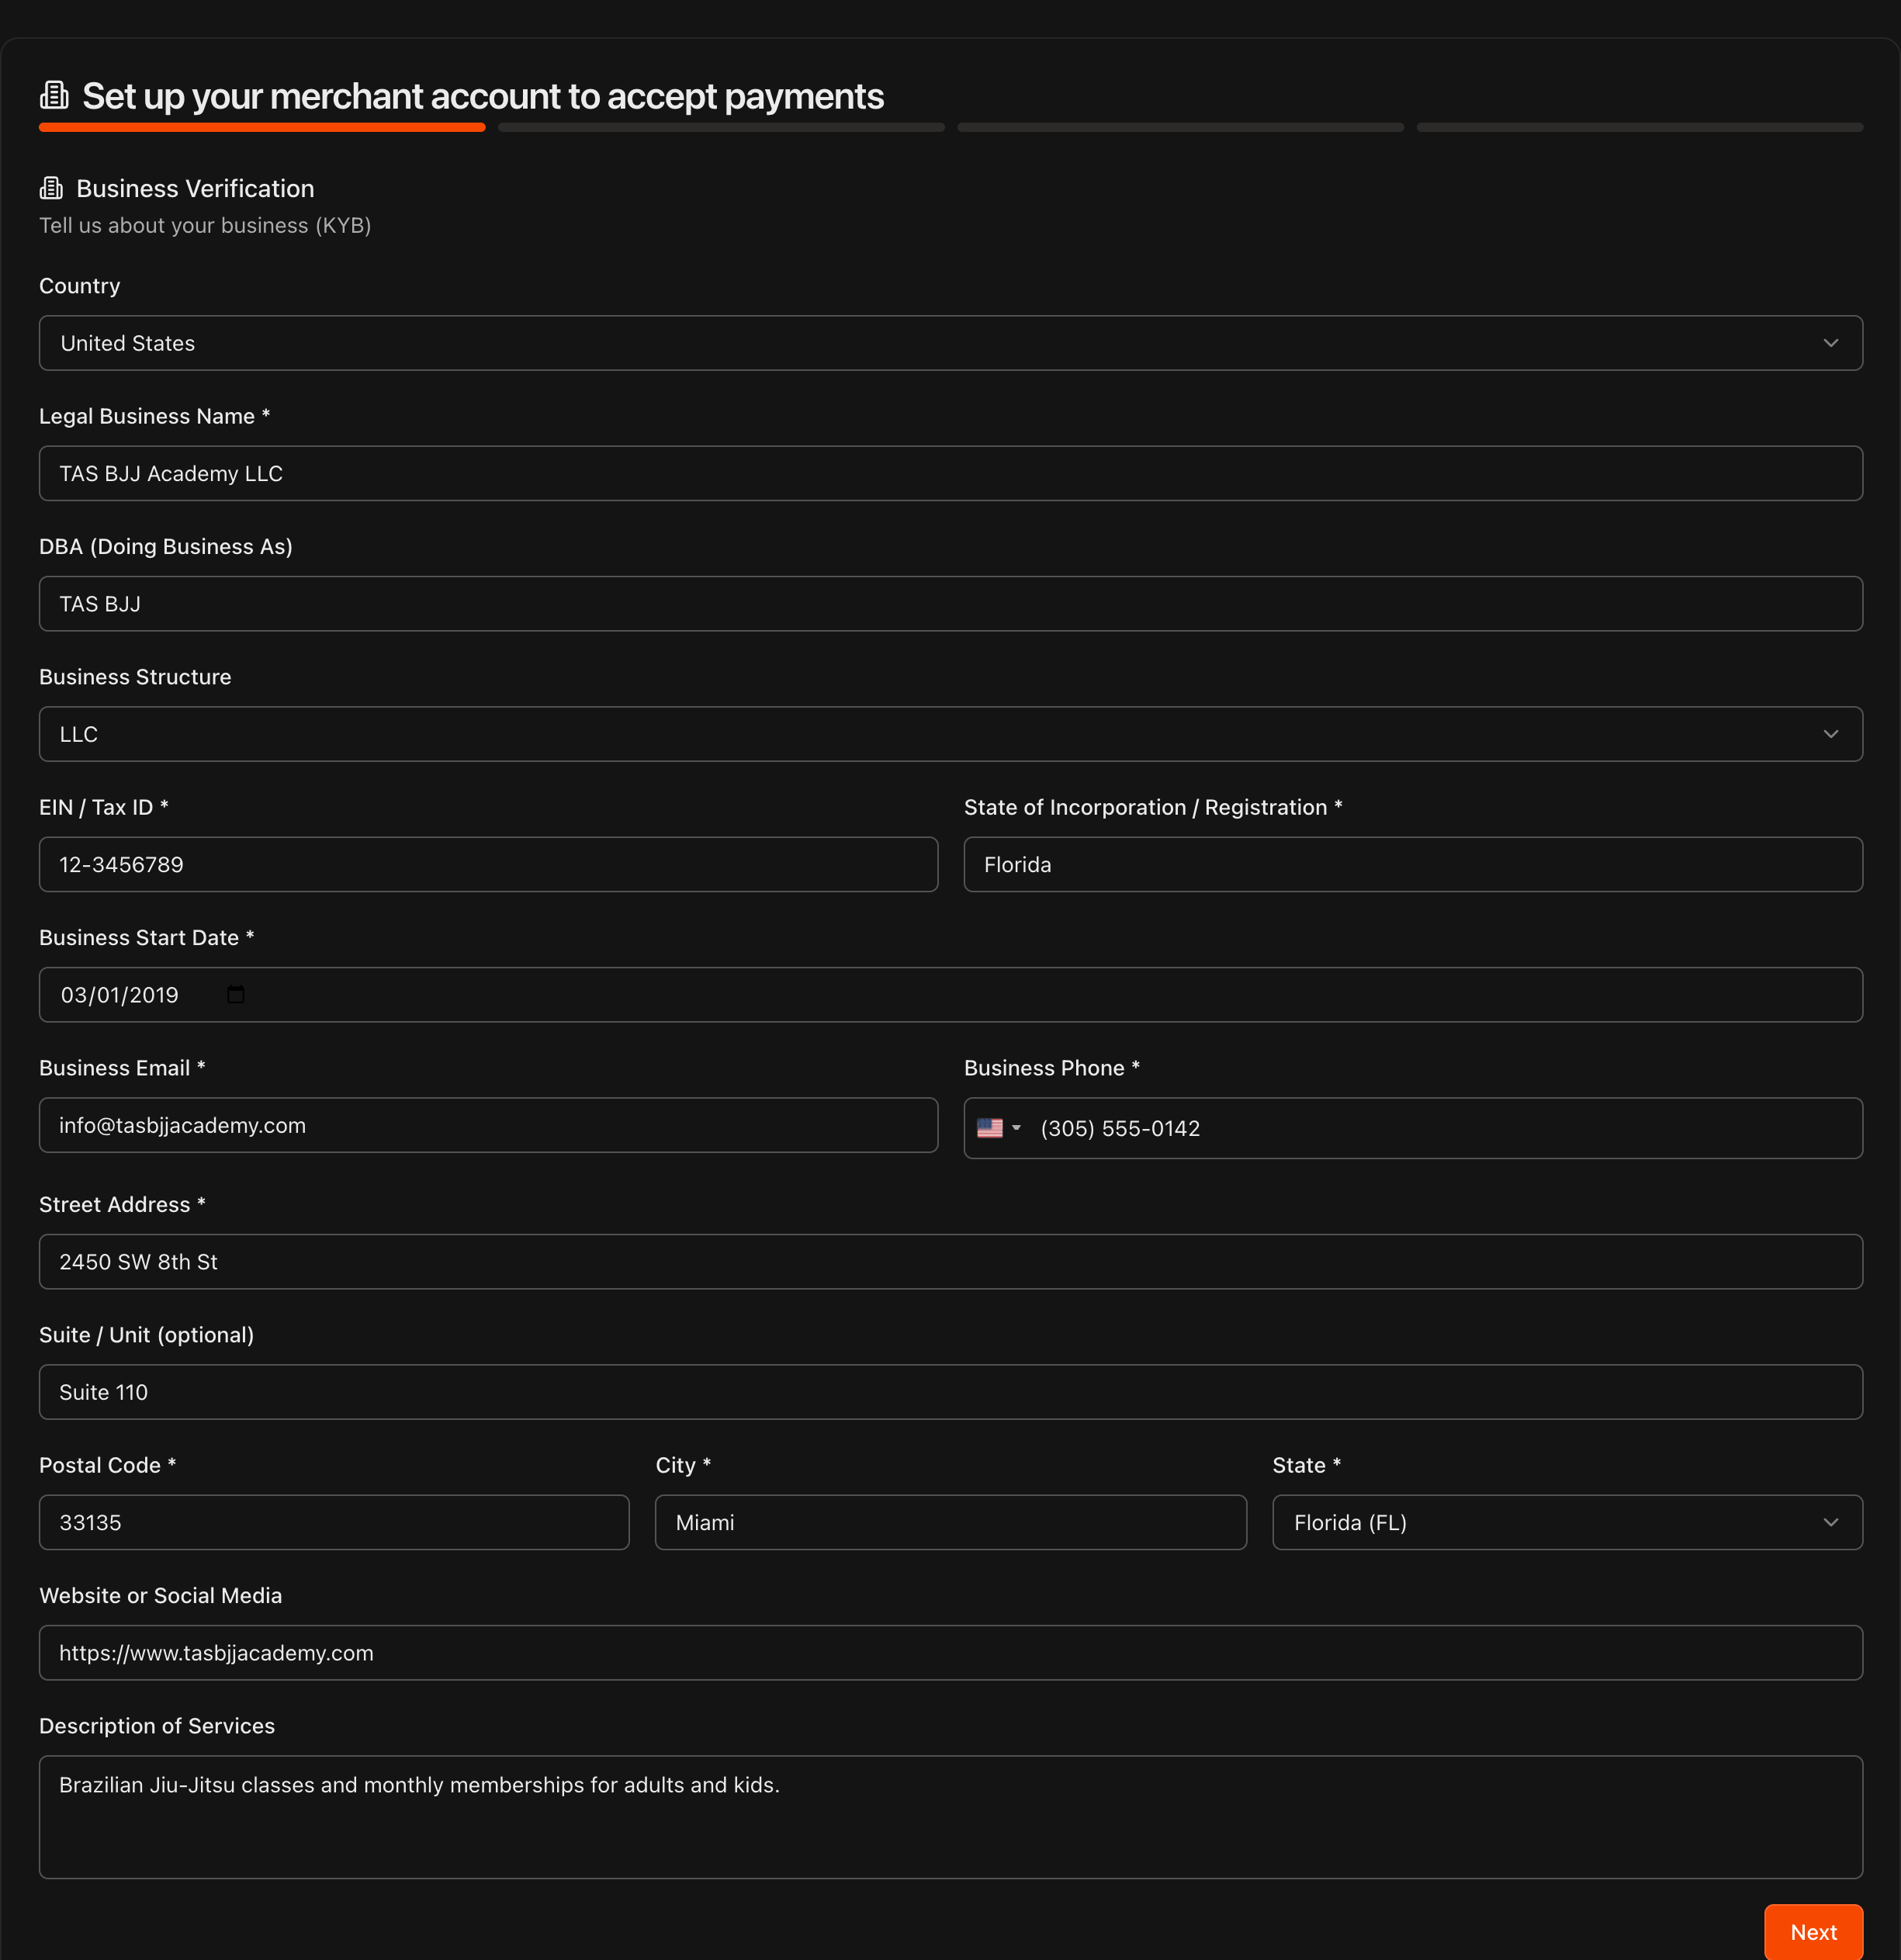
Enter your business information
The first page is Business Verification. Choose your Country, then enter your Legal Business Name and, if you operate under a different name, your DBA (Doing Business As).
Select your Business Structure: Sole Proprietorship, LLC, Corporation, or Partnership. For an LLC, corporation, or partnership, also enter your EIN / Tax ID and State of Incorporation / Registration.
Enter your Business Start Date, Business Email, Business Phone, and your business address (Street Address, Suite / Unit, Postal Code, City, and State).
Optionally add your Website or Social Media and a short Description of Services, then click Next.
Tip
The more information you provide, the more likely you are to be approved without being asked for additional supporting documentation. Fill in the optional fields too.
Tip
Use the exact legal name and EIN that are on file with the IRS. A mismatch is the most common reason an application needs a second look.
Enter the owner's information
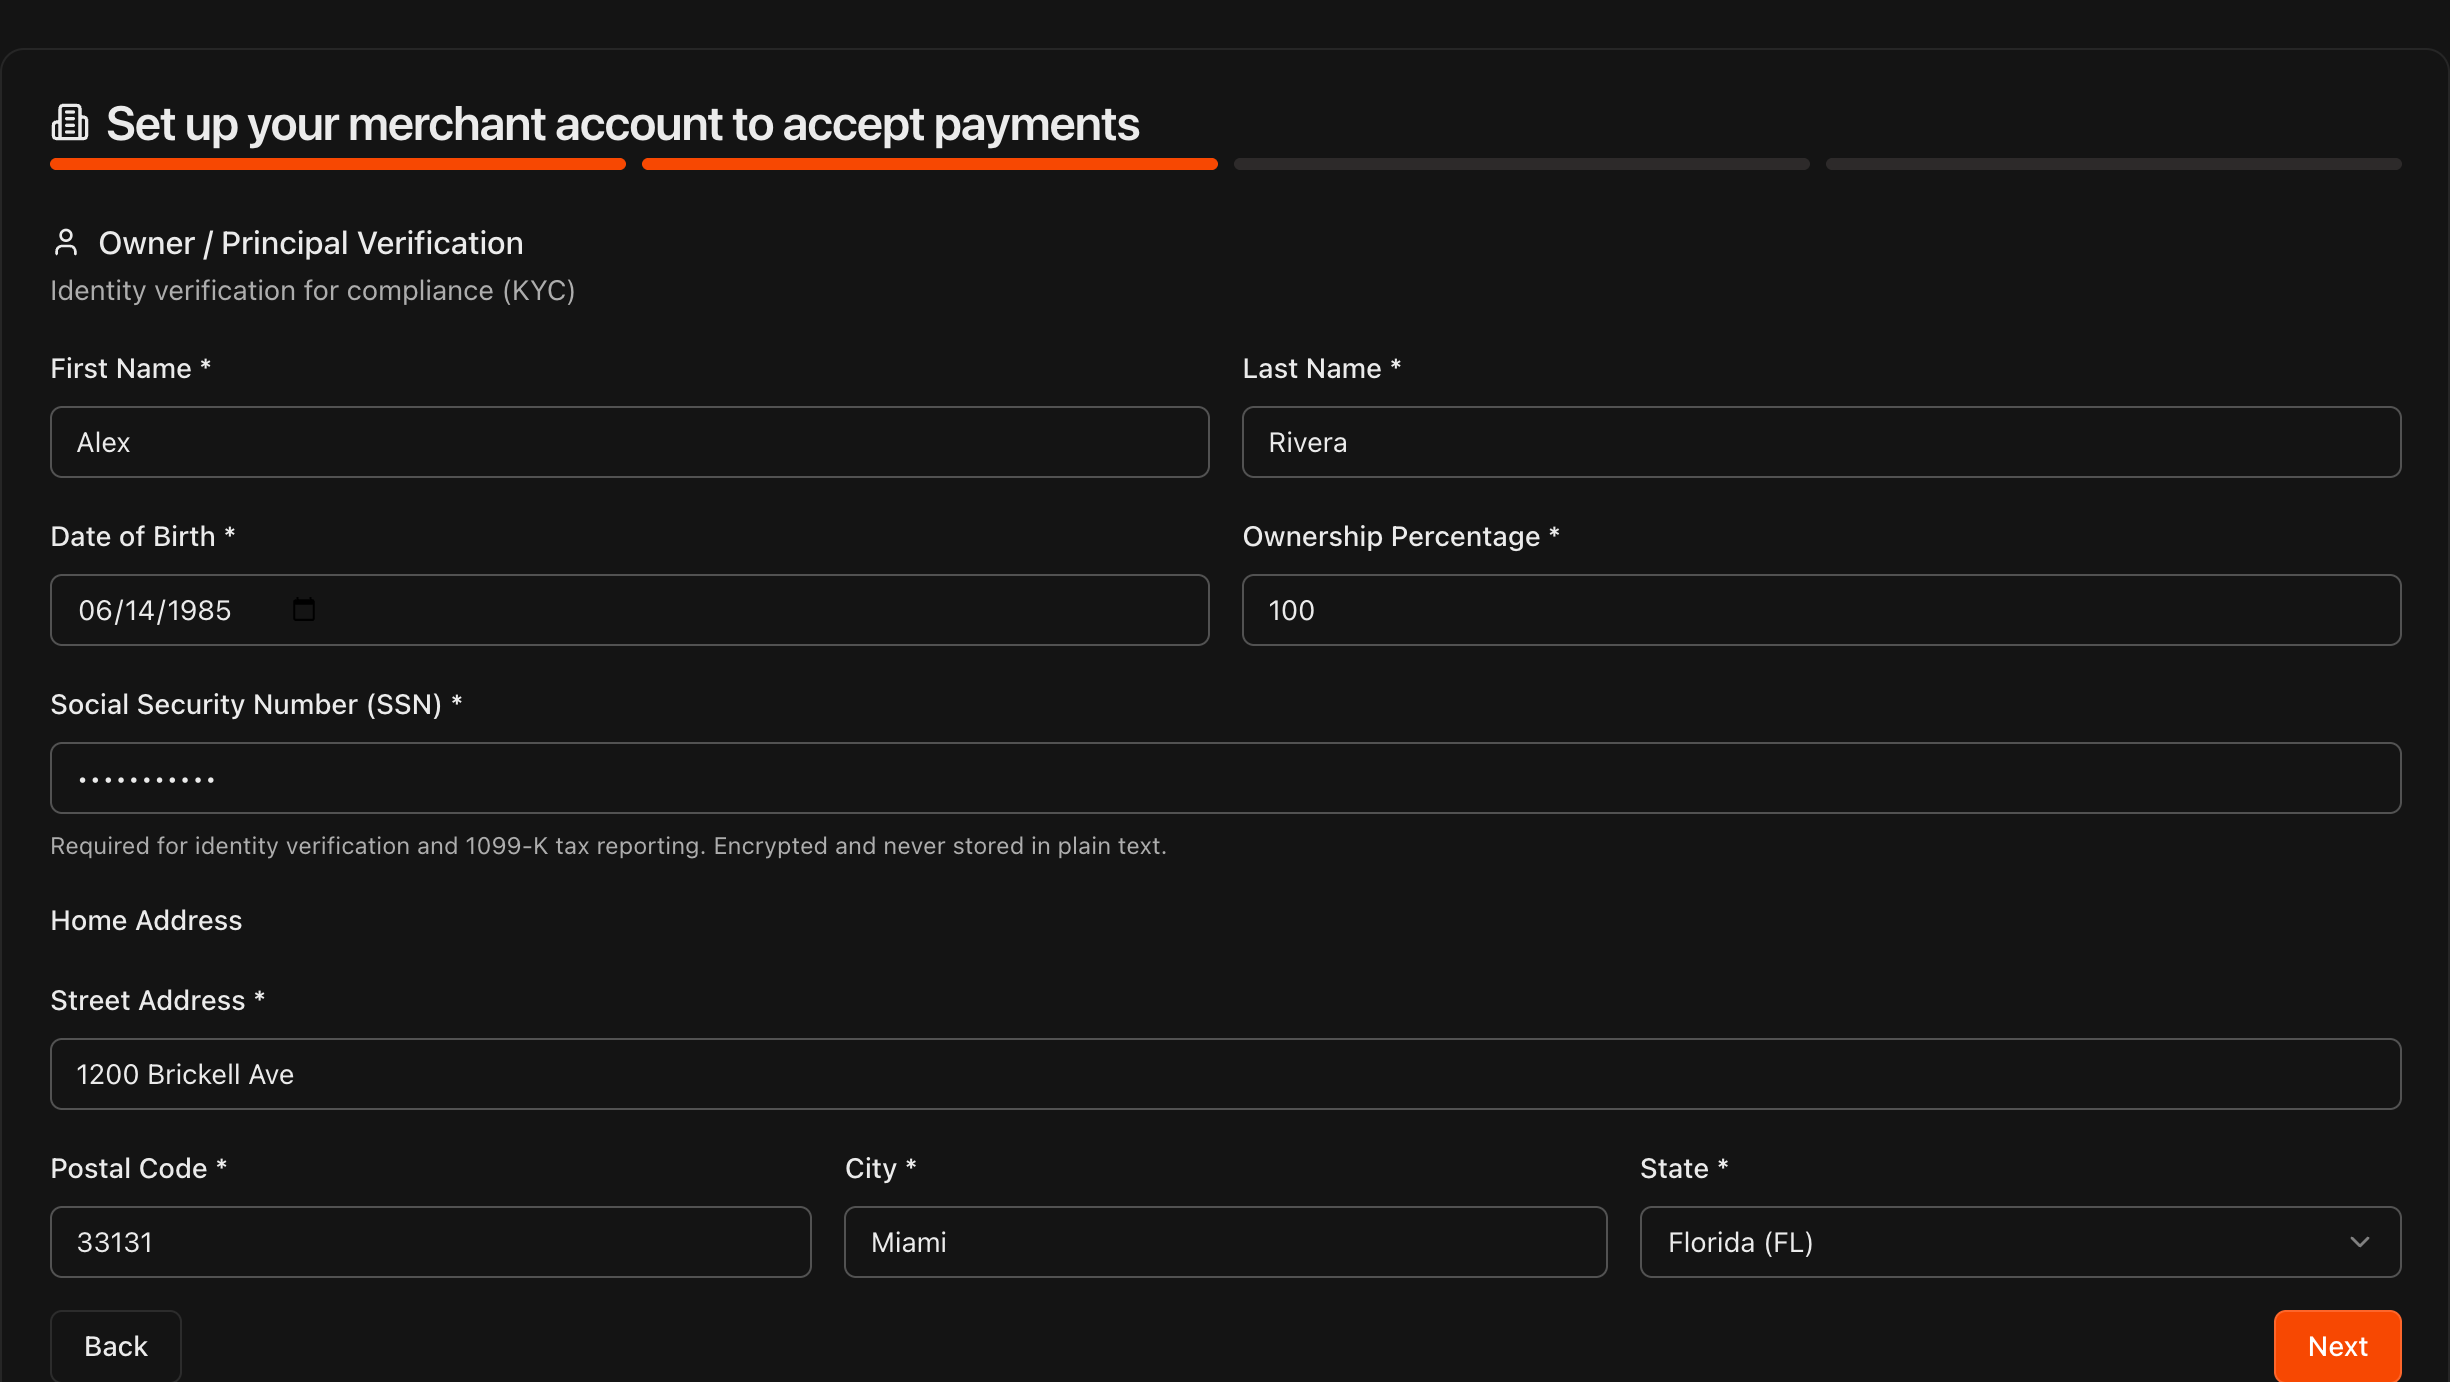
The second page is Owner / Principal Verification. Enter the owner's First Name, Last Name, Date of Birth, and Ownership Percentage.
Enter the owner's Social Security Number (SSN). It is used only for identity verification and 1099-K tax reporting.
Under Home Address, enter the owner's Street Address, Postal Code, City, and State, then click Next.
Note
This page verifies the identity of the person who owns or controls the business. Use the owner's personal home address here, not the academy's address.
Enter your processing estimates and bank account
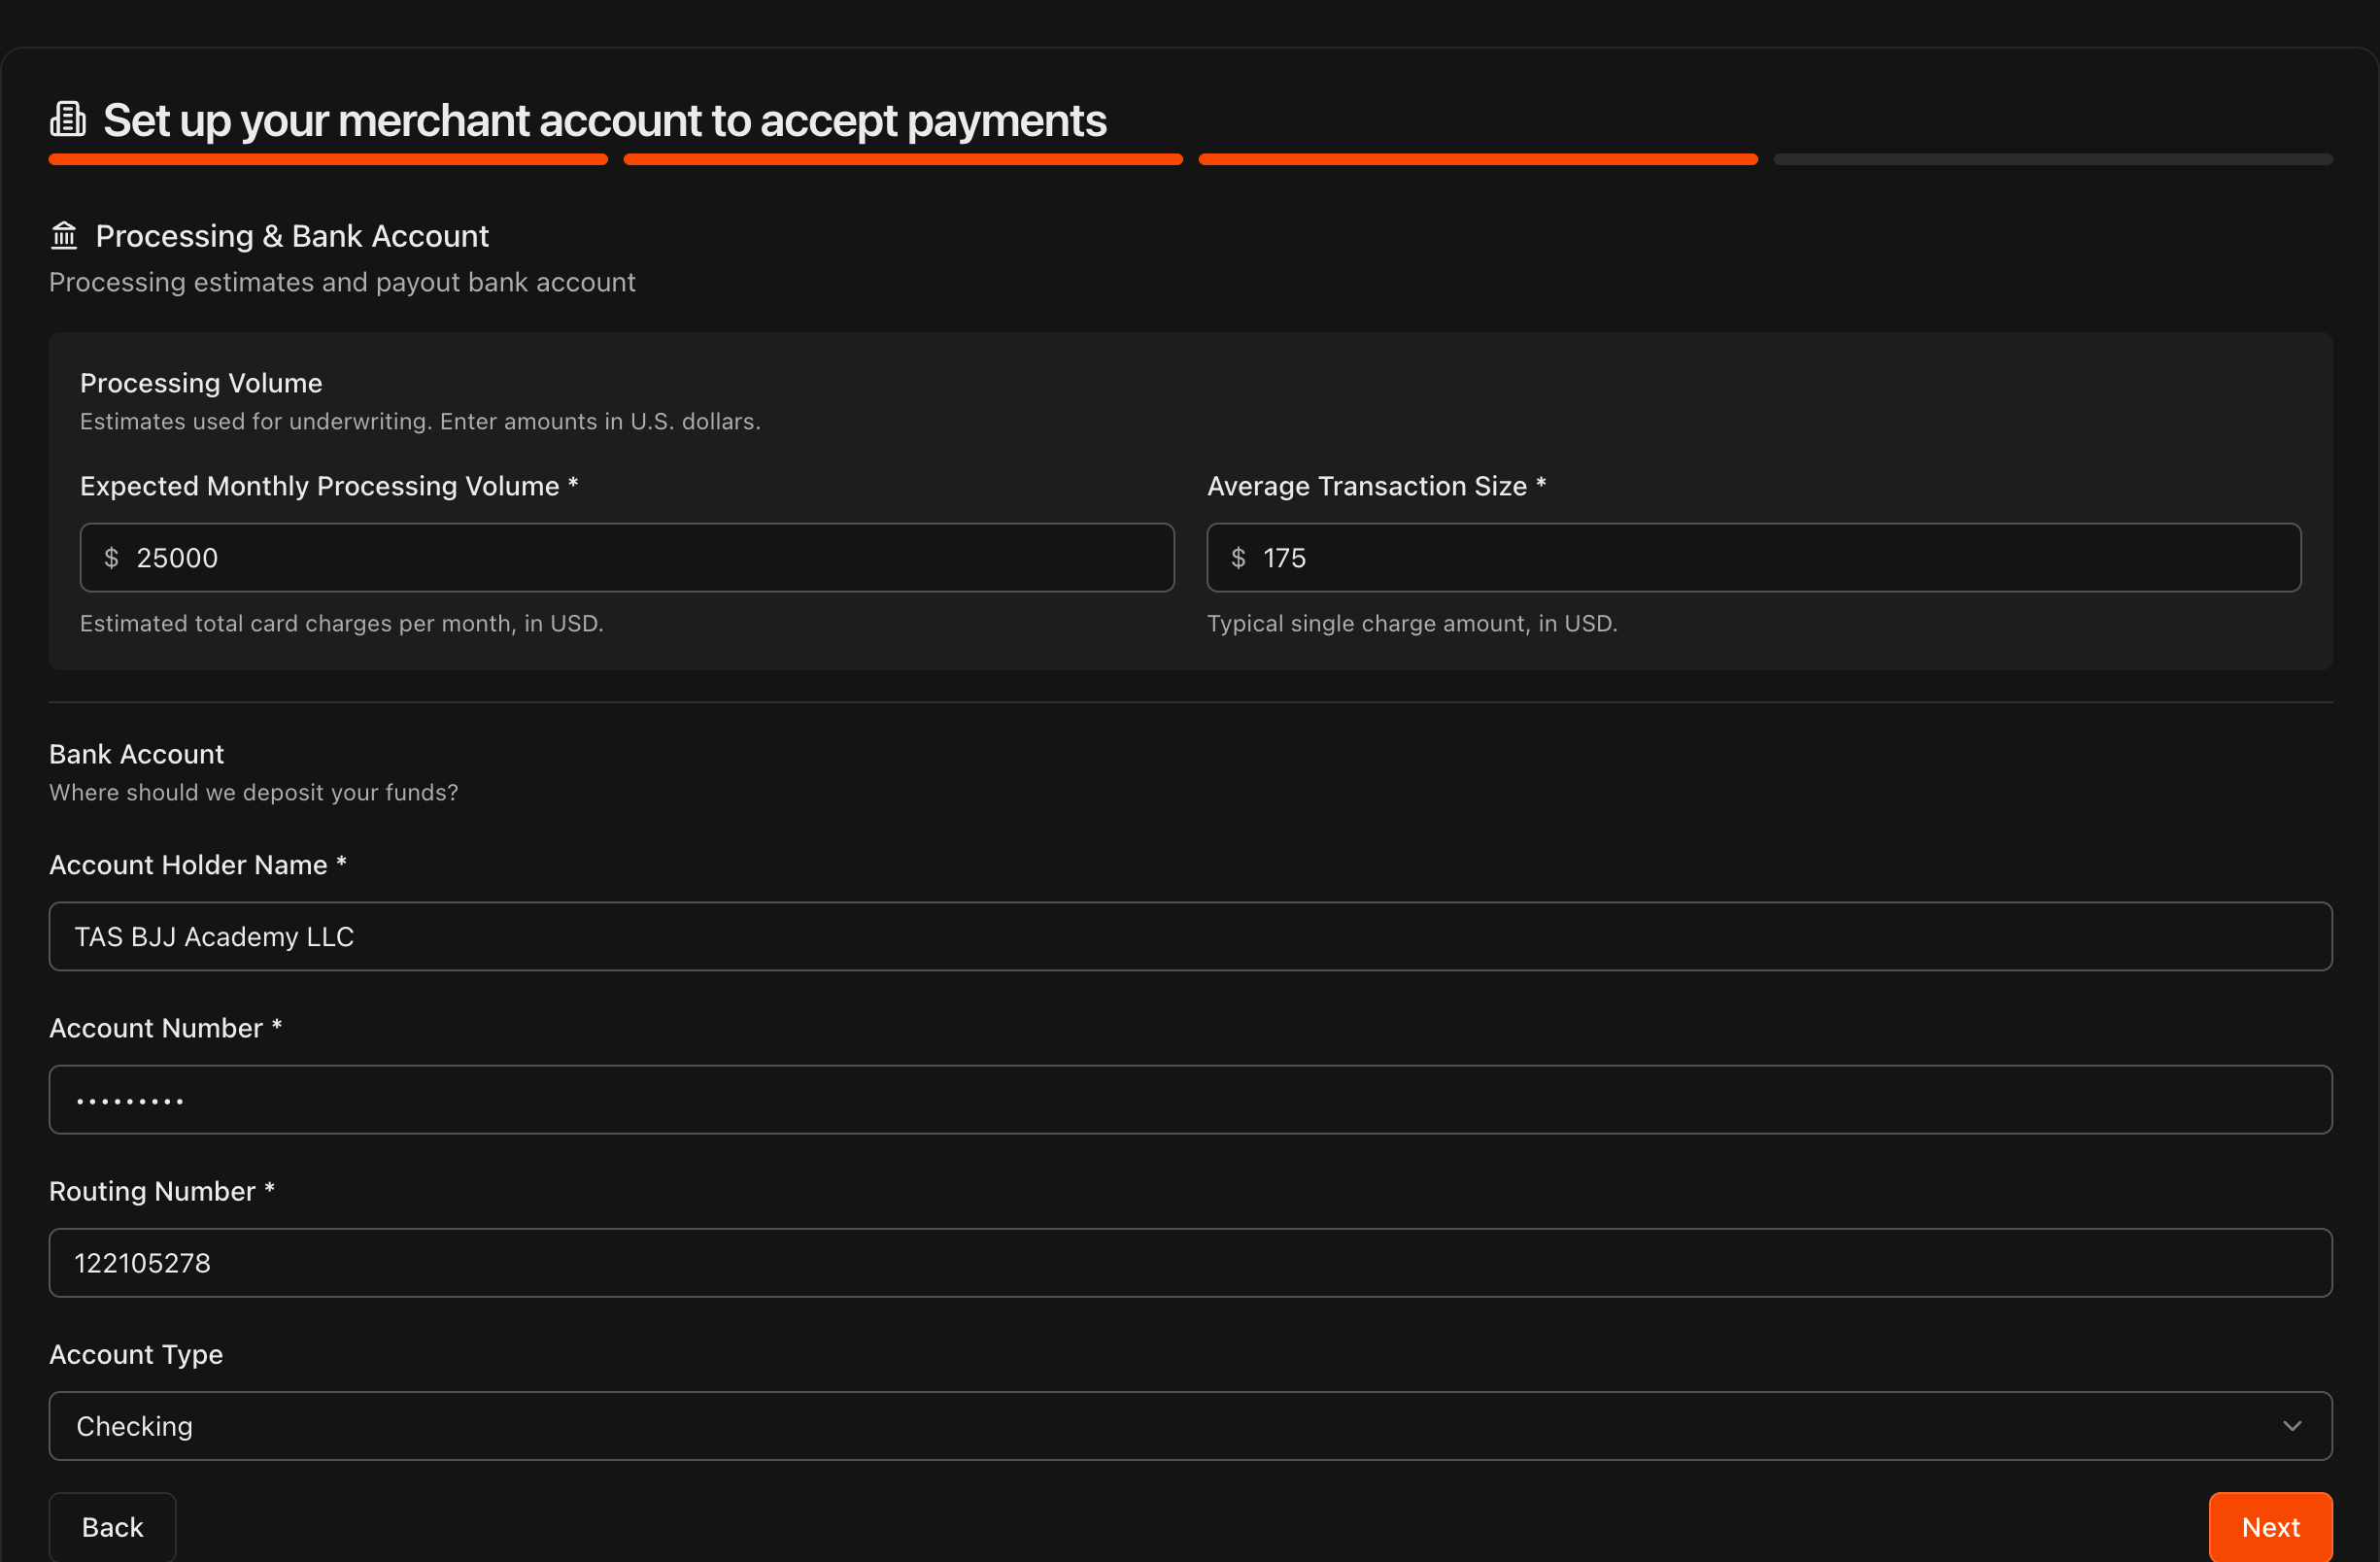
The third page is Processing & Bank Account. Under Processing Volume, enter your Expected Monthly Processing Volume and Average Transaction Size in USD. These estimates are used for underwriting, so a reasonable estimate is fine.
Under Bank Account, enter the Account Holder Name, Account Number, Routing Number, and Account Type for the account where student payments should be deposited.
Click Next.
Tip
The **Account Holder Name** should match the business named on the first page (or the owner, for a sole proprietorship).
Review and submit your application
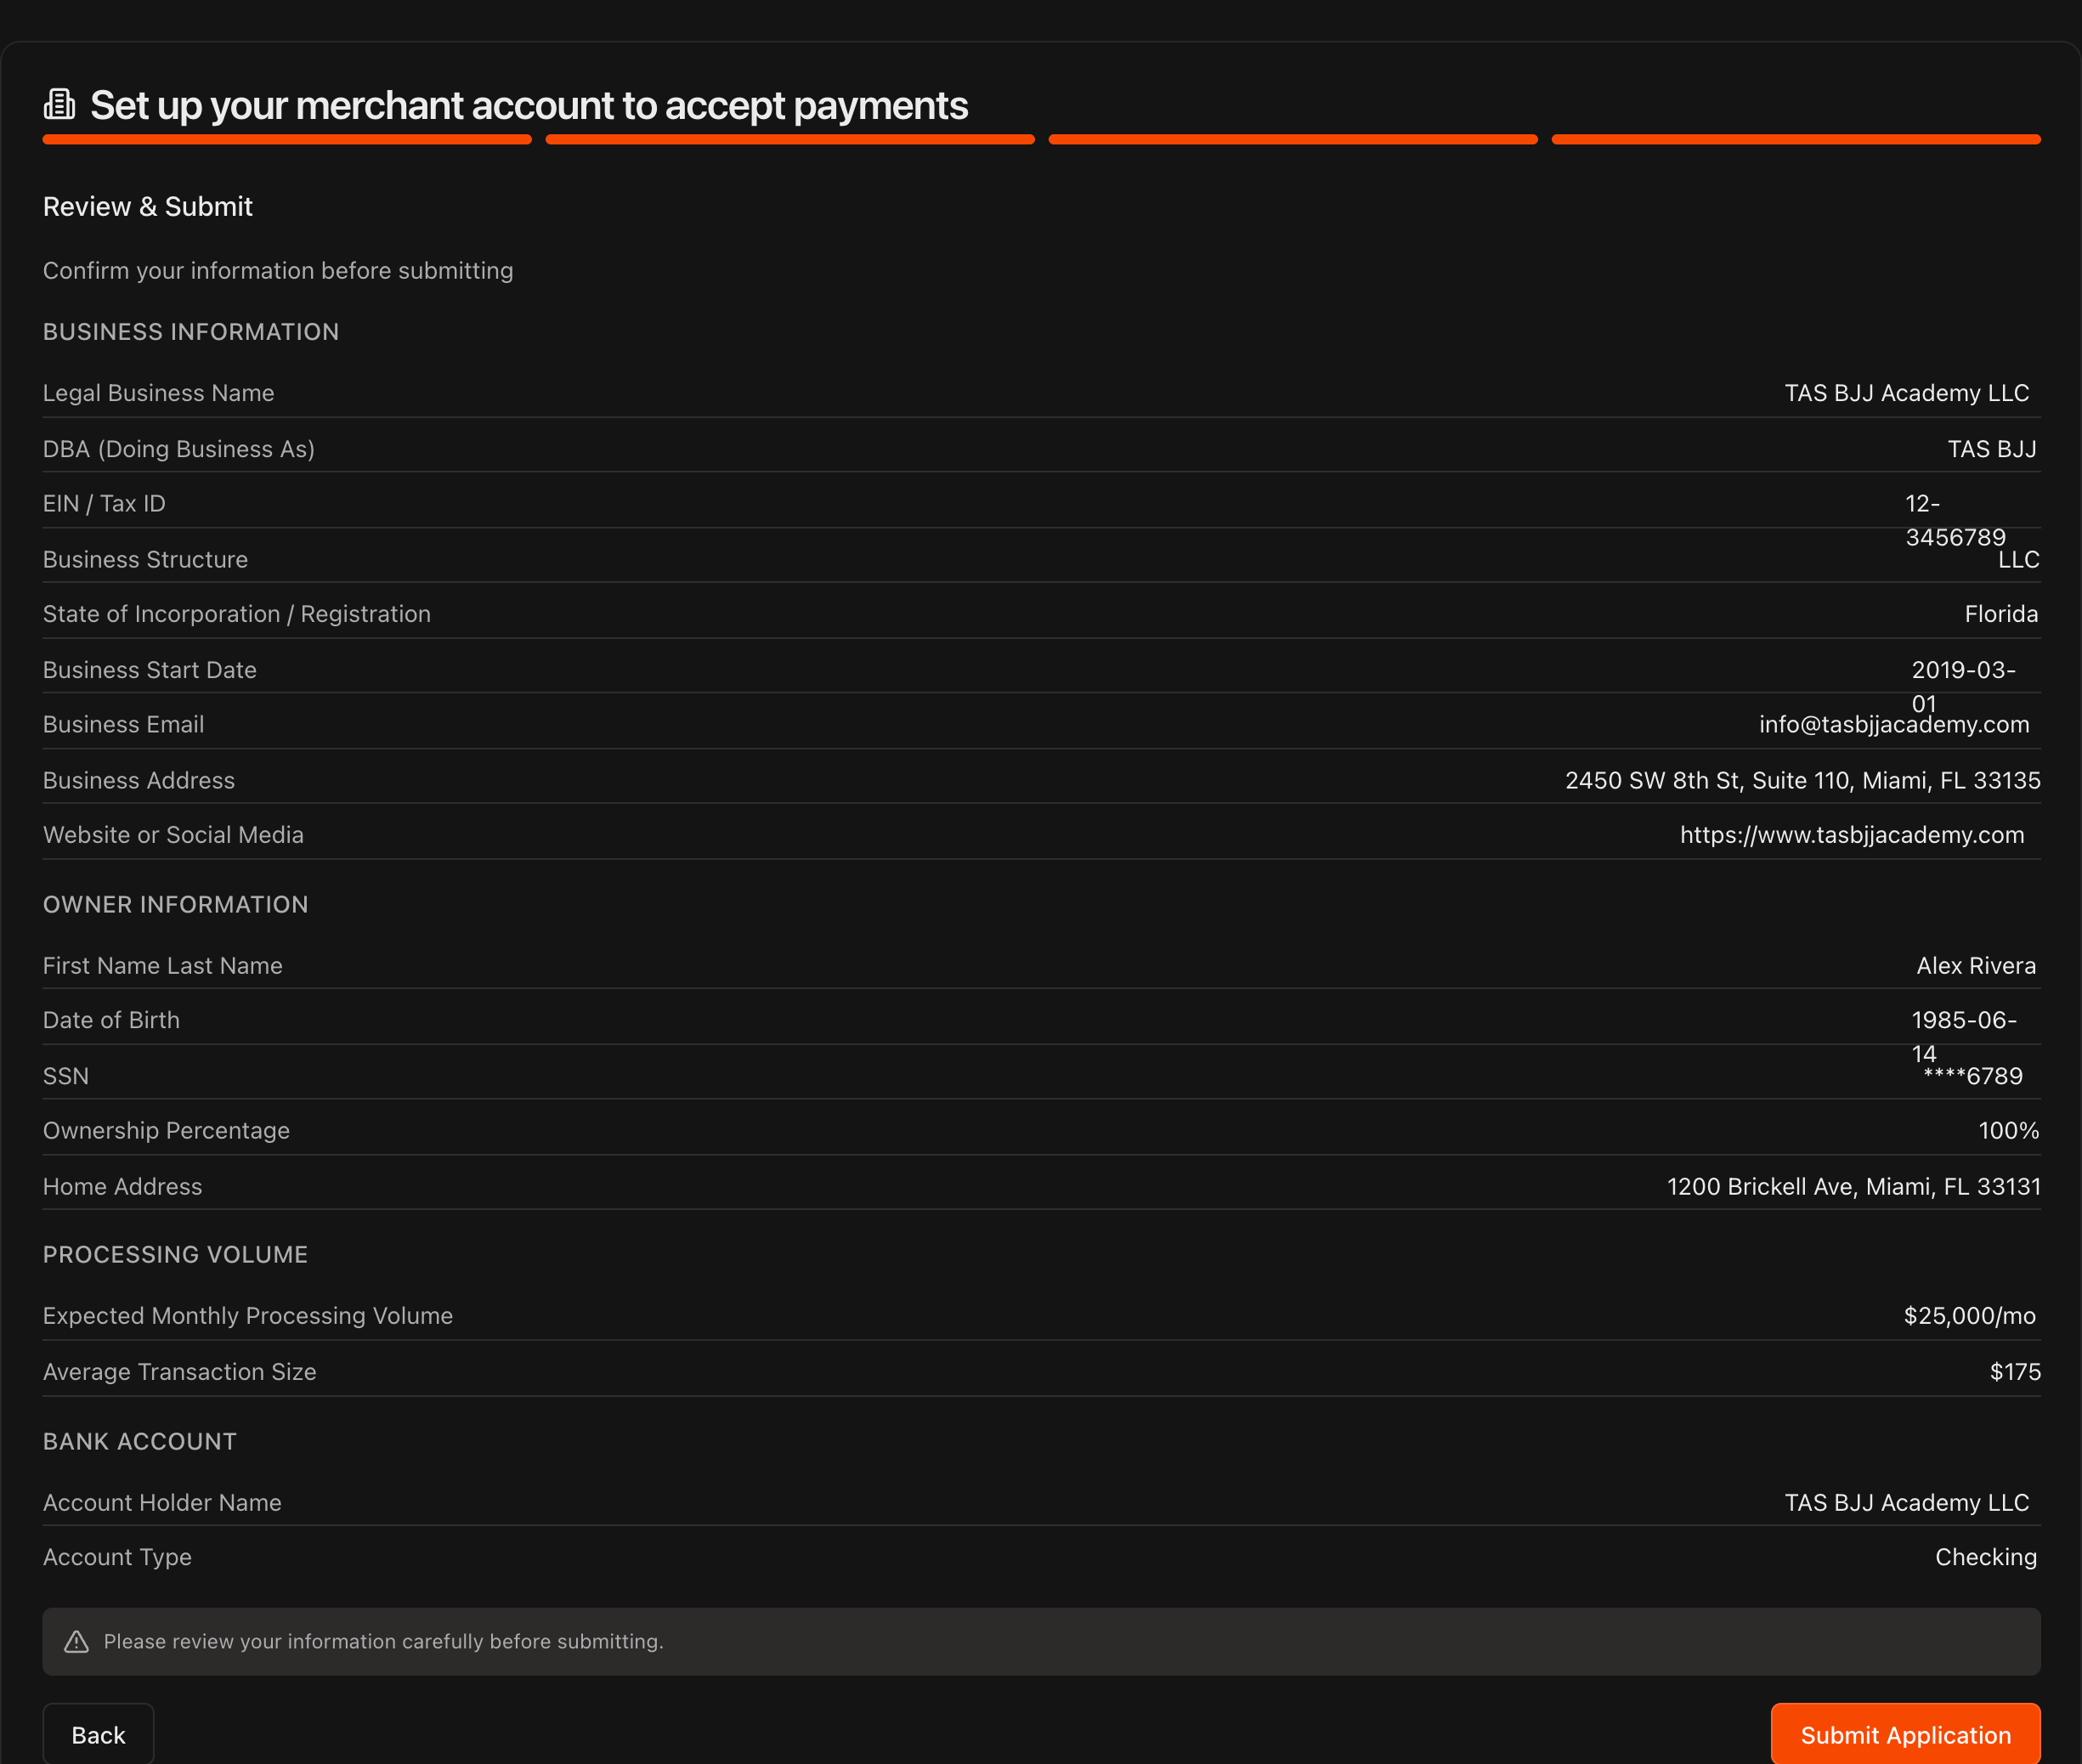
The final page, Review & Submit, shows everything you entered, grouped into Business Information, Owner Information, Processing Volume, and Bank Account.
Click Back to fix anything that is wrong.
When everything is correct, click Submit Application.
Wait for approval
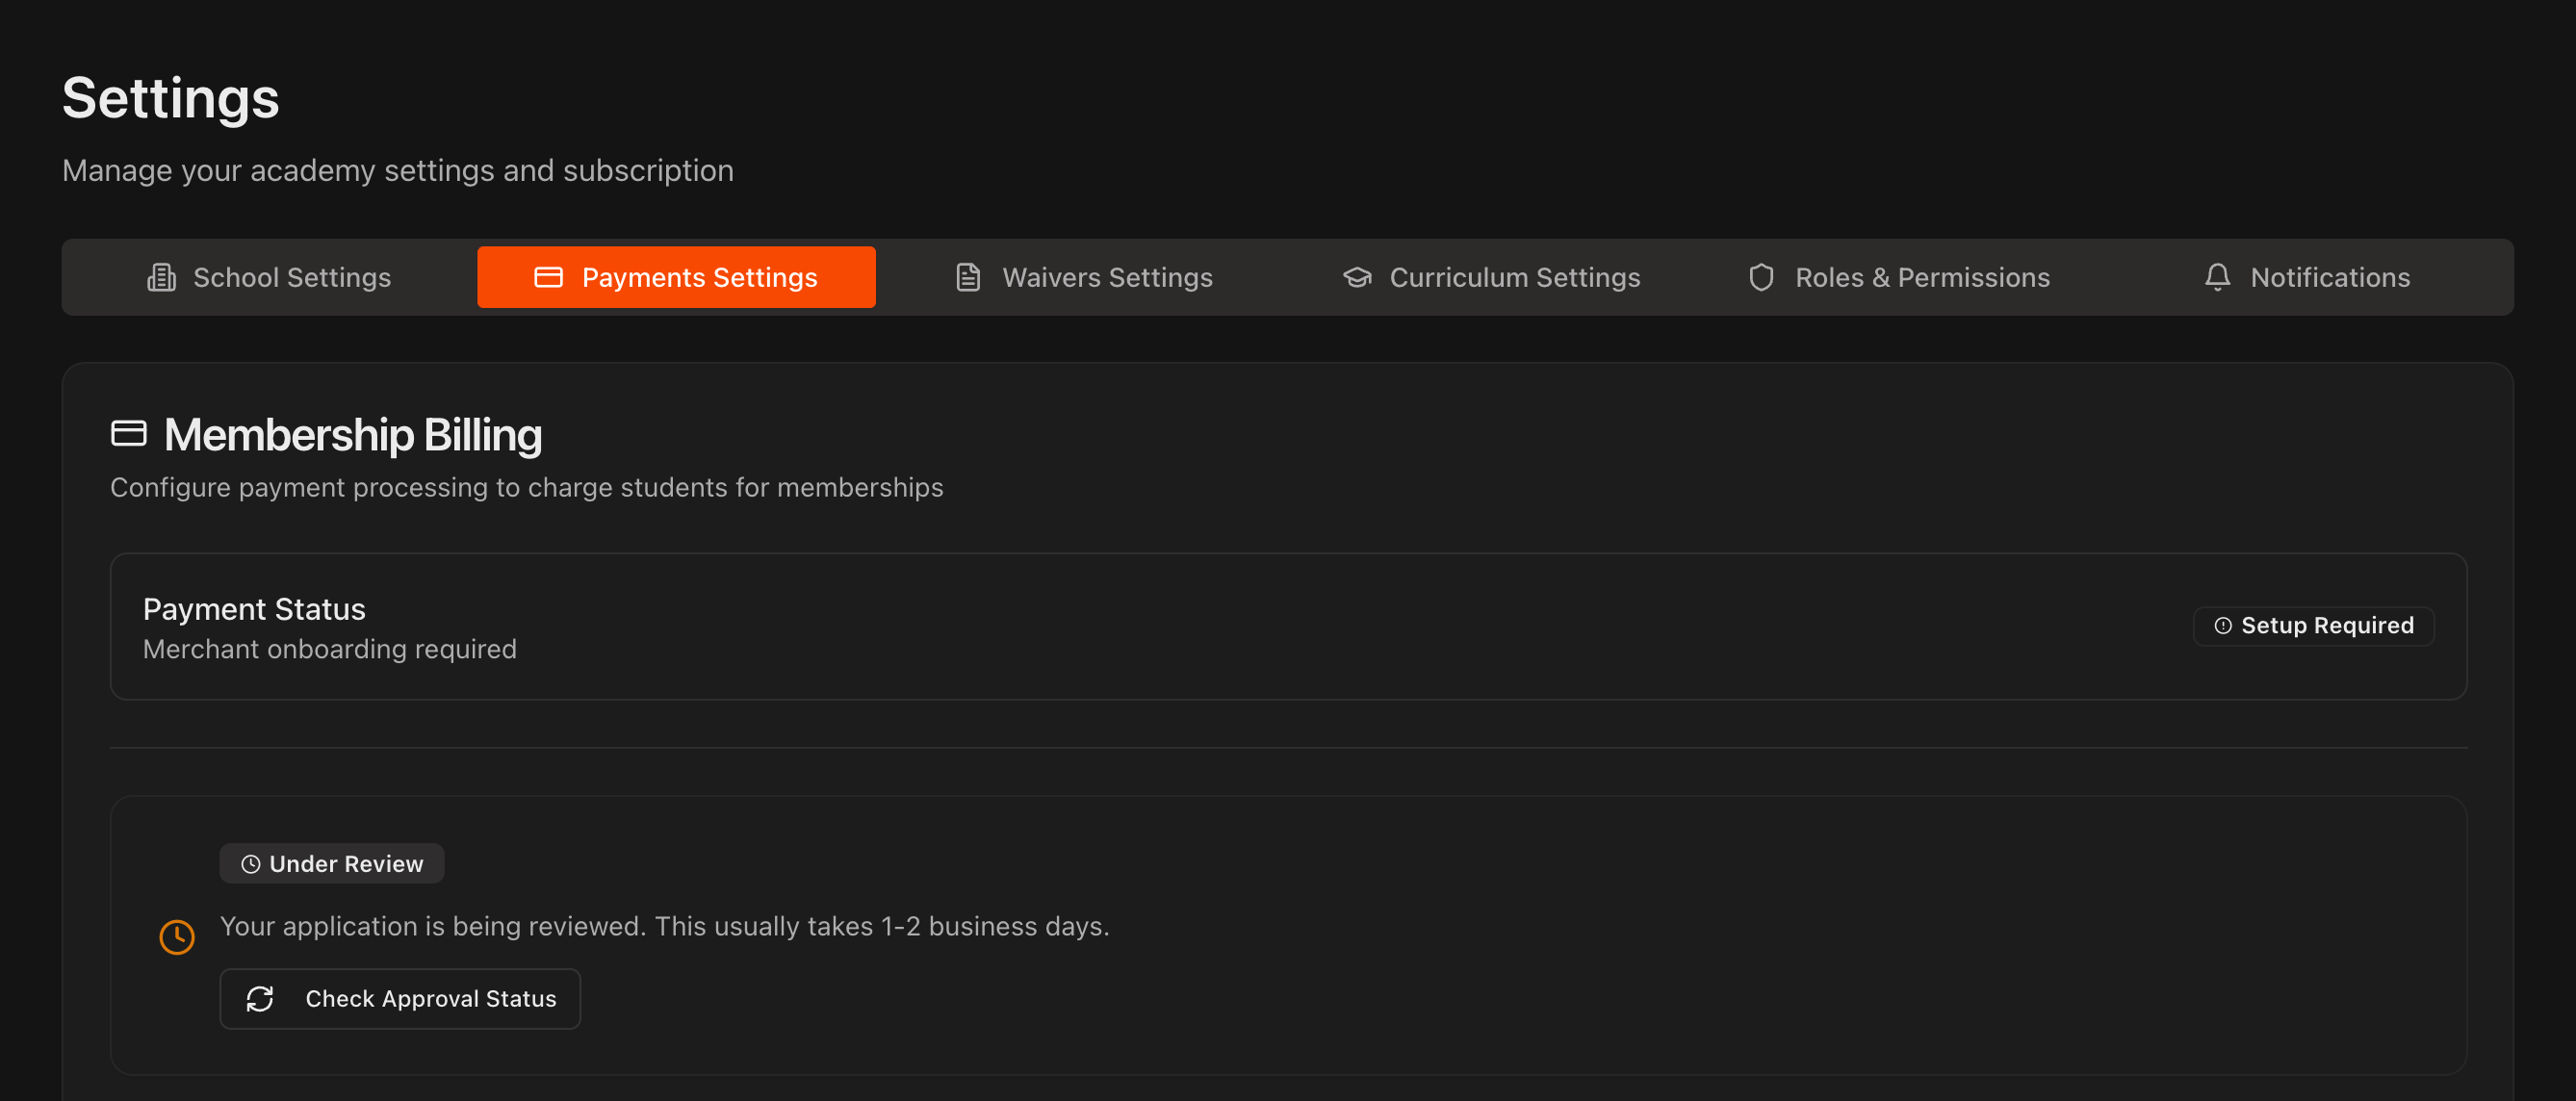
After you submit, the Payments page shows an Under Review status beneath Payment Status.
Approval typically takes 1-2 business days. Click Check Approval Status at any time to refresh.
Once approved, Payment Status changes to Active and you can start charging students through Kmura.
Note
If our payment processor needs any further information to approve you, the Kmura team will reach out to you directly.
Set your Student Self-Service options
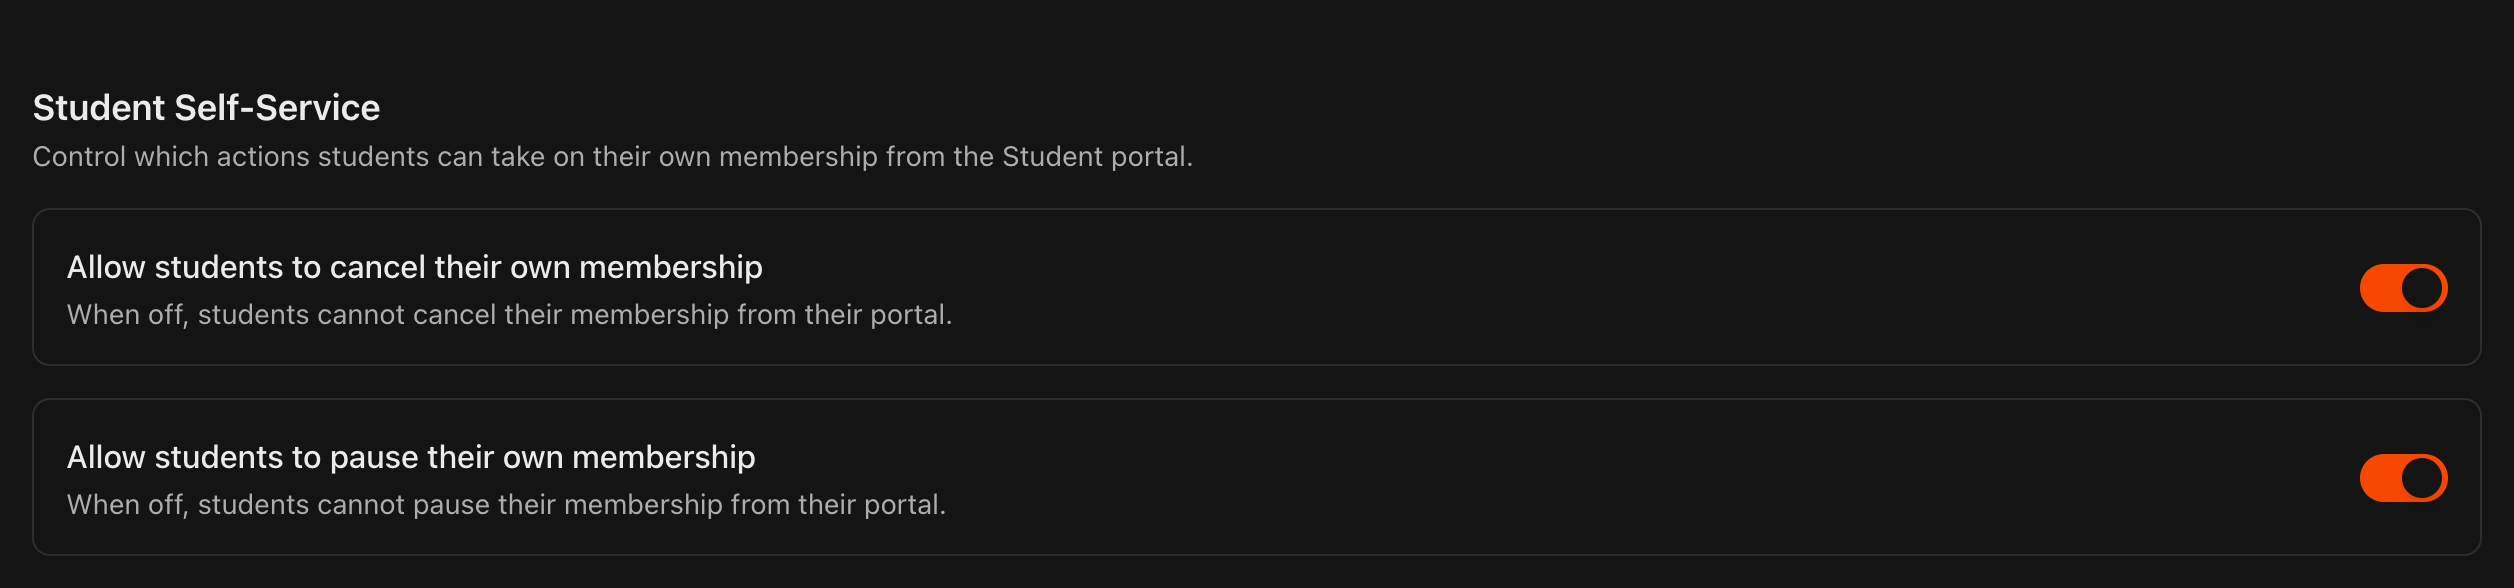
Scroll to Student Self-Service, just beneath the application.
Allow students to cancel their own membership controls whether students can cancel their membership from their student portal.
Allow students to pause their own membership controls whether students can pause their membership from their student portal.
Turn each toggle on or off based on how much control you want to give students. When a toggle is off, students must contact you to make that change.
Caution
Both toggles are on for new accounts. If you want cancellations and pauses to go through your front desk, turn them off before you start billing students.
Apply for an additional gym
With more than one gym on your account, Membership Billing shows a row per gym with its own payment status.
A gym set up as a separate legal company applies from its own row: click Set up payments and complete the same steps as above for that company's details, owner and bank account.
Until it is approved, the row shows Setup Required and no one at that gym can be charged. Your other gyms keep taking payments.
Note
A gym added as another location of a company you already have has nothing to set up here. It settles through that company's merchant account. See Set Up Multiple Locations for the whole flow.